
Digital Epigraphy (Second Edition)
Chapter 3 – Digital Drawing Tools
Chapter 3, Section 3 - Setting Up the Wacom Tablet
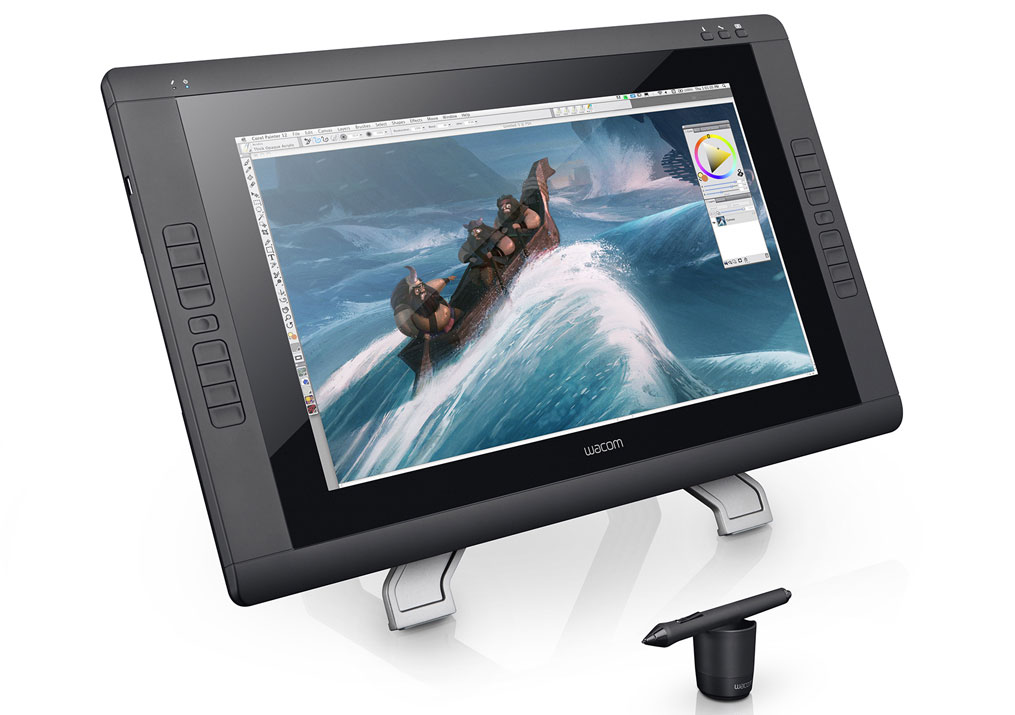
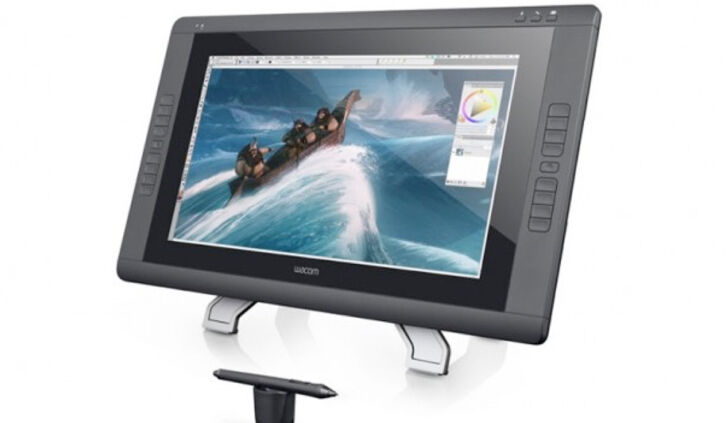
Wacom Cintiq 22HD and Wacom Pen
To be able to create precise drawings in Photoshop, the artist must be able to emulate closely the feel of working on paper with a regular pen. Achieving the high standards of the Epigraphic Survey when inking digitally is certainly not possible by using the computer’s touchpad or mouse. The need of finding a replacement for the regular pen and paper drew the Survey’s attention towards graphics tablets. A graphics tablet (or digitizer) is a computer input device that enables the artist to hand-draw images and graphics, similar to the way a person draws images using pencil and paper. This device consists of a flat surface (ideally a high-resolution screen) upon which the artist can draw using a stylus, which is a pen-like accessory. At the moment the Epigraphic Survey artists work on graphic tablets equipped with high-resolution screens (1920x1080 pixels in 22 inches) made by the Wacom company. These tablets are not stand-alone input devices but can be used only with an attached computer running Photoshop.
As of 2013, there is a brand-new standalone Wacom tablet, called Wacom Cintiq Companion, which is currently going through some rigorous testing at Chicago House. The tablet has a 13-inch full HD screen merging all the benefits of a regular Wacom digitizer with a Windows PC environment. The main advantage of using such a tablet would be during fieldwork. Although most of this Manual was designed for artists working with their initial version of documentation as a physical copy, our digital field experience is described in the next chapter. Naturally, the benefit of learning about photo-editing techniques as we’ve seen in the previous section becomes obvious as soon as the entire documentation process is carried out digitally. For now, the digital inking method is explained through documentation techniques with which the Epigraphic Survey already has experience.
Hardware
The Wacom Cintiq 22HD - the Survey’s standard tablet - is very easy to set up: the artist only needs to put up the stand, slide the screen into place, and it’s ready to go. The screen can be laid down flat, which is a very important feature for our inking purposes, as it helps the artist lean over the screen while drawing.
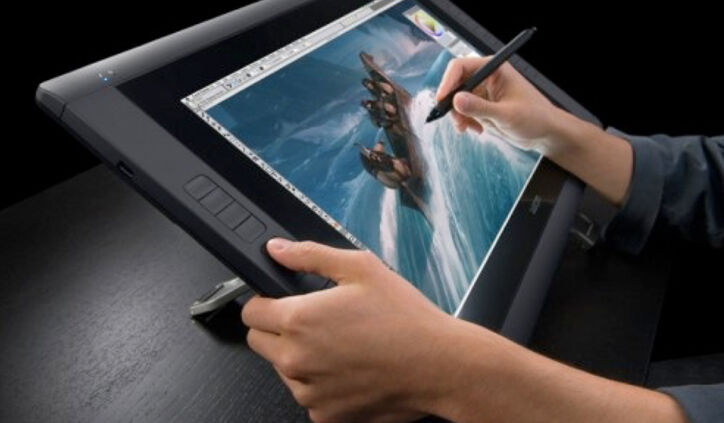
The button interface is particularly useful for providing hot keys to access such features as modifiers (Command, Option, or Shift), Photoshop Keyboard Shortcuts to certain features (such as Step Backward, Deselect, Brush, or Pen) or mouse clicks (such as Right Click). The reason it’s recommended to set up the shortcut buttons only on the left is because the artist tends to hit the right side of the screen by accident while leaning over the tablet. But one can use whatever layout works for him/her; there are more than enough combinations to fulfill anybody’s needs.
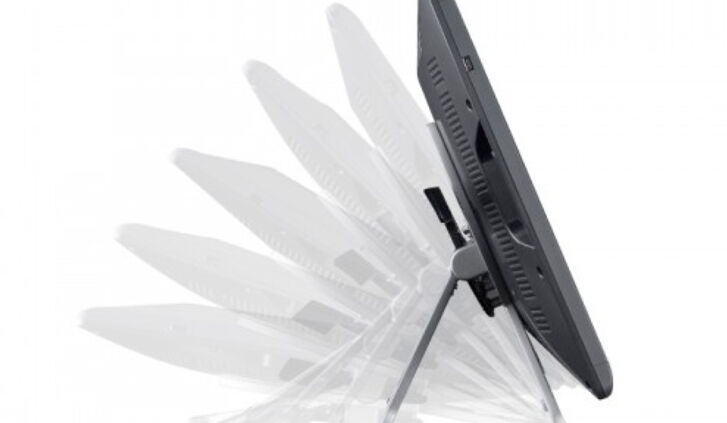
(1) The tablet can be set up in various angles
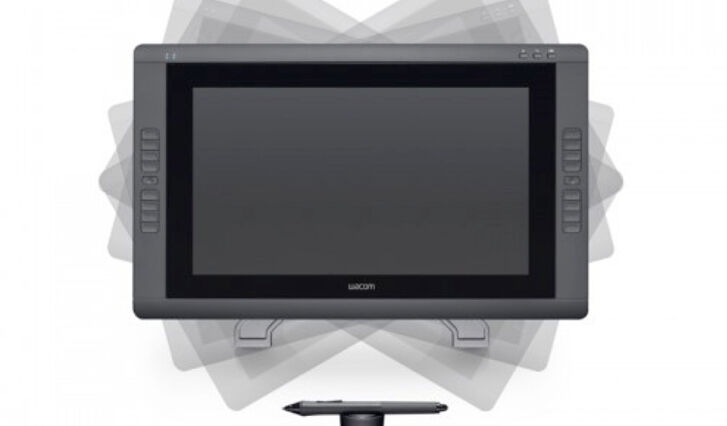
(2) The tablet can be turned either left or right and can be rotated 180 degrees in both directions
(3) The tablet has 16 express buttons for action shortcuts, 8 on both sides
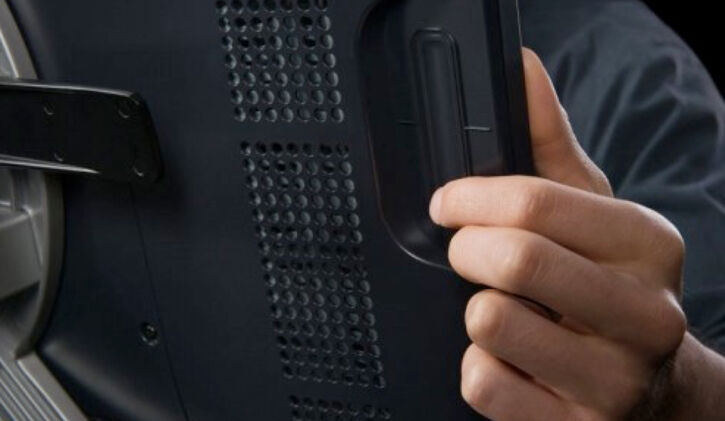
(4) The tablet is equipped with a touch strip on the back to perform more complicated tasks
(5) The tablet’s screen is very bright (230cd/m2) and has 178 degrees viewing angle
The Wacom Cintiq 22 HD: Important features for the artist
The Touch Strip is a bit uncomfortable to use for Epigraphic Survey-type drawings because when scrolling it’s necessary to slide one’s finger up or down, lift it, bring it back, and repeat until arriving at the desired result, which can be very distracting.
Installing The Wacom Cintiq 22HD
However, the Touch Strips perform very well, and they are conveniently positioned on the back of the device (directly behind the toggle buttons that change their function), making it easy to switch function with the thumb while scrolling with the index finger. Again, it’s recommended to try out all of the Wacom tablet’s functions and to see what works in certain situations. This short introduction to the hardware set aside, let’s see how to customize the interface.
Software
The driver of the tablet is located in System Preferences on the Mac (System Preferences/Wacom Tablet). Once the Wacom driver is installed and the tablet is connected to the computer, we can open up the tablet setup window. The three horizontal windows show the name of the tablet associated with our computer, the tools we can use with our tablet, and the applications to which these settings can be applied. By default, it is set to All, but the user is allowed to set up different attributes for certain applications like Photoshop or Illustrator.
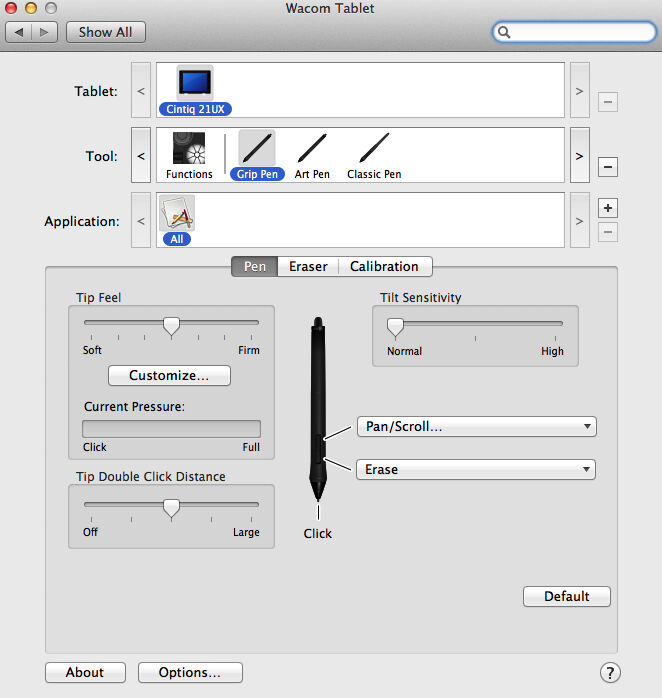
(1) The Pen Setup Window

(2) The Screen Calibration Window
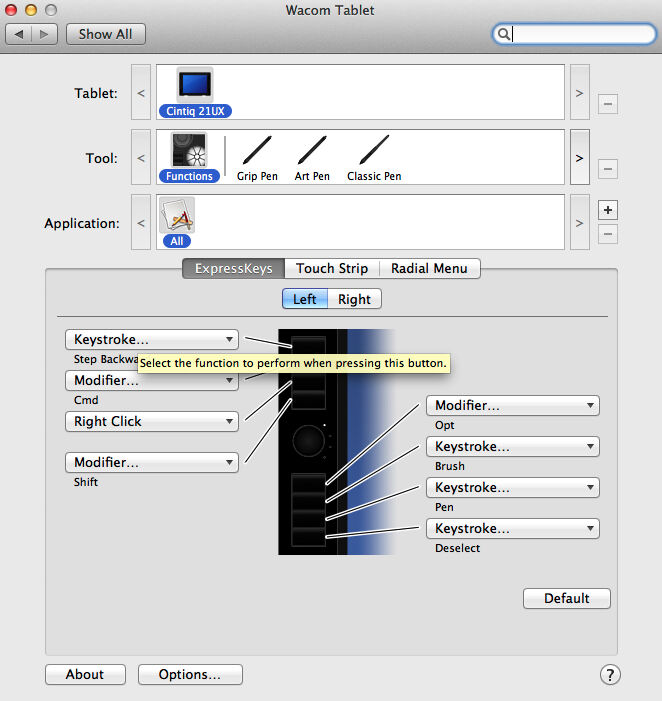
(3) The Hot Keys Setup Window
Assigning Certain Functions to the Pen and Hot Keys
As can be seen on the above screenshots, this particular tablet has been associated with three different pens (Grip, Art, and Classic Pen). Each has its own settings, so the artist is able to use different pens to perform certain tasks. When one of the pens is selected there are the following features that can be customized:
- Tip Feel - adjusts how much pressure one has to put on the tip to draw different line thicknesses. The Epigraphic Survey drawings are usually inked with preset line thicknesses, so pressure sensitivity is normally disabled when we draw in Photoshop.
- Tip Double Click Distance - can be set to “Large” if the artist feels that the buttons are too responsive when clicking.
- Tilt Sensitivity - a self-explanatory setting, once again not particularly useful for the Survey’s traditional inking process.
- Side Buttons - there are two buttons on the side of our pens that function as hot keys to perform certain commands. This particular pen is set up to either Pan/Scroll the paper by hovering over the drawing area and holding down the button at the same time or to Erase whenever necessary (this is the same as using the pen’s end button, but it is faster and more precise).
Another action we have to perform with the pen during setup is calibrating our Wacom tablet’s screen as demonstrated in the Installing Cintiq 22HD video tutorial.
Finally, there should be some customization performed on the tablet’s button interface as well. When we click on the Functions tool, we see a picture of the left/right string of buttons with some commands already associated with them. These buttons are called Express Keys and can perform tasks associated with certain mouse clicks, Photoshop-specific action modifier buttons (Shift, Control, Option, Command).
There are some other options that are either Wacom specific (such as Pan/Scroll), or associated with computer features (Show Desktop, Switch Application, On Screen Keyboard, etc.). Each and every Express Key can potentially be disabled as well. For our drawing purposes, I would like to recommend the following setup of these buttons (the order is equivalent to the vertical row of 8 regular-sized buttons on the left side of the Cintiq 22HD model):
- Step Backward (keystroke Opt+Cmd+Z) - the most commonly used Photoshop command which cancels not just our latest modification step on the drawing (Undo), but, by repeatedly clicking on it, lets us step backwards in Photoshop’s History panel.
- Command (modifier) - every time a drawing path has to be modified, the action is executed by holding down the Command button.
- Right Click (mouse clicks) - every secondary option throughout the entire system is called up by clicking on the right mouse button (also called secondary click), so it is one of the most-used shortcuts the artist will employ during drawing.
- Shift (modifier) - mostly used for drawing straight brush lines or proportion-aware editing of objects, images, or image parts.
- Option (modifier) - when using the Clone stamp or any other location-aware action, pressing the Option button selects the sample area from which the information is taken.
- Brush (keystroke B) - one of the two most-used tools for digital inking.
- Pen (keystroke P) - the other most commonly used tool for digital inking.
- Deselect (keystroke CMD+D) - in most of the cases specific selections can be very time consuming to achieve. Once we are done and want to go back to drawing, the easiest way to deselect the area is by hitting a single button.
All of the above-mentioned shortcuts can be executed from the regular computer keyboard as well, especially if the user takes the time to learn the combinations for specific tasks. When the artist is deeply involved with drawing, however, he/she should always choose the least distracting way to interact with the software, and in our case that means dealing with Photoshop right from the tablet. Since all the buttons on the Cintiq 22HD look exactly the same, it is useful to have a sticky note reminder of each button’s actions on the actual button. Otherwise, it’s recommended to hit the Information (i) button on the tablet frame’s upper right corner, which briefly highlights the actual setup of each button.
0 comment(s)
Leave a comment(We'll keep your email address private)