
Upscaling the psd file
As a final preparatory step to ready the digitally penciled drawing for studio work, the artist needs to readjust the scale of the drawing to match its original dimensions. Since downscaling was a temporary necessity, required only to match the iPad’s and Procreate’s current limitations, we need to upscale our layered psd file to the same pixel resolution as it first appeared on our Template. This is a very straightforward process and starts with opening both the psd file and the source tiff in Photoshop.
The artist should remember what kind of downscaling method was used to provide the background for Procreate and reverse the steps in the same way as it was described earlier in the Chapter. If the artist decided about cropping the scene to smaller sections for digital penciling, it will be necessary to repeat the above steps with each section in order to be able to ink the entire scene as a unit.
Upscaling the psd file
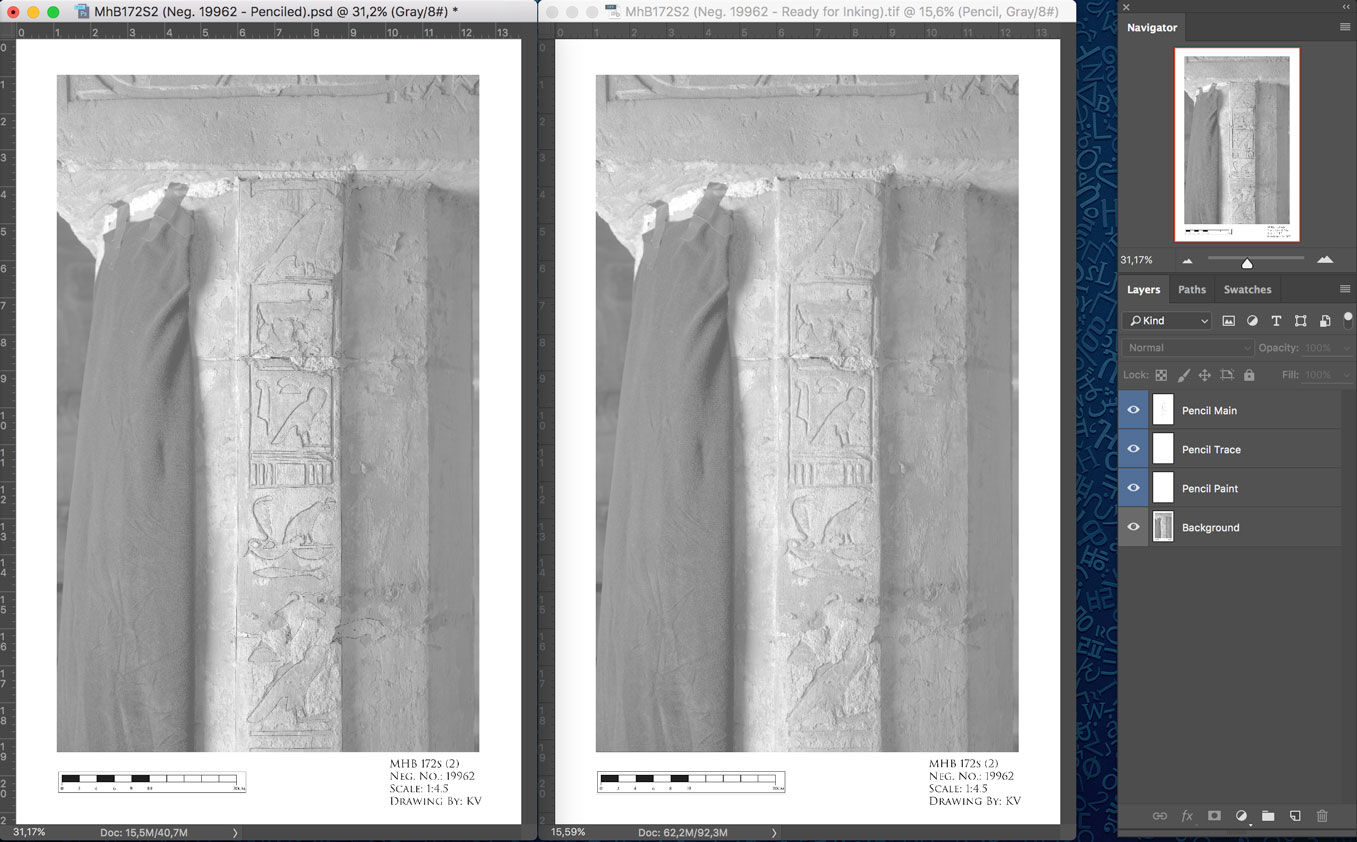
(1) Open both files in Photoshop and make sure the psd file has all the pencil layers intact. It is useful to use a layer color code for reference.

(2) Go to Image/Image Size and upscale the image to 1200 dpi. Make sure the pixel dimensions match with those of the source file.
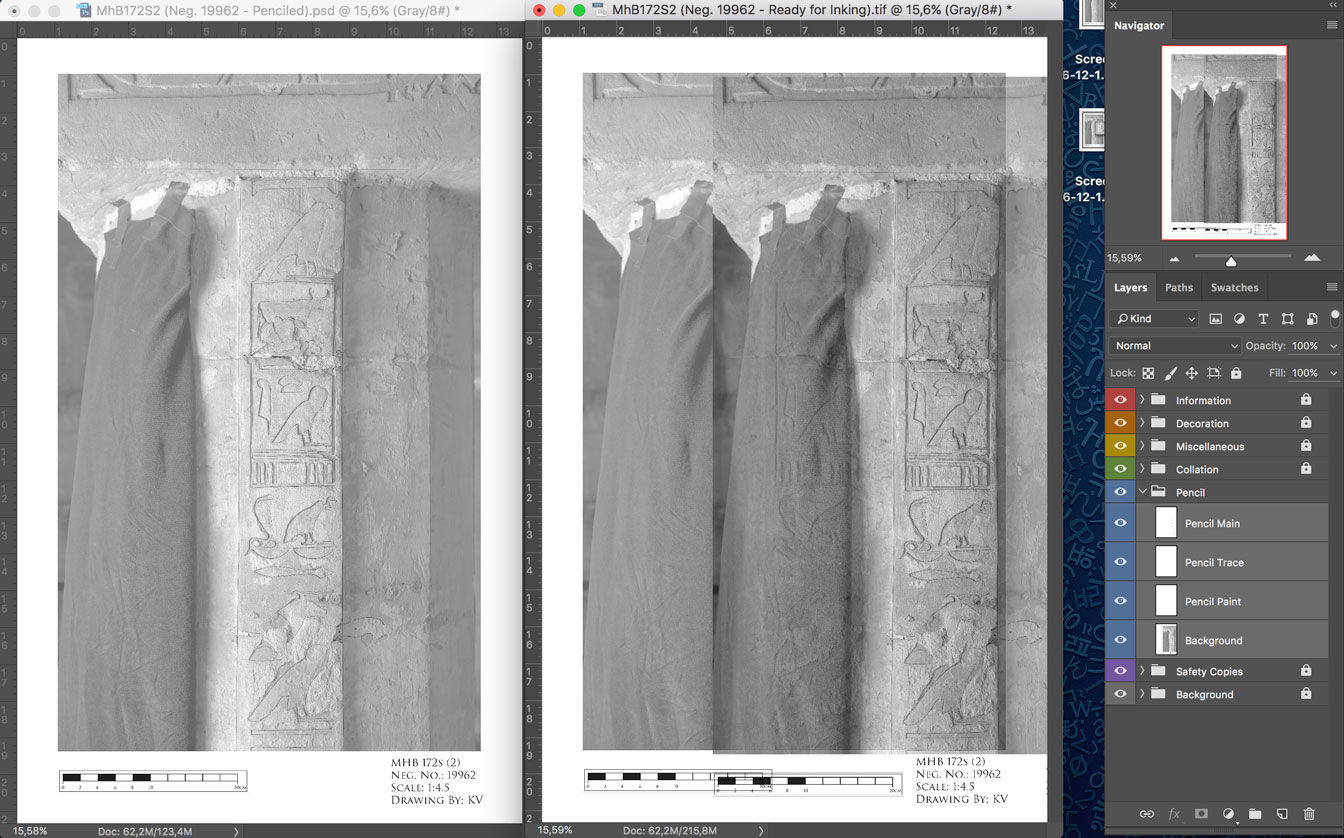
(3) Drag and move ALL the layers of the psd file to the Pencil layer folder in the source file. Make sure to select them all when adjusting.

(4) Change all the new layers to transparent (Multiply) and use the Move tool to hover ALL the layers to match exactly the source background.
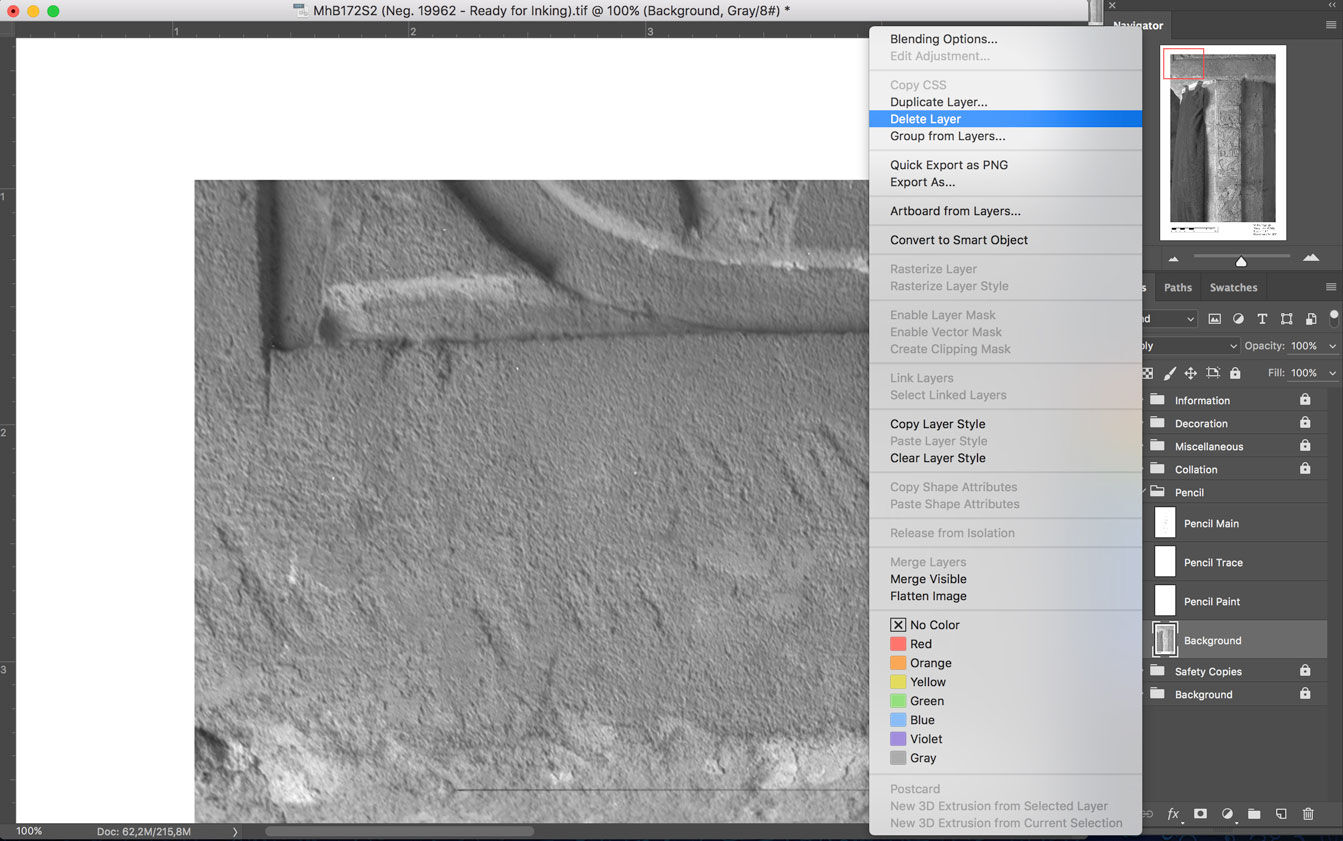
(5) When the new layers are all set, the psd file’s upscaled background is no longer needed and can be deleted.
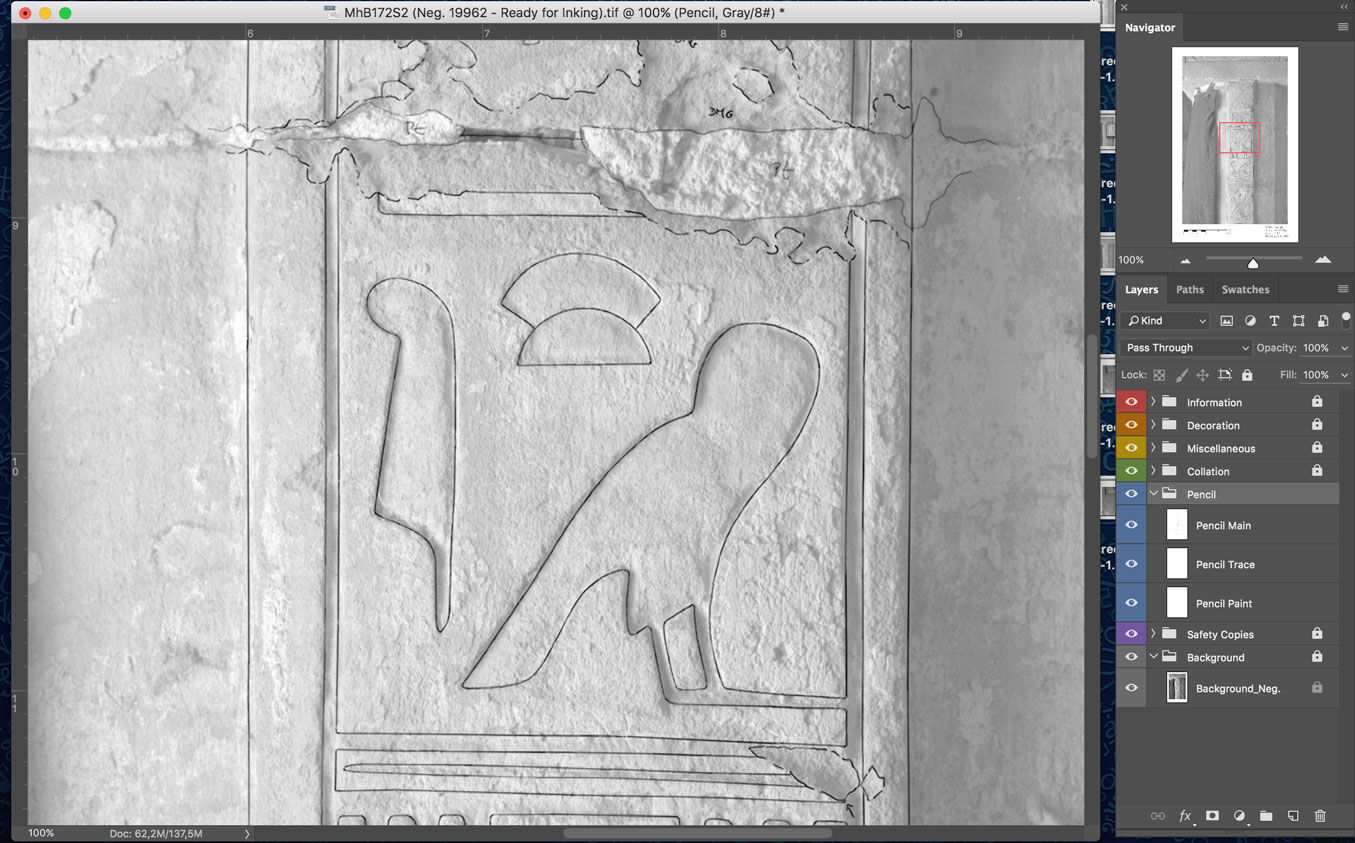
(6) Once the pencil layers are all in the Pencil folder and in the right position, the folder can be locked, and the drawing is ready for inking.
One has to keep in mind that bypassing these limitations with the above workarounds is only relevant for the current state of the hardware and software; this difficulty should eventually disappear as the iPad Pro gains more processing power.
To learn more about the context of this tutorial read the following chapter:
0 comment(s)
Leave a comment(We'll keep your email address private)