
Procreate’s basic features
Procreate lets the artist paint in high resolution using customized brushes in a multilayered environment. It has a simple user interface, with most of the settings and options tucked away in hidden menus, keeping the canvas uncluttered. On initial opening of the App, the user is presented with a series of sample artwork made in Procreate to demonstrate its many features for power users. The artist can keep these samples in a dedicated folder for future reference or delete them along with creating new project-specific folders.
Procreate’s basic features
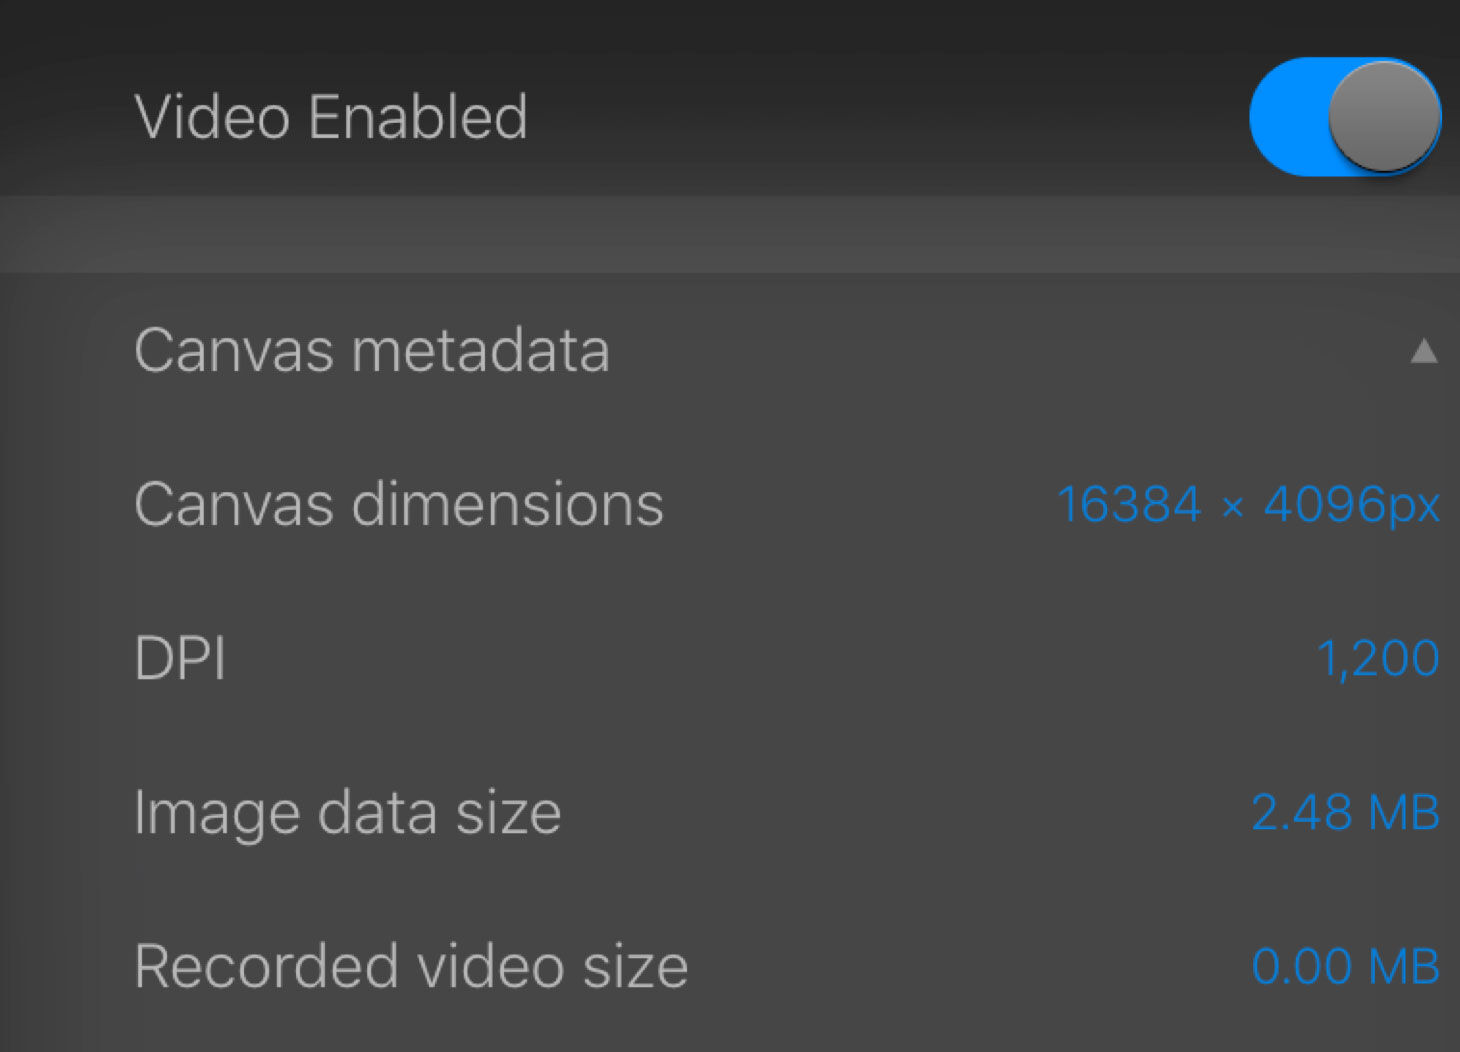
(1) Large canvases, up to 16000 by 4000 ppi on the iPad Pro, optimized for iPad’s multiple cores with 250 levels of undo and redo.
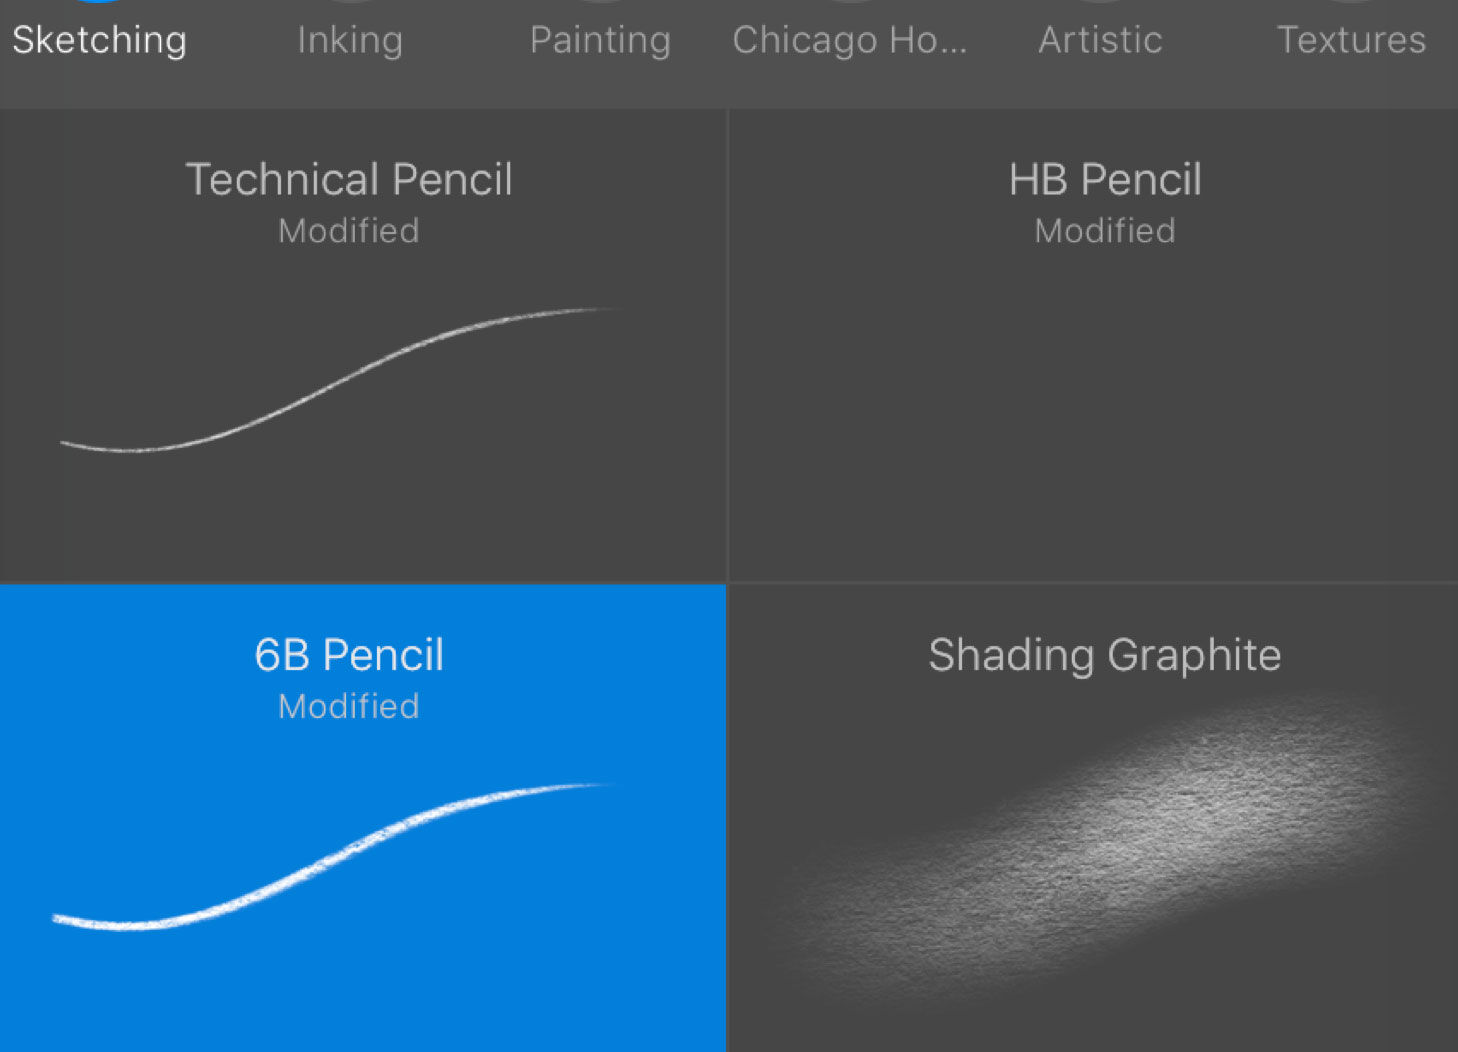
(2) 128 beautifully made brushes ranging from sketching and inking through painting and texture brushes.
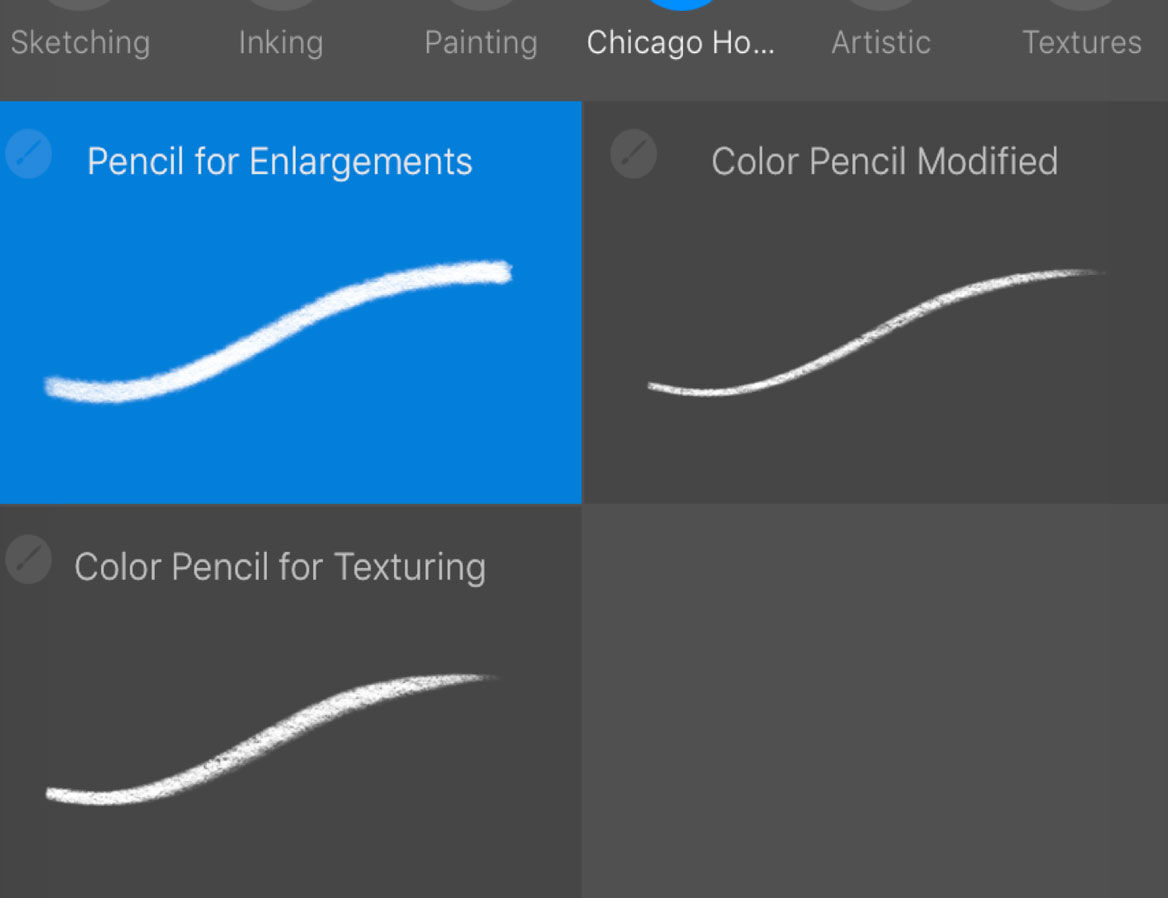
(3) Custom folders to create and store brushes created for specific projects, with the option to import and export.
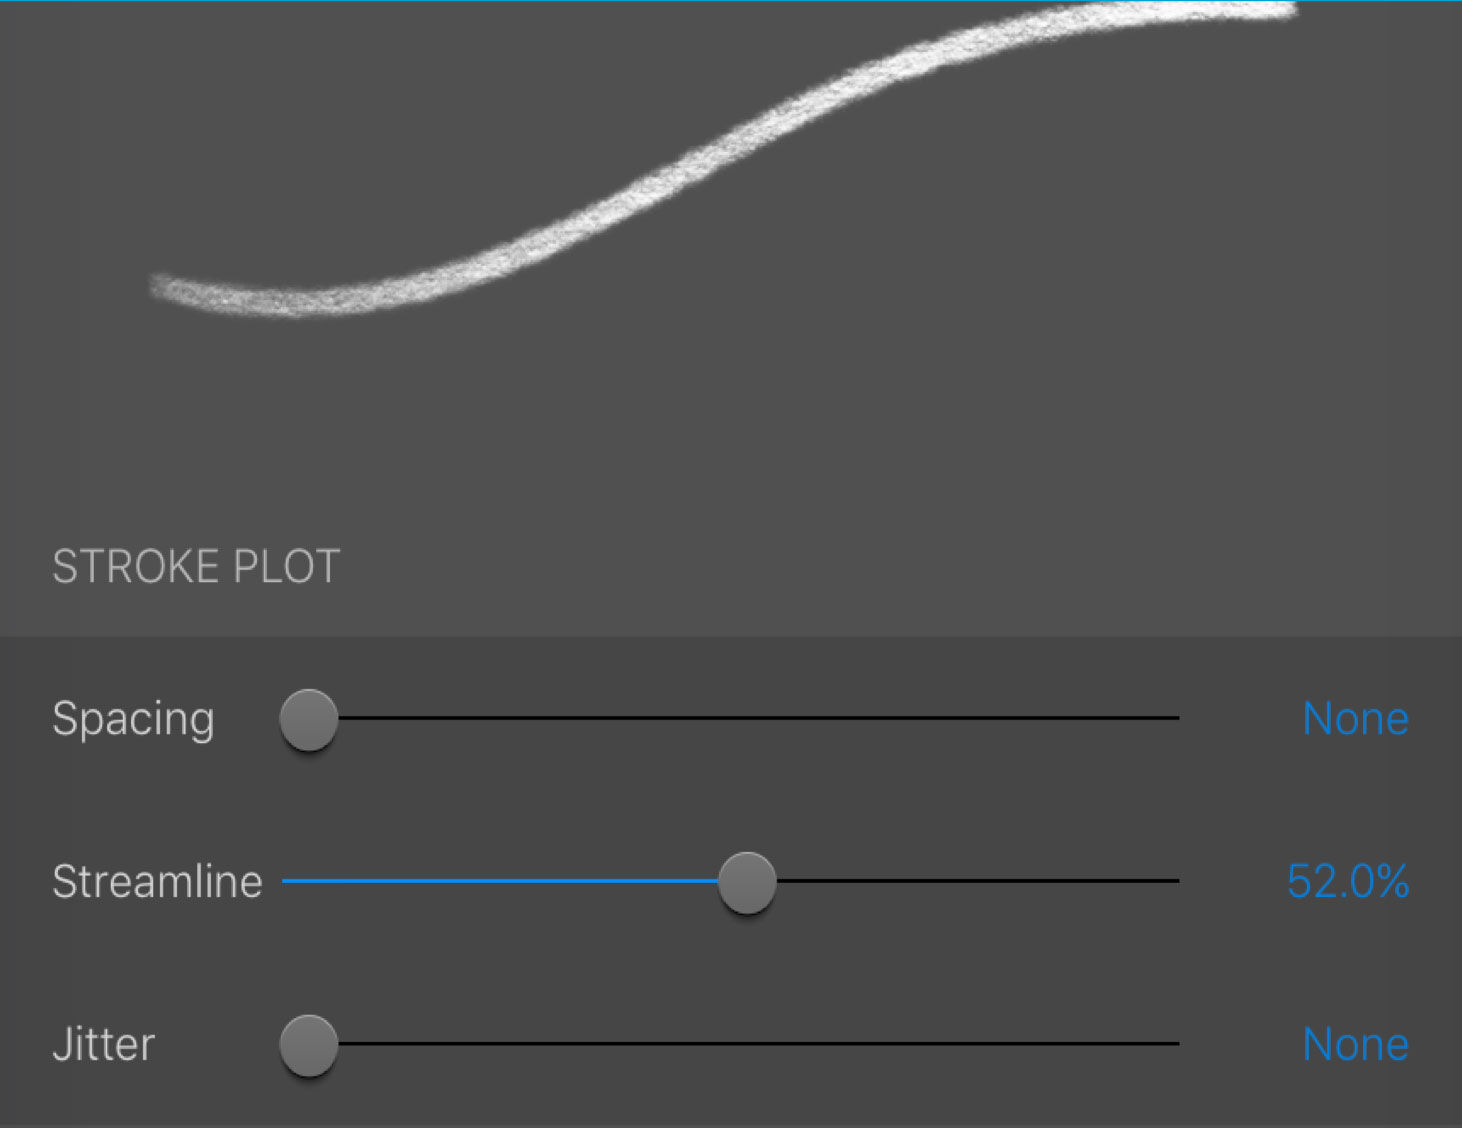
(4) 35 customizable settings for every brush, such as the nature of each stroke, the shape of the brush grain, and dynamics.
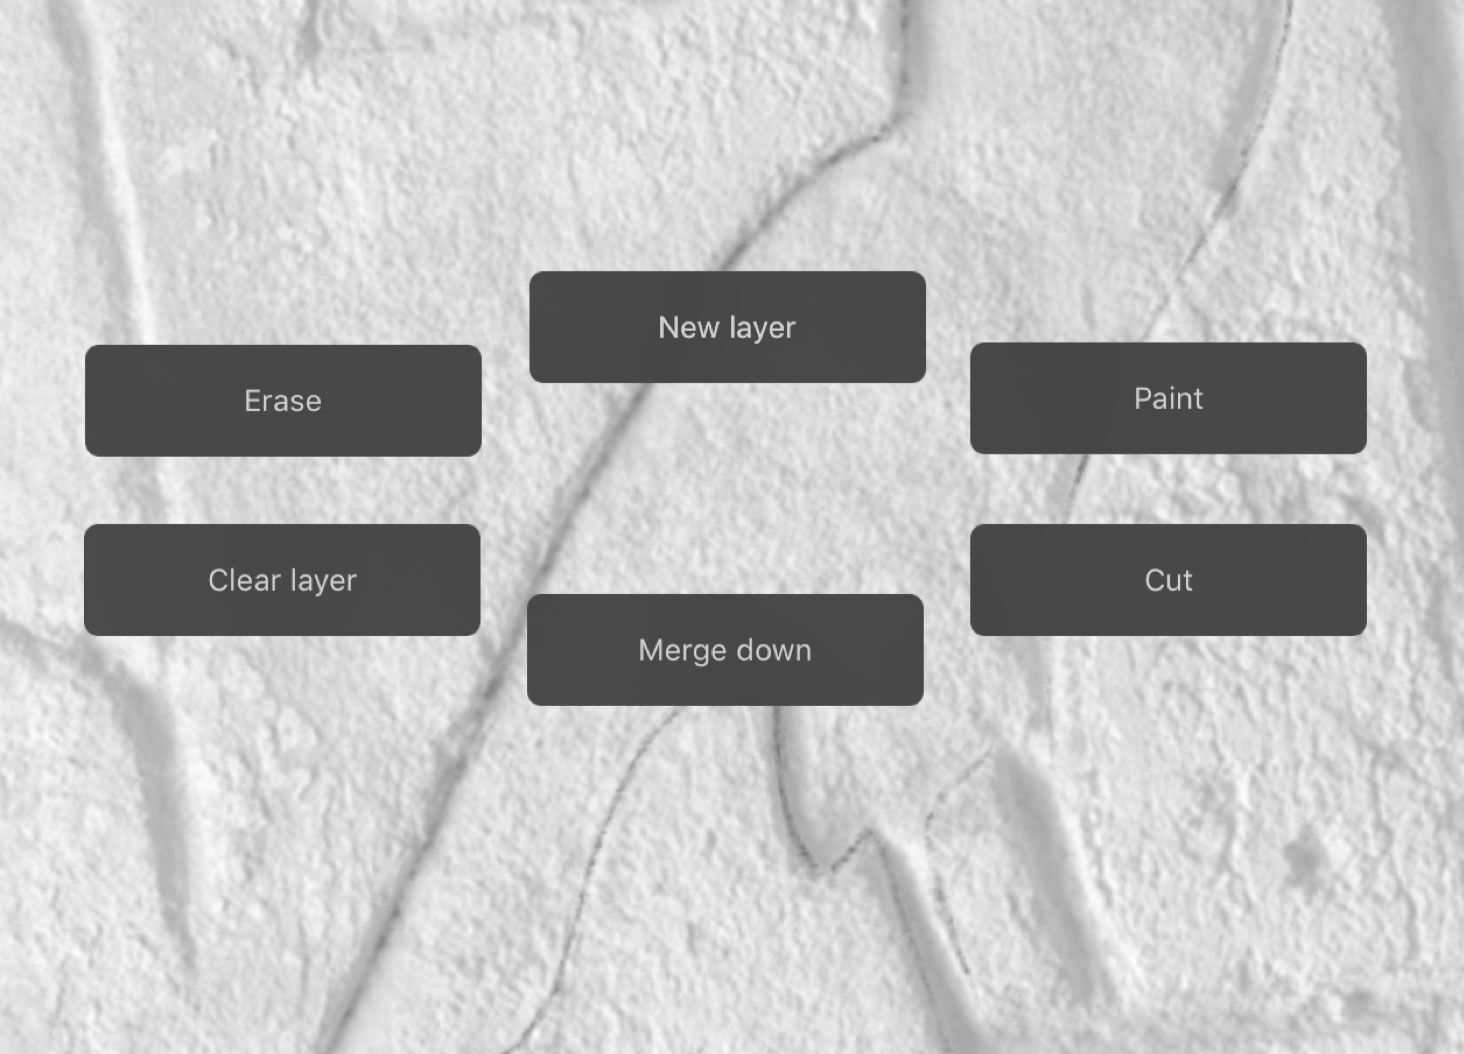
(5) The benefit of layers, with adjustable opacity operated by efficient gesture controls built specifically for multi-touch.
(6) Customizable advanced gesture controls specifiable for the Apple Pencil, Touch, the Eyedropper and the Quick Menu.
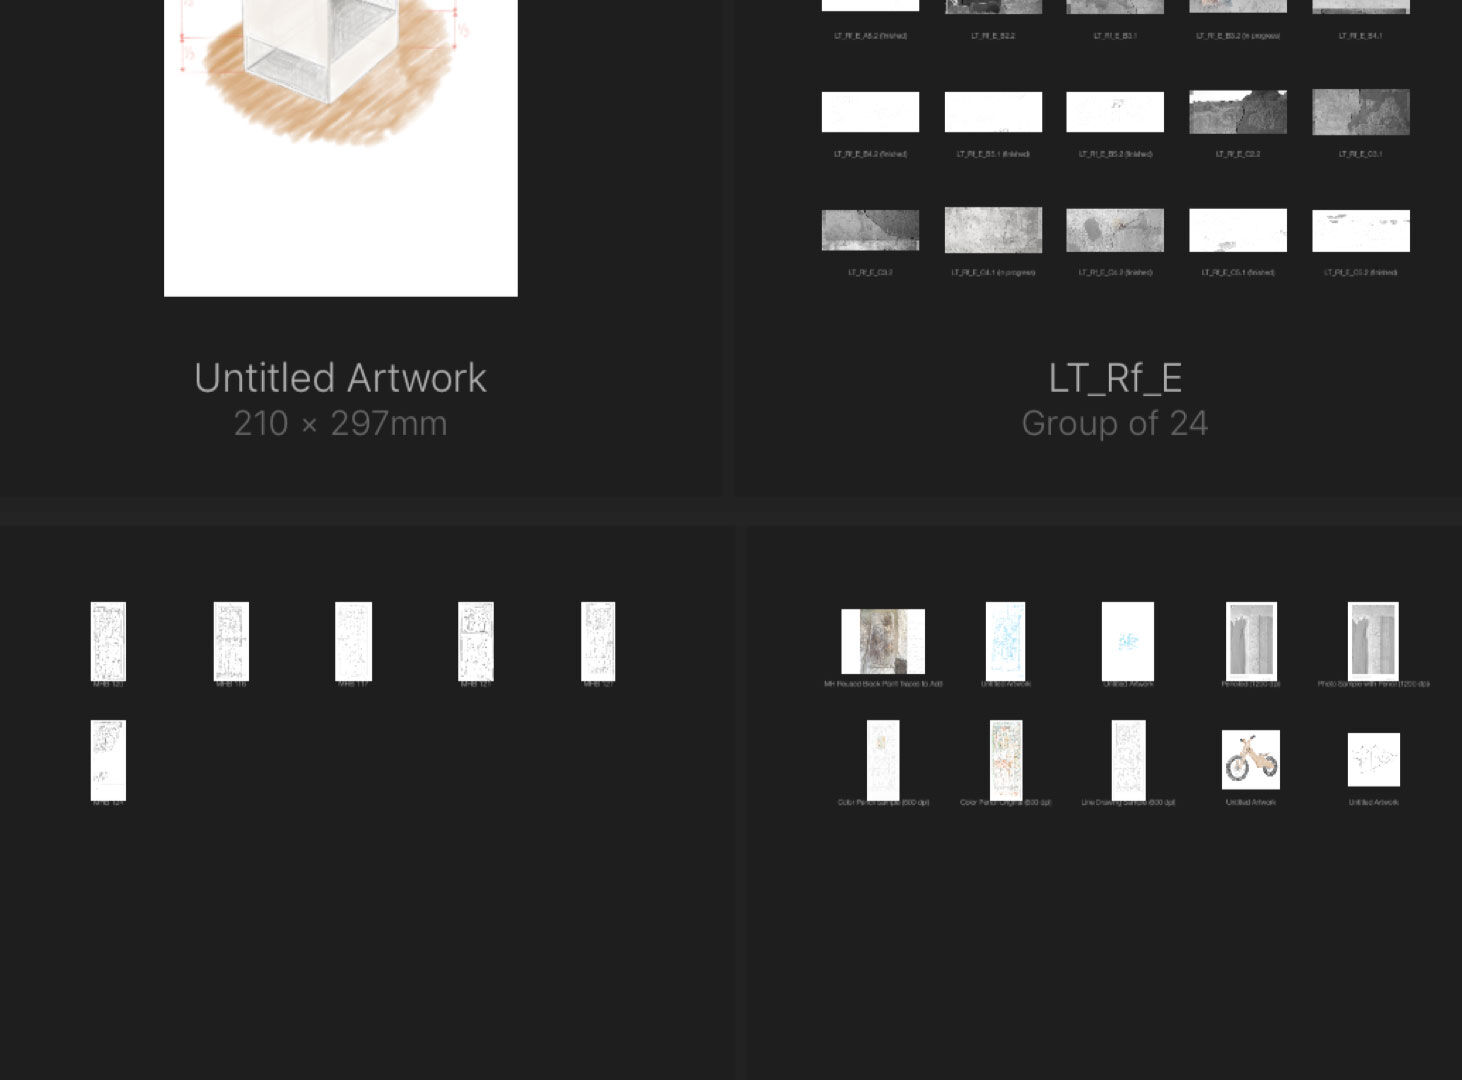
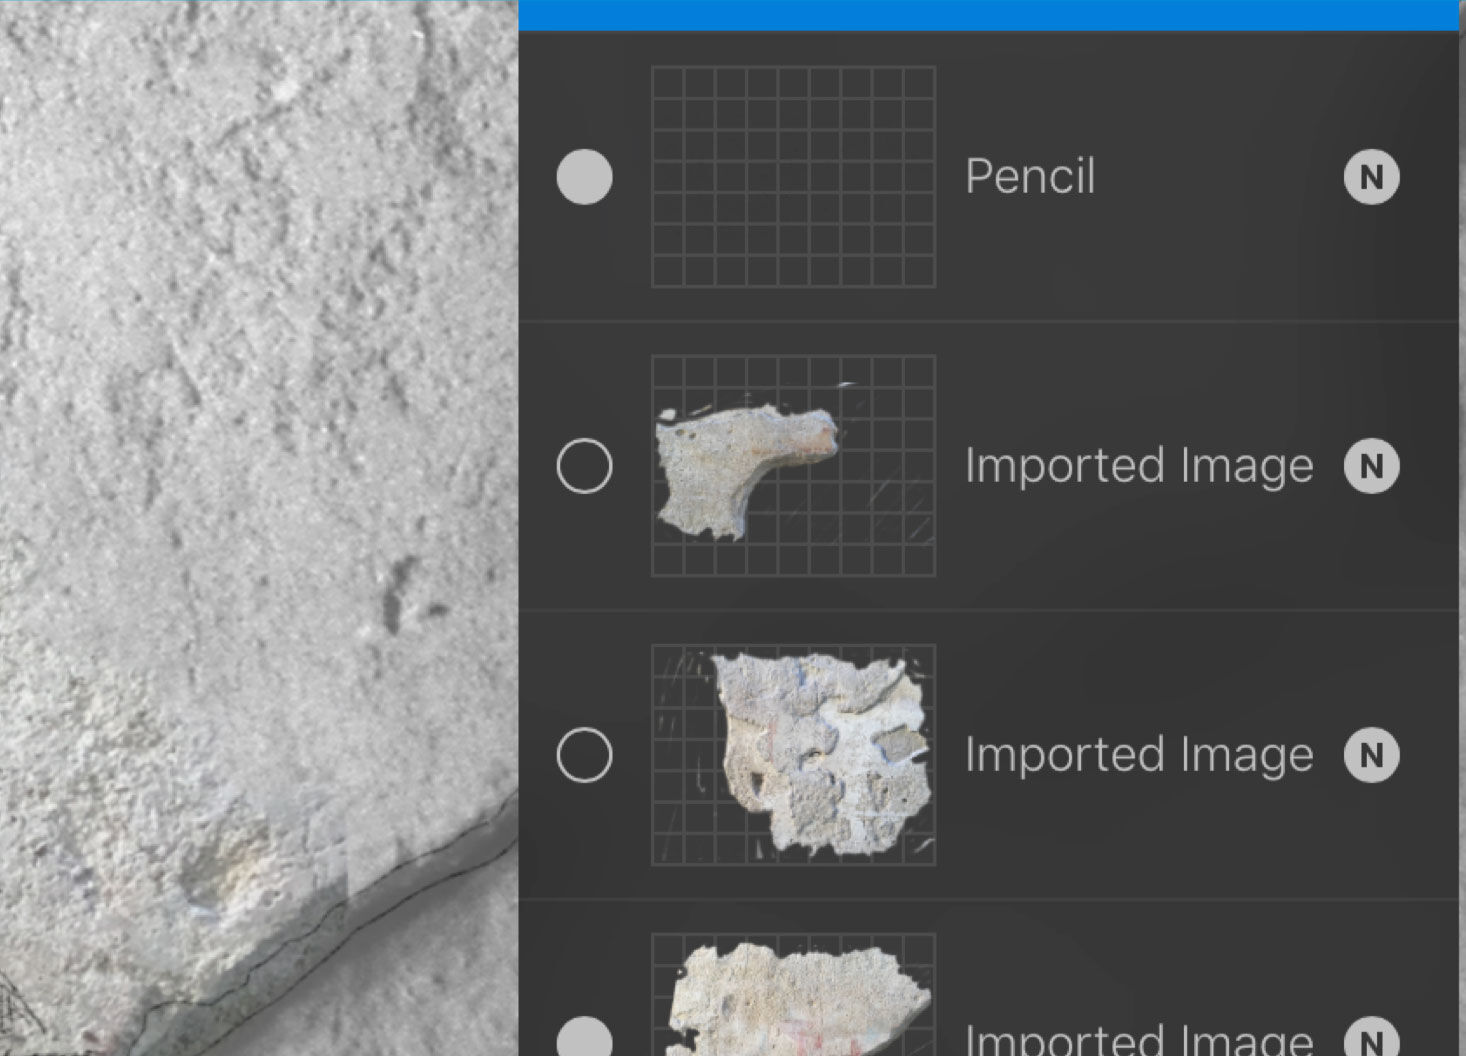
(7) A customizable Gallery with editable folders to keep the artist’s work organized.
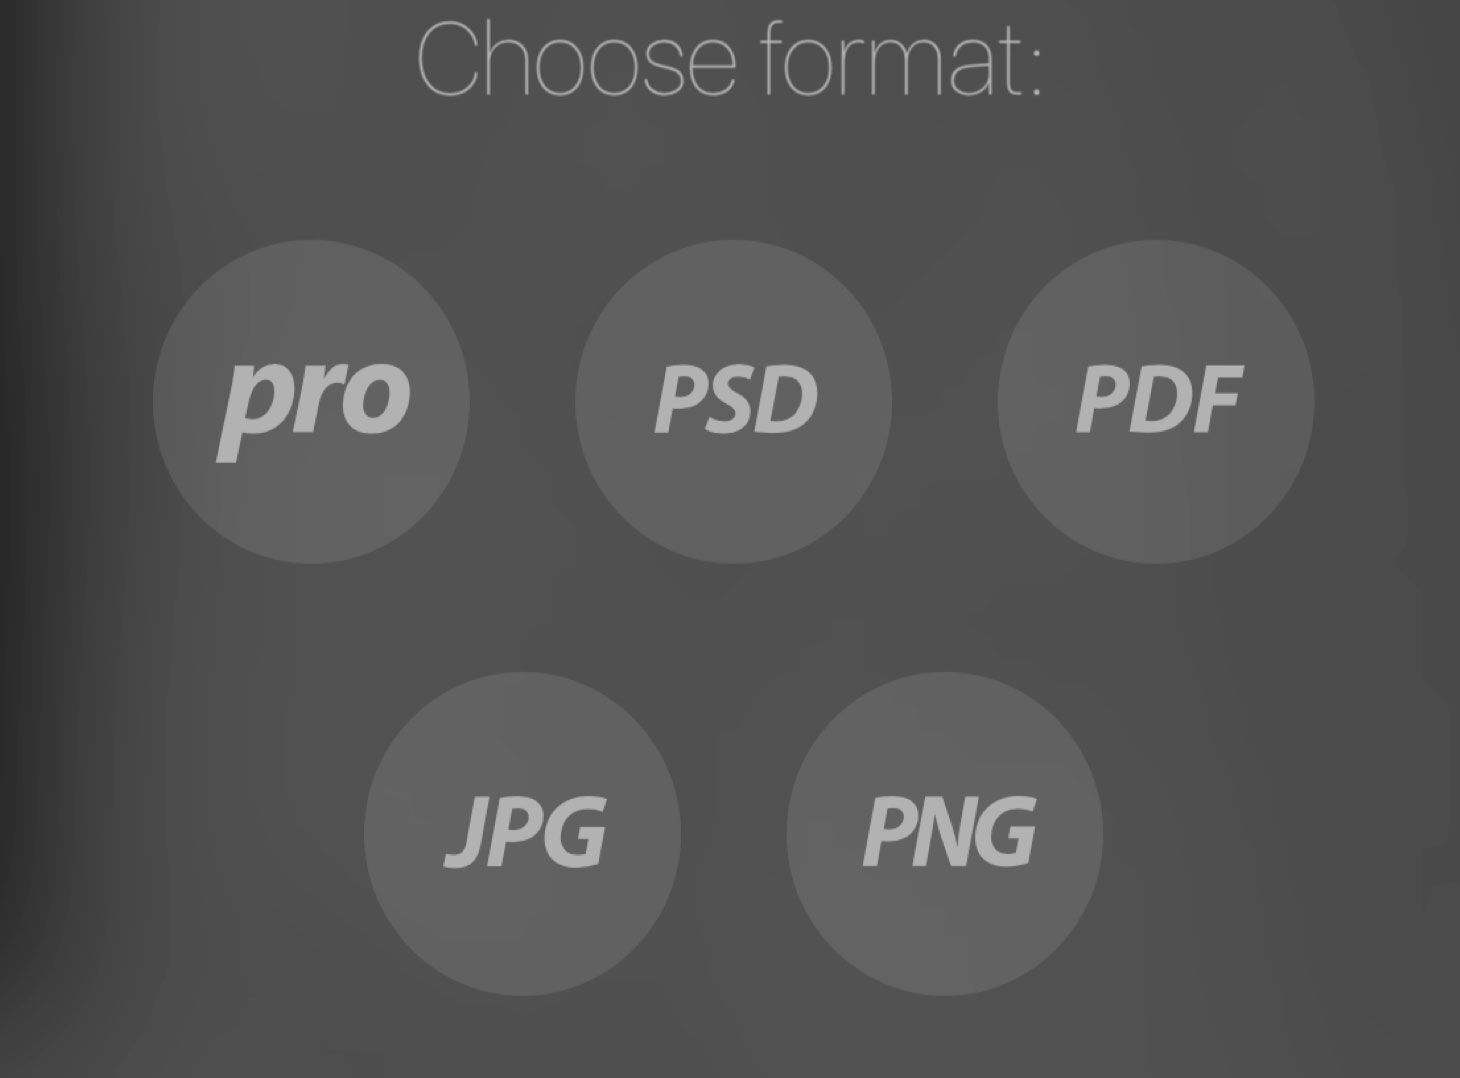
(8) Export to AirDrop, iCloud Drive, Photos, iTunes or Dropbox as layered native Procreate file, PSD, PNG, PDF or JPEG.
Once the artist is aware of the basic features, the next step towards providing a Procreate background for field drawing leads us back to our regular digital templates created for the Companion. Although working in Photoshop on a PC requires the artist to provide the field drawing at a specific scale, digital penciling in Procreate doesn’t necessarily need to follow the same procedure. It is important to point out that, although importing layered psd files as our background is possible with the software’s latest updates, its limitation of the number of layers that can be imported, together with numerous format specific regulations, makes it unsuitable for the direct application of our predesigned Photoshop templates. The other excluding factor is the usual file size and resolution limitation, which prevents us from importing a large multi-layered 1200 dpi canvas in the software’s current version. Instead, the artist is advised to prepare the file on the computer in the exact same way as for a regular Photoshop file used for penciling on the Companion, based on using the appropriate Template, including the regular layers in the Survey’s standard 1200 dpi resolution. Once the properly scaled digital image is part of the Template, the artist should downscale the image size to the highest pixel combination that would still be suitable for Procreate.
To learn more about the context of this tutorial read the following chapter:
0 comment(s)
Leave a comment(We'll keep your email address private)