
Using Layer Masks to Emphasize Details on a B/W Photo
Layer Masks
Layer Masks are one of those Photoshop features that beginners might find hard to work with, although the philosophy behind masks is very simple: masks enable the artist to hide or reveal parts of a layer.
To add a mask, we have to click on the icon at the bottom of the Layers Panel, which results in the appearance of a little box next to the layer. This is the mask thumbnail. While it is highlighted, one can paint with black or white over the image. Masks are always indicated in grayscale. The parts of the mask that are black hide the layer’s content, while the parts that are white keep the layer’s content visible. The parts of the mask that are gray make the content partially visible. Using masks is very similar to using the Eraser tool, but much more useful because one can bring parts back whenever needed. What’s more, masks can also be used on Adjustment Layers to hide or reveal changes in color and tone.
Using Layer Masks to Emphasize Details on a B/W Photo:
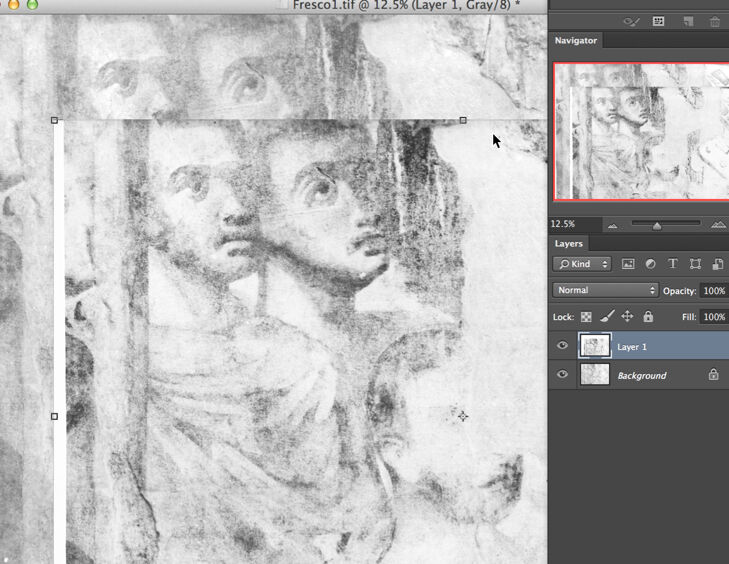
(1) Open the two photos and go to the dark one. Select the Move tool, then drag the image over the light one. Press Cmd/T and resize and position it so that the details match. Press Enter to apply, then go to the Layers Panel, double-click the Background layer, and hit OK to make it editable.
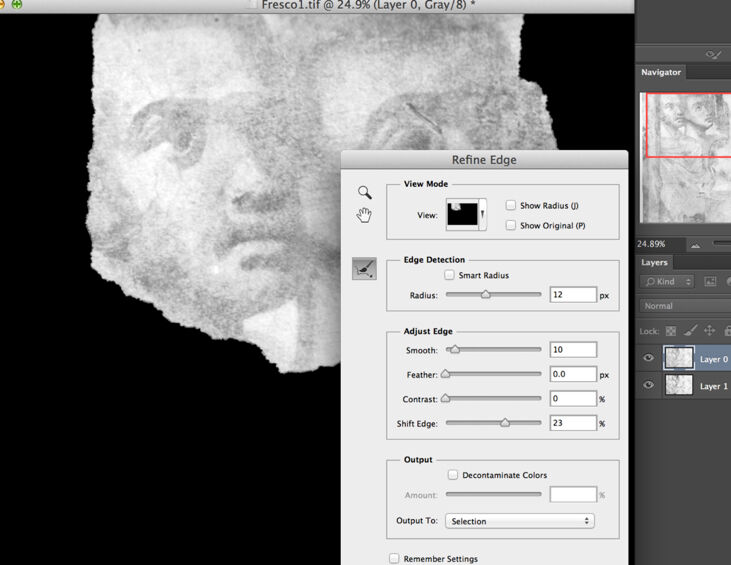
(2) Drag the top layer below the bottom one. Highlight the top layer, then hit the Quick Selection tool and paint over the area you’d like to emphasize. Click Refine Edge and - depending on how accurate the selection has to be - set Radius, Smooth, Shift Edge, and Output as seen above.
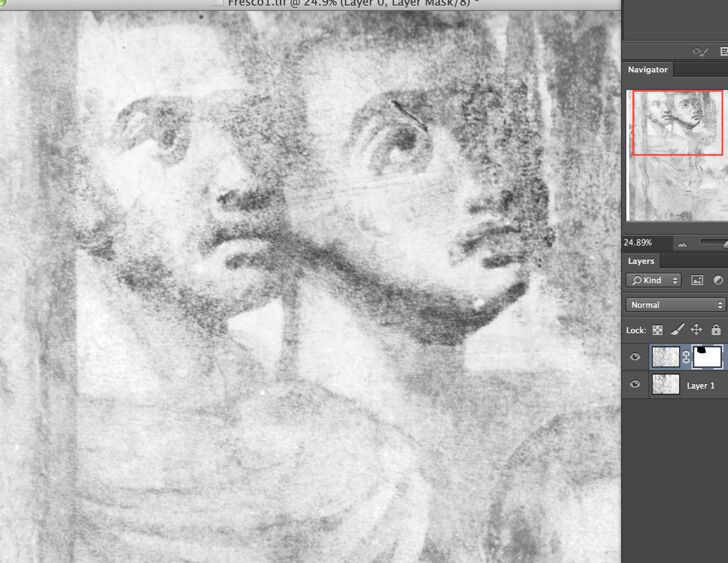
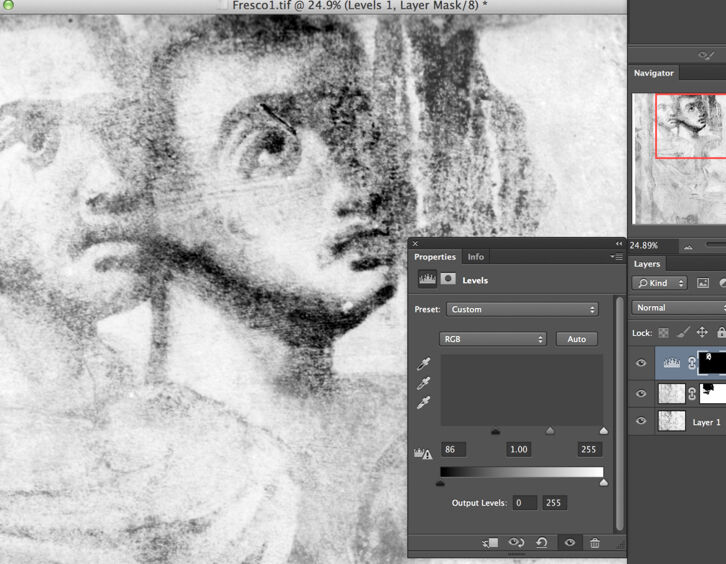
(3) Hold down Alt and click the Add Layer Mask icon to add a mask that hides the selected area. Highlight the Layer Mask thumbnail in the Layers Panel, then select the Brush tool. Set the Foreground color to black (changing brush opacity makes the strokes gentler), and then paint over the faces to reveal some of the darker details from the Background layer.
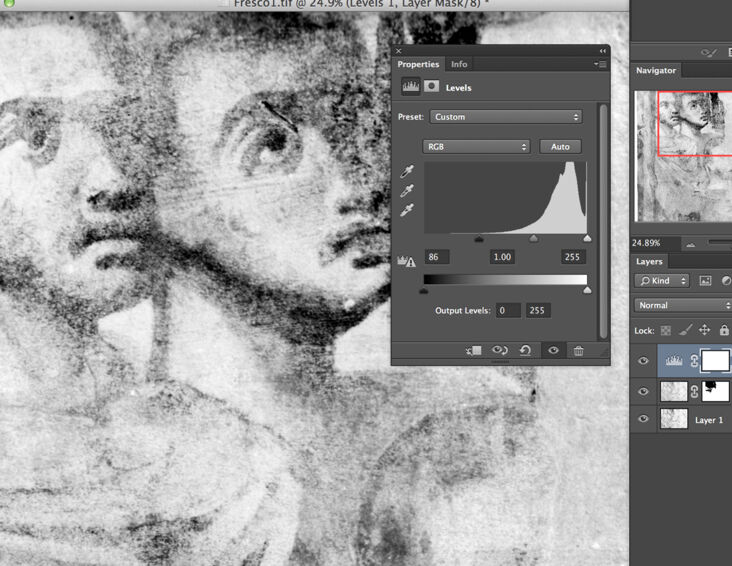
(4) Finally, add some localized adjustments to the image. Make sure the top layer is highlighted, then click the Create Adjustment Layer icon in the Layers Panel and choose Levels. Adjust the levels according to your needs and see if you can reveal more details on your background image.
(5) Next, hit Cmd/I to invert the Layer Mask to black, and then paint with white to reveal the shade shift over the face and curtains. By using Layer Masks instead of manipulating the entire image, you should be able to do as many changes as you want, and to go back to the original in case you’re not satisfied. It is also possible to use different effects on certain areas.
The power of Layer Masks can be demonstrated with a simple project: we have two photo enlargements, one of which is light and reveals lots of details on dark areas but is burnt out over lighter elements. The other one is the exact opposite. When we pencil on our photo in front of the wall, we want to see as many details as possible. Instead of being forced to choose in between these two imperfect enlargements, with a little modification we are able to enjoy the benefits of both. (As an easy reminder, the artist should think of masks in terms of light: black blocks out all light; white lets light in, while gray lets varying levels of light in.) Just like any grayscale image, a mask can be created with a paintbrush, fill, or gradient, giving us control over their shape and most importantly their transparency.
To learn more about the context of this tutorial read the following chapter:
Chapter 3, Section 2 - Essential Photoshop Skills for the Artist
0 comment(s)
Leave a comment(We'll keep your email address private)