Hands-on with Fresco, Adobe’s realistic drawing and painting app that is finally available for the iPad
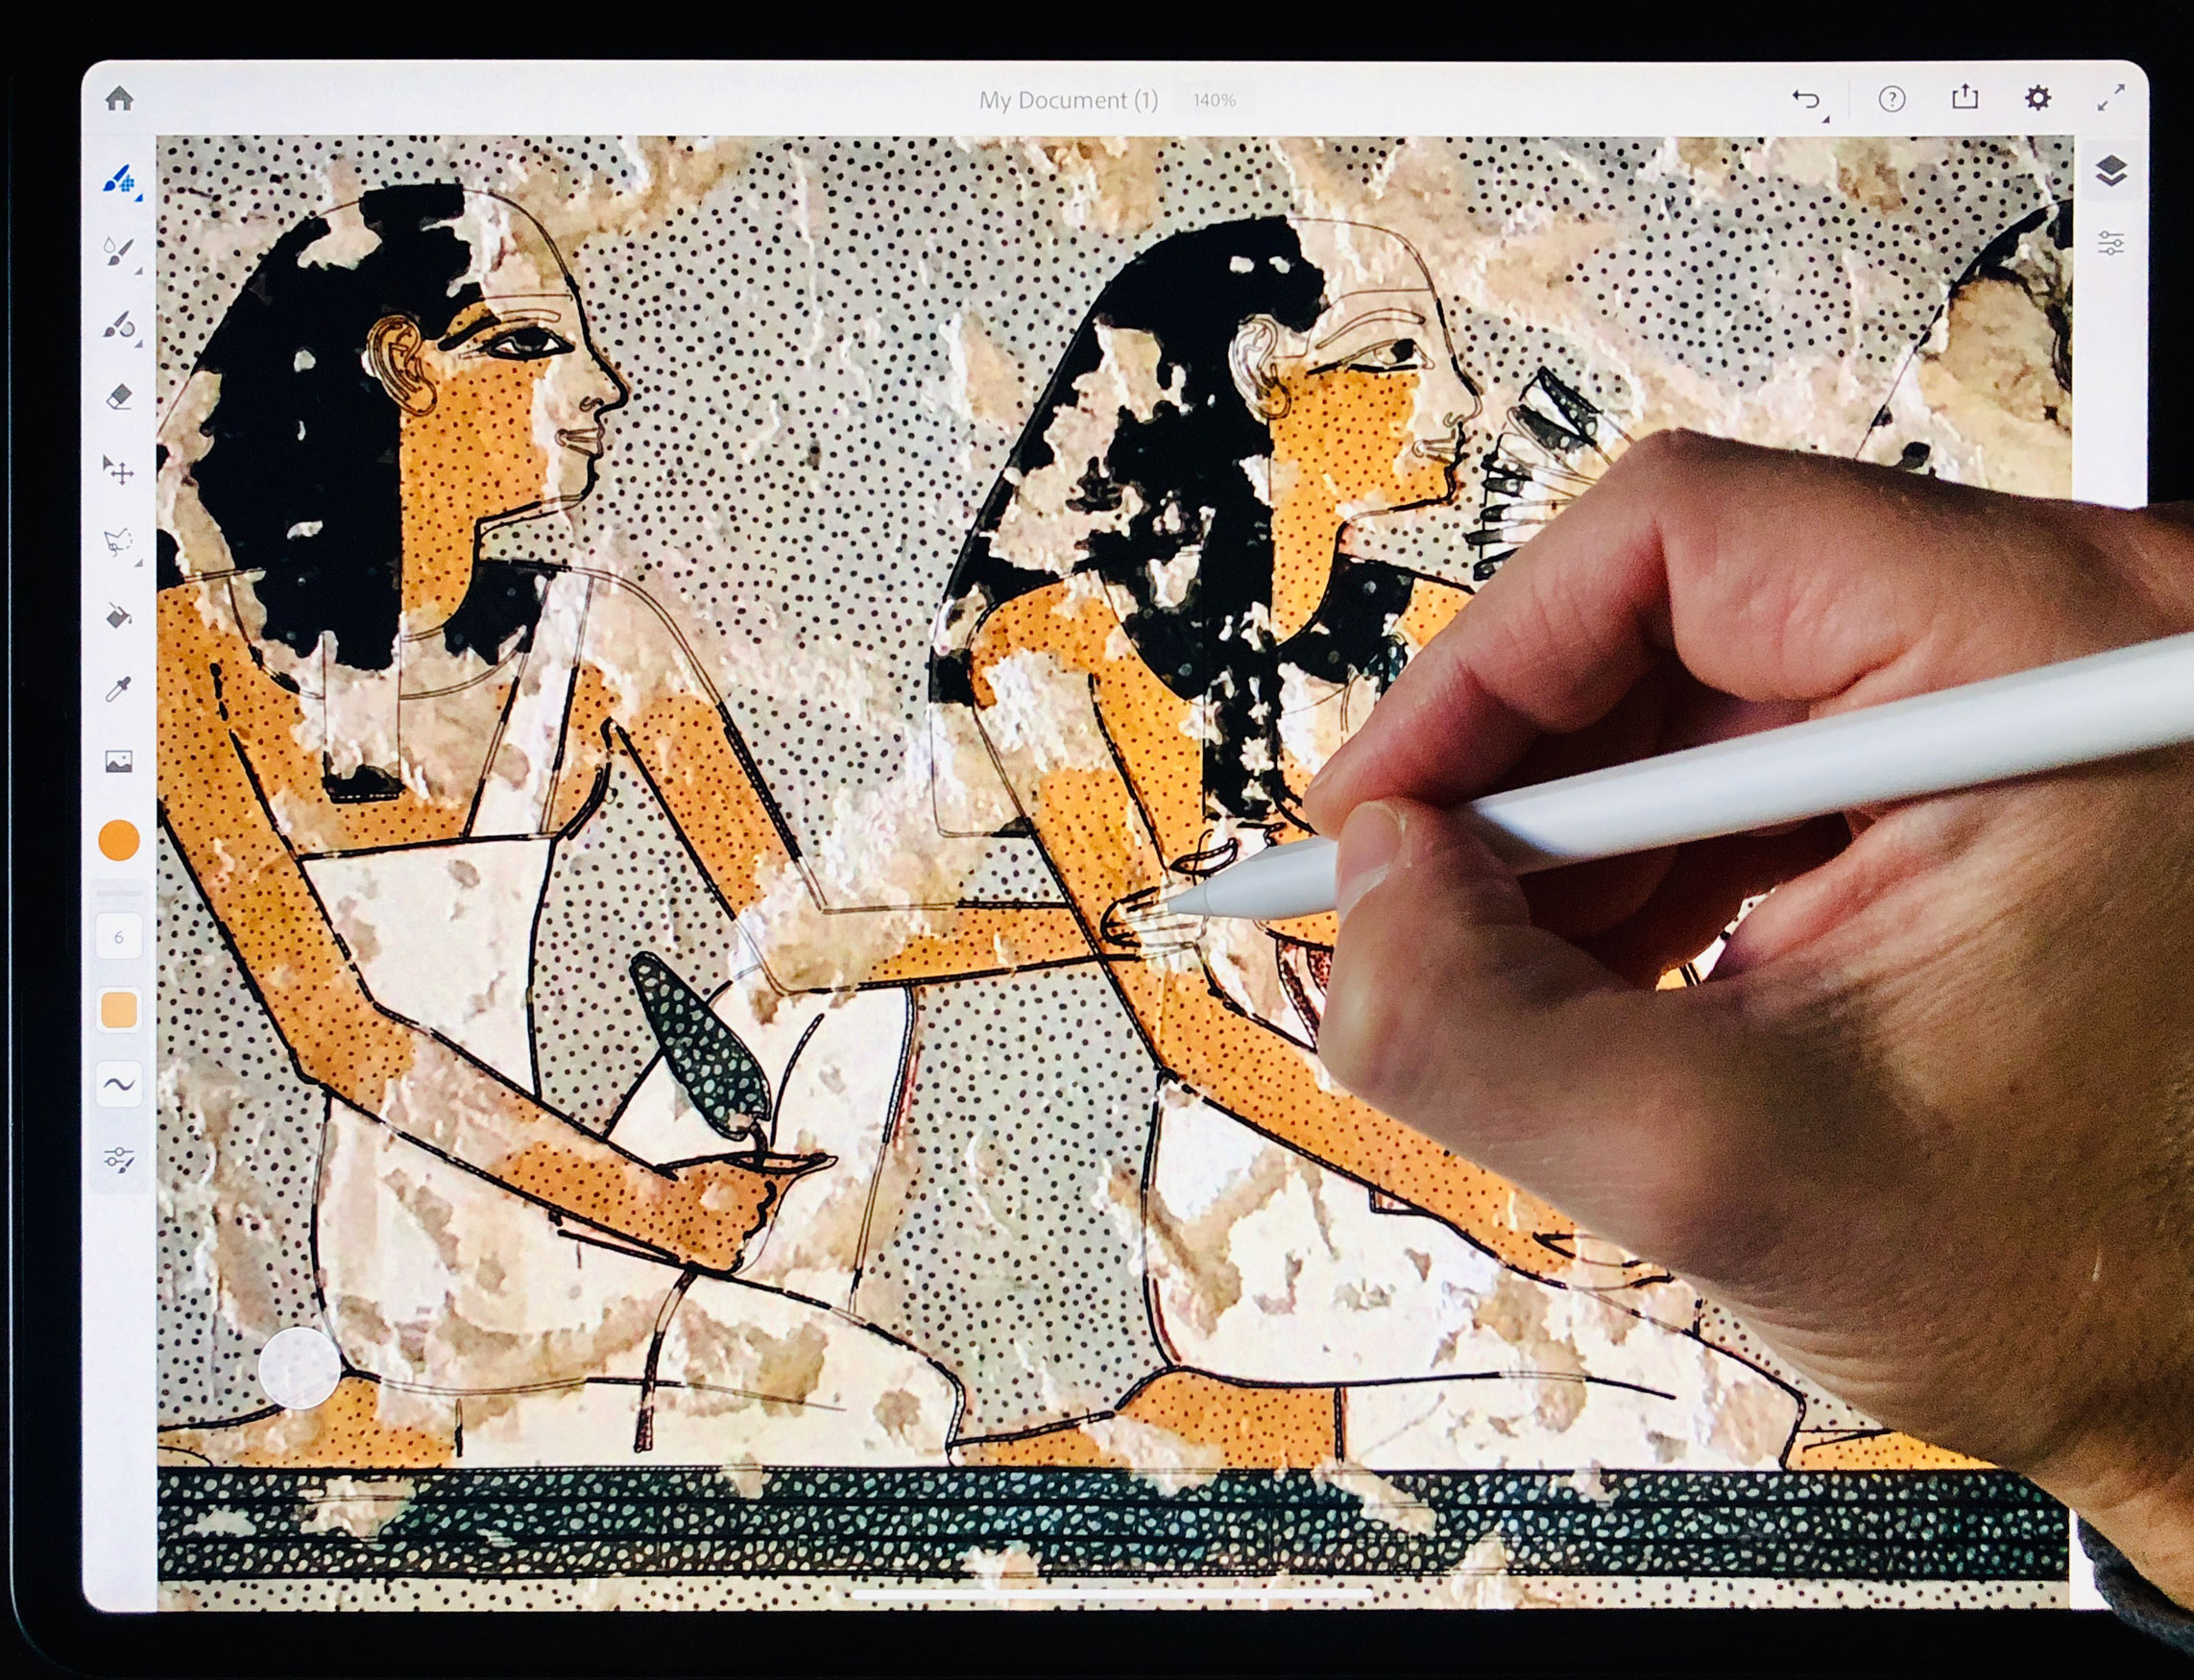
Painting in Fresco behaves and feels like painting with real brushes, mimicking the way paint mixes and dries on real paper.
Fresco, Adobe’s next generation drawing and painting tool, recently launched on iPad, promising a creative experience with unprecedented level of faithfulness to traditional oil and watercolor paints. digitalEPIGRAPHY was part of Adobe’s beta program, extensively testing the software in the past months, trying out a few different scenarios when such an app might be useful for digital documentation. While we are preparing our in-depth review of Adobe’s answer to Procreate (which is considered by most the best illustration tool on the iPad), we’d like to take the opportunity to share our first impressions using Fresco.
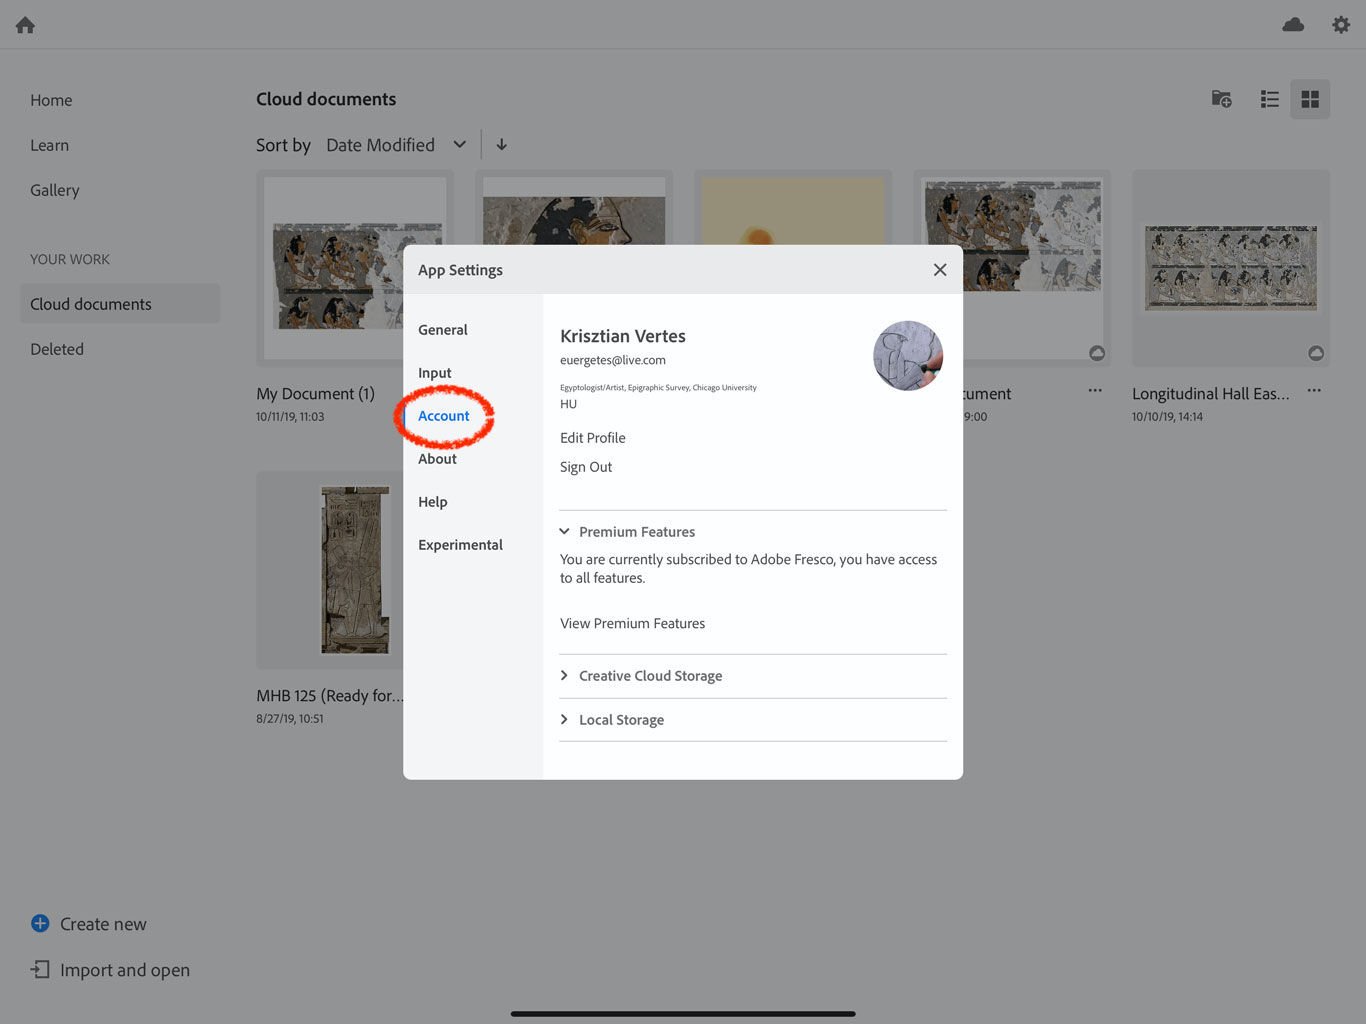
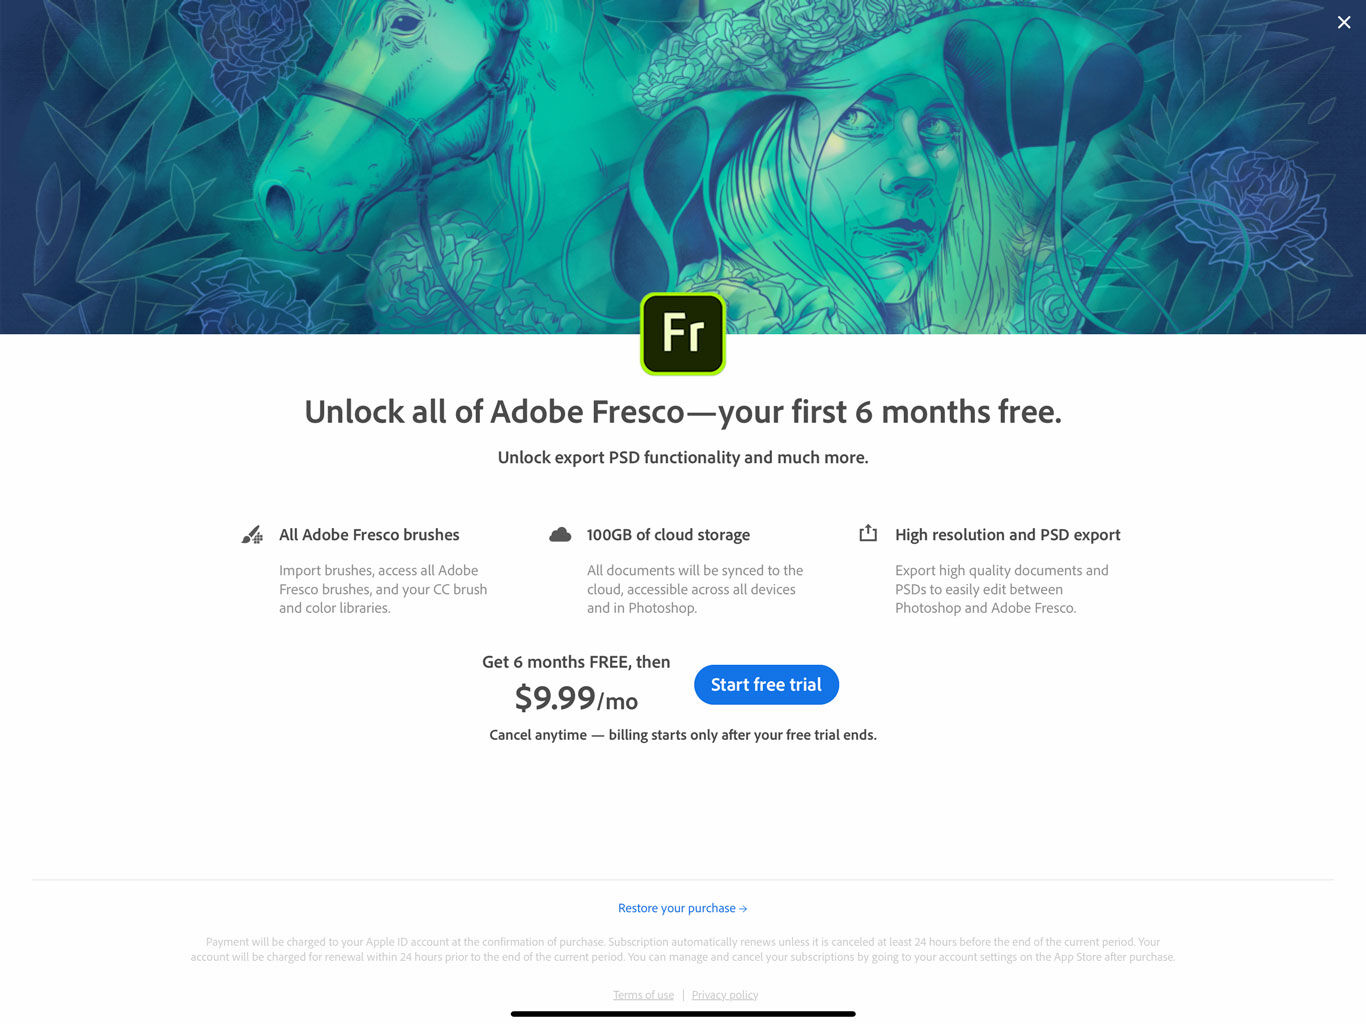
As we’ve already reported in our feature preview, Fresco’s most notable feature is its combination of raster, vector, and Live Brushes in one seamless interface, extended with the option for existing Photoshop brushes to be imported and used alongside the new live and static brushes exclusive to Fresco. Before we get to the details, we must clarify Adobe’s pricing for the software. Fresco for iPad is available for free to use, but with a reduced toolset and output limited to the resolution of the iPad’s screen. To get full access to its entire feature set it must be purchased as a standalone app for $10 a month with the first six-months free, assuming you'd buy it before the end of the year. Although certain Adobe Creative Cloud subscribers are automatically included in the premium tier, notably, Adobe’s most popular $10 Photography Plan is excluded from this offer.
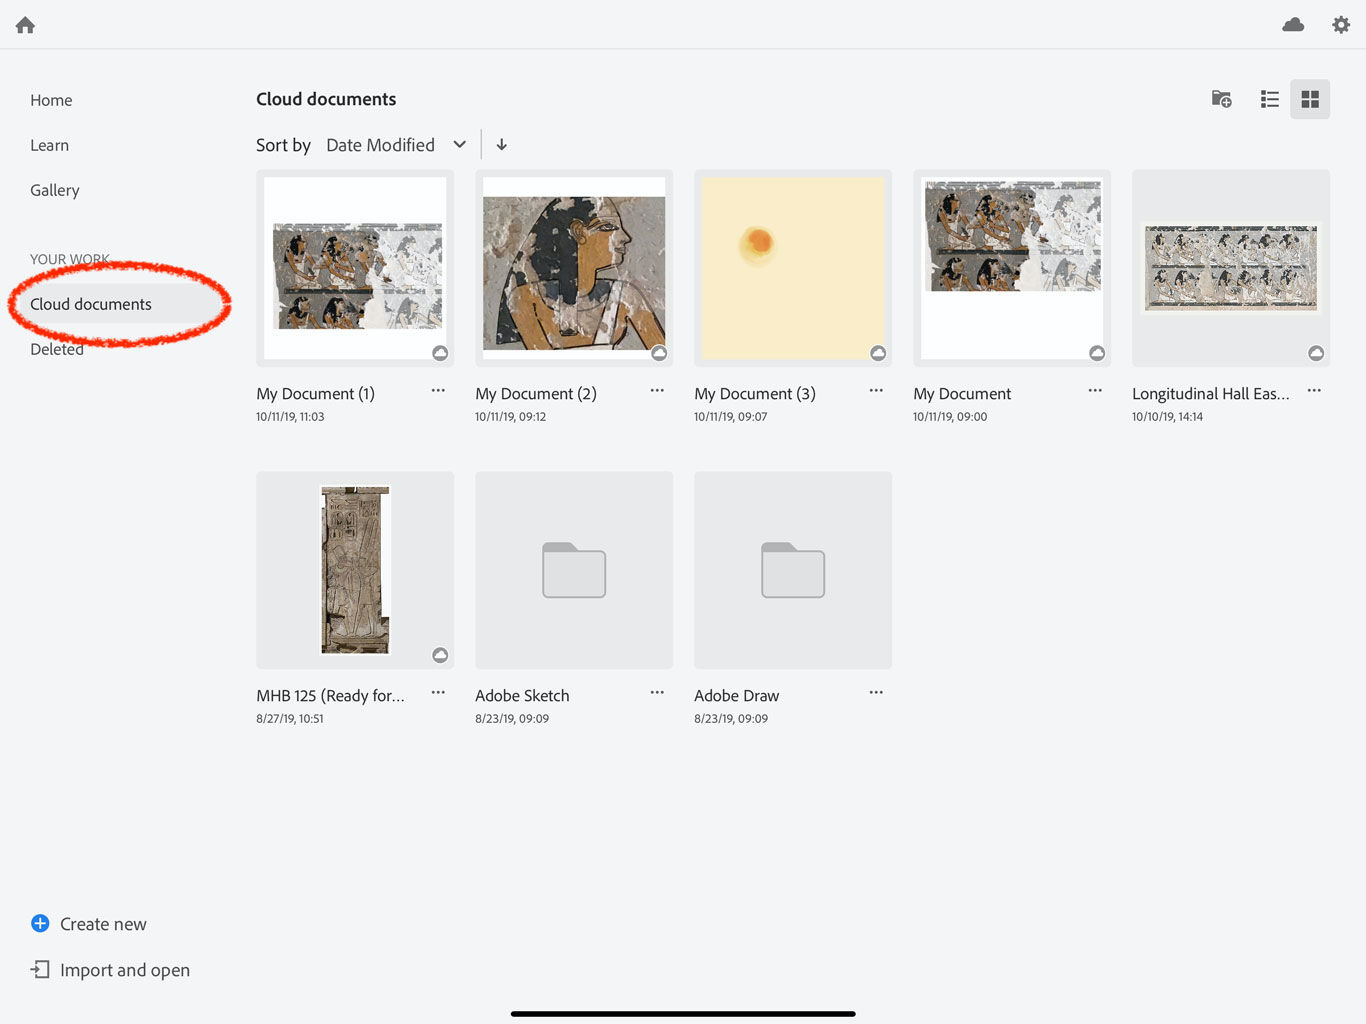
Getting access to all of Fresco’s features
Nonetheless, Fresco, even as a freemium app, is a worthwhile option for any illustrator willing to experiment with ideas other than the typical documentation practices applied in traditional epigraphic work. Being avid desktop Photoshop users, we found Fresco’s interface immediately familiar and understandable in a way other iPad drawing apps weren’t, with very minimal learning curve to get around the digital canvas. On rare occasions when help is needed with a certain tool or gesture, getting started tutorials and inspiration from Behance are readily available within the app. Fresco’s user interface is similar to the upcoming Photoshop for iPad as there are tools like brushes, paint bucket, move / transform, and lasso to be found on the left, and the layers panels with blend modes like multiply, color burn, and masking options on the right. With some drawing tools and options available at the start and others sorely missing, right now Fresco feels in many regards as “Photoshop Light” on the iPad. For example, there’s a selection tool, but it doesn’t follow the defined edges of the image; the lasso tool is included, but there is no magic wand; and there is a paint bucket tool that only works with solid colors and not with gradients. Nonetheless, in our brief time spent with the finished product, we much appreciated the way the app translated the desktop Photoshop experience and tailored the UI for the iPad Pro with a refined set of tools built for touch.
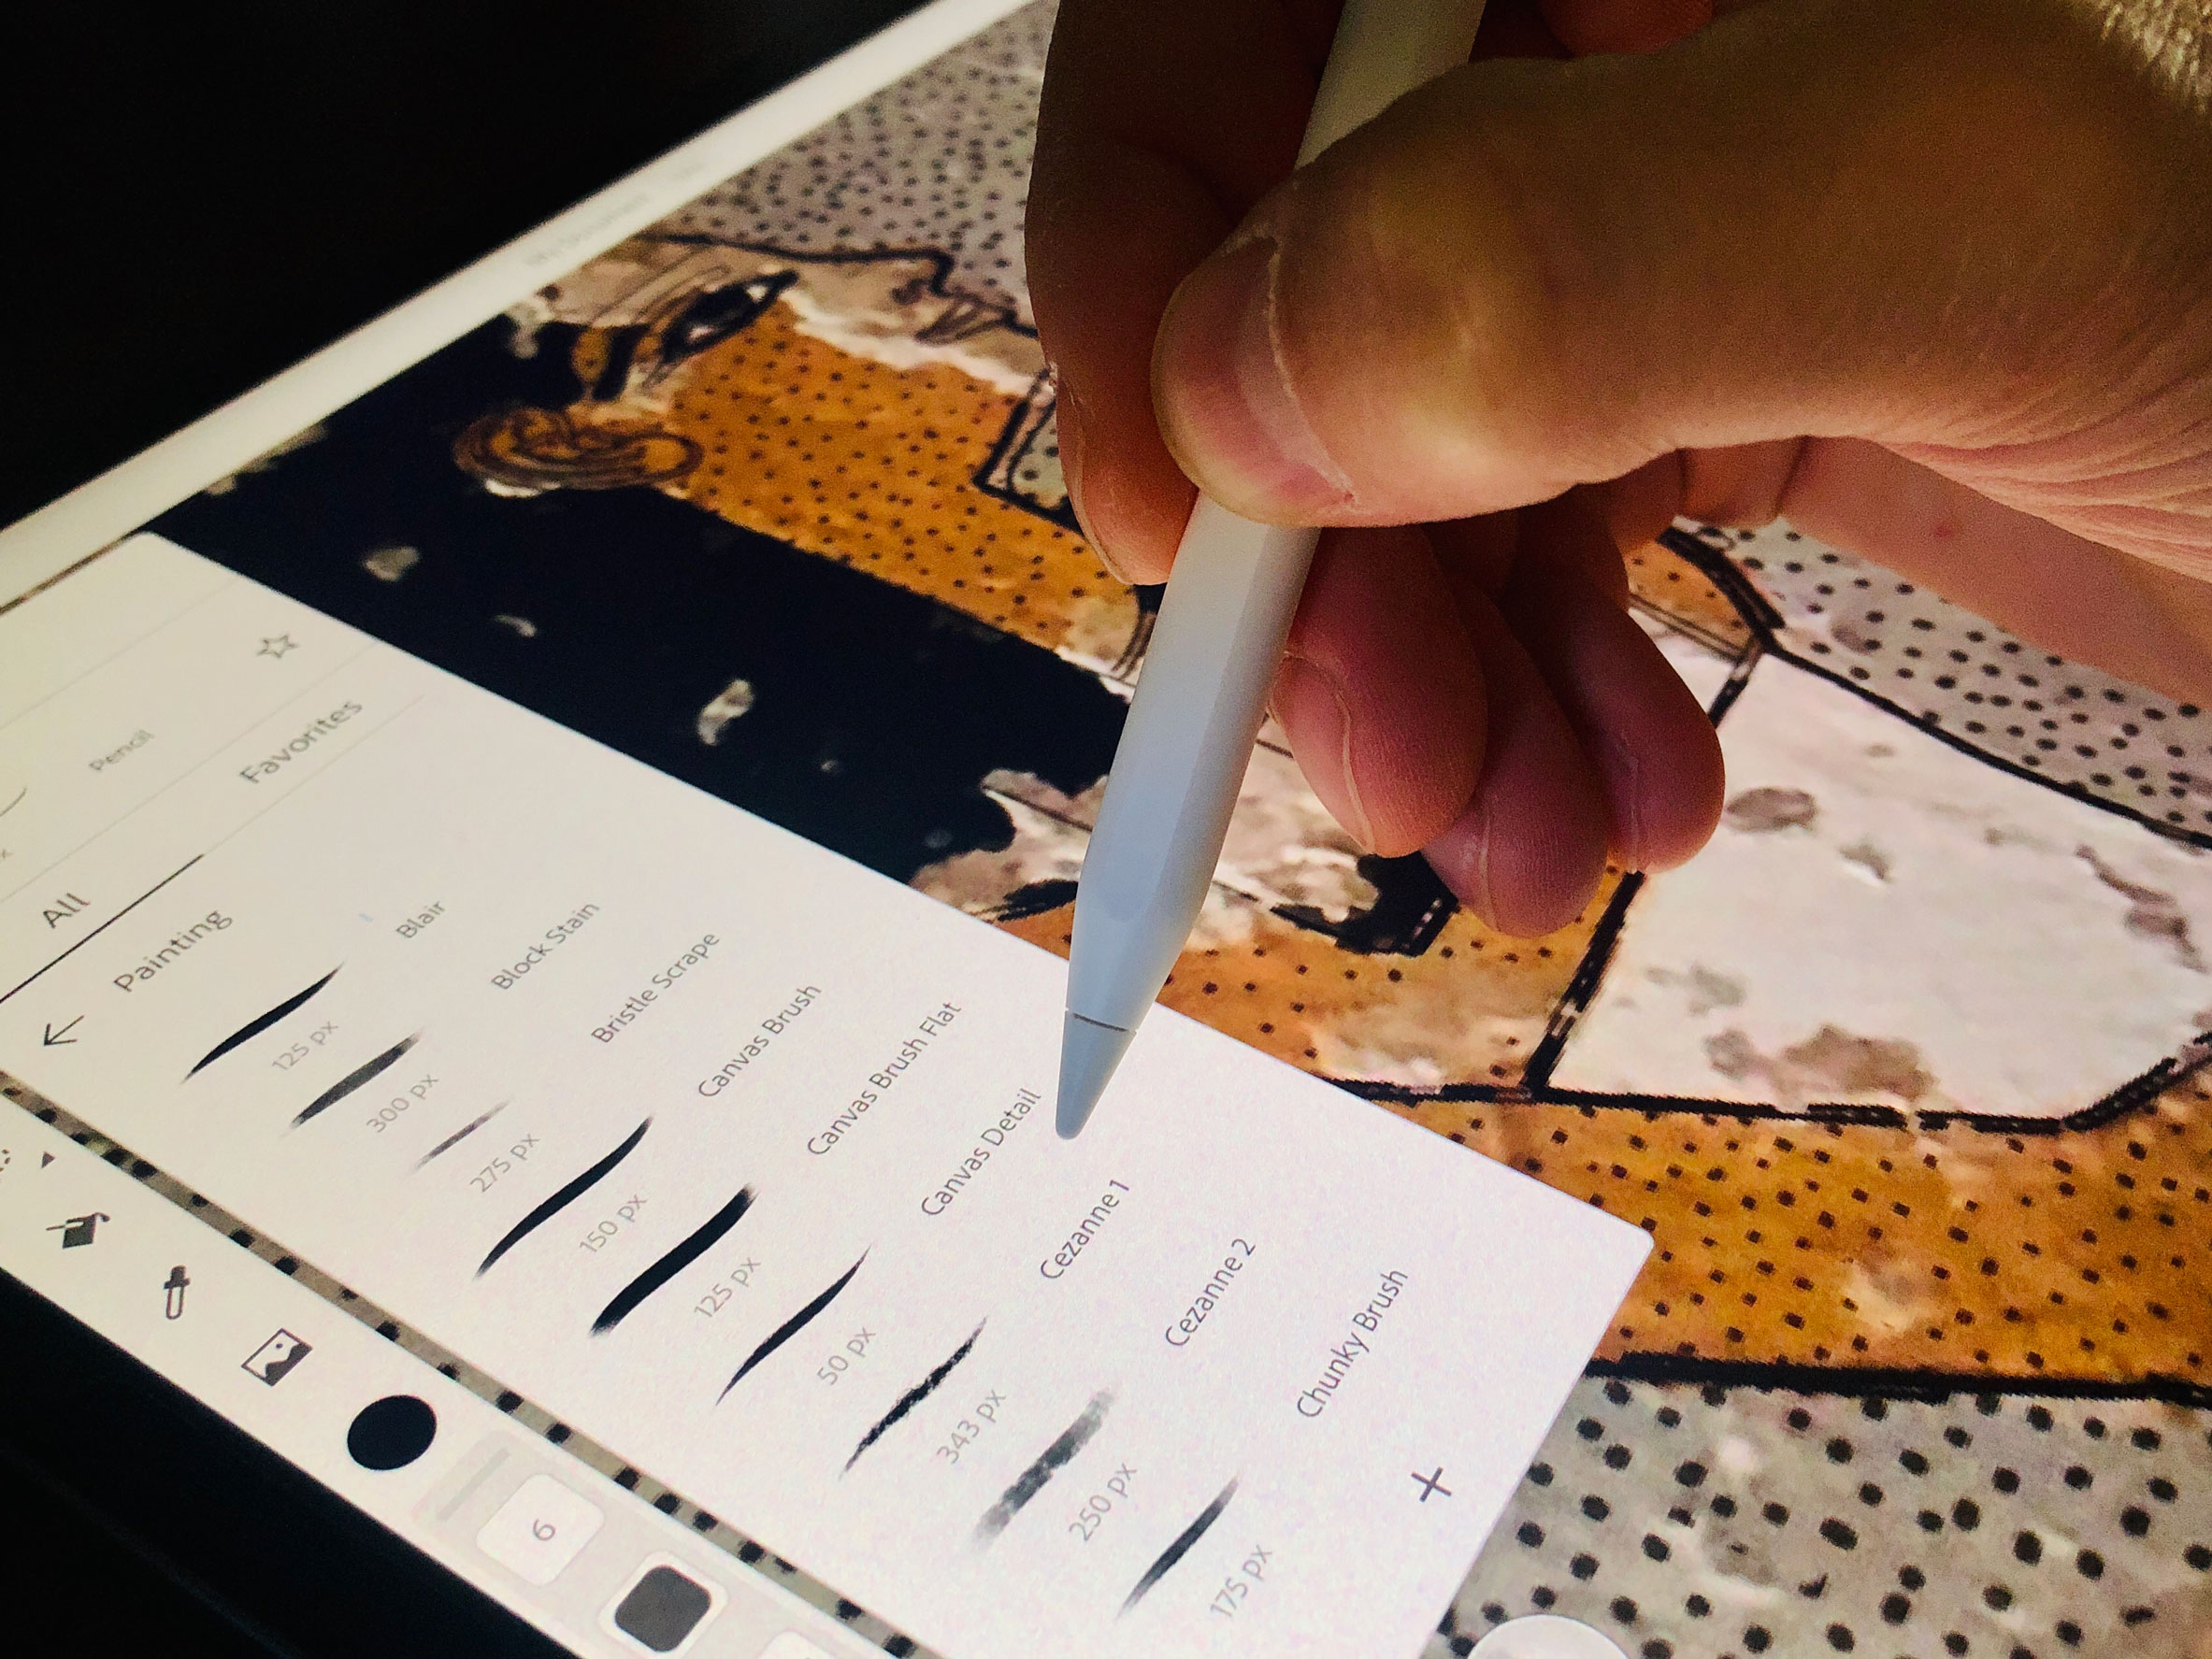
Fresco offers a large selection of brush presets with which one can recreate the feeling of painting with oils and watercolors.
Fresco has some thoughtful features like the Touch Shortcut, a button that appears on-screen when different tools are in use and temporarily changes the action for that tool when held down. For example, pressing the button while using the brush tool activates the eraser, so one doesn’t need to switch back and forth between tools. The preset shortcuts like tapping with two fingers to undo, three fingers to redo, and double tap on the pencil to zoom in and out (there is the option to change the pencil shortcuts) are all pleasing and easy to master. Much to our comfort, Fresco’s tool panes, such as the brush panel can be detached from the main interface to be pinned floating above the canvas. When more drawing space is needed, the layers panel can be hidden with a tap. Full screen mode, pinch to zoom, free canvas rotation and dark modes - being on par with Procreate - are all supported.
With that said, the usefulness of the app in any aspect of your documentation process depends on the expectations you’re coming with and the complexity of your drawing. In many respects painting with Fresco feels very different from using Adobe’s desktop apps. While unquestionably more nuanced, Photoshop and Illustrator constantly bombard us with complex vector or raster tools that can be off-putting when focusing on simpler problems. Similarly, drawing in Procreate can get complicated, offering significantly more features but also requiring a much steeper learning curve than Fresco.
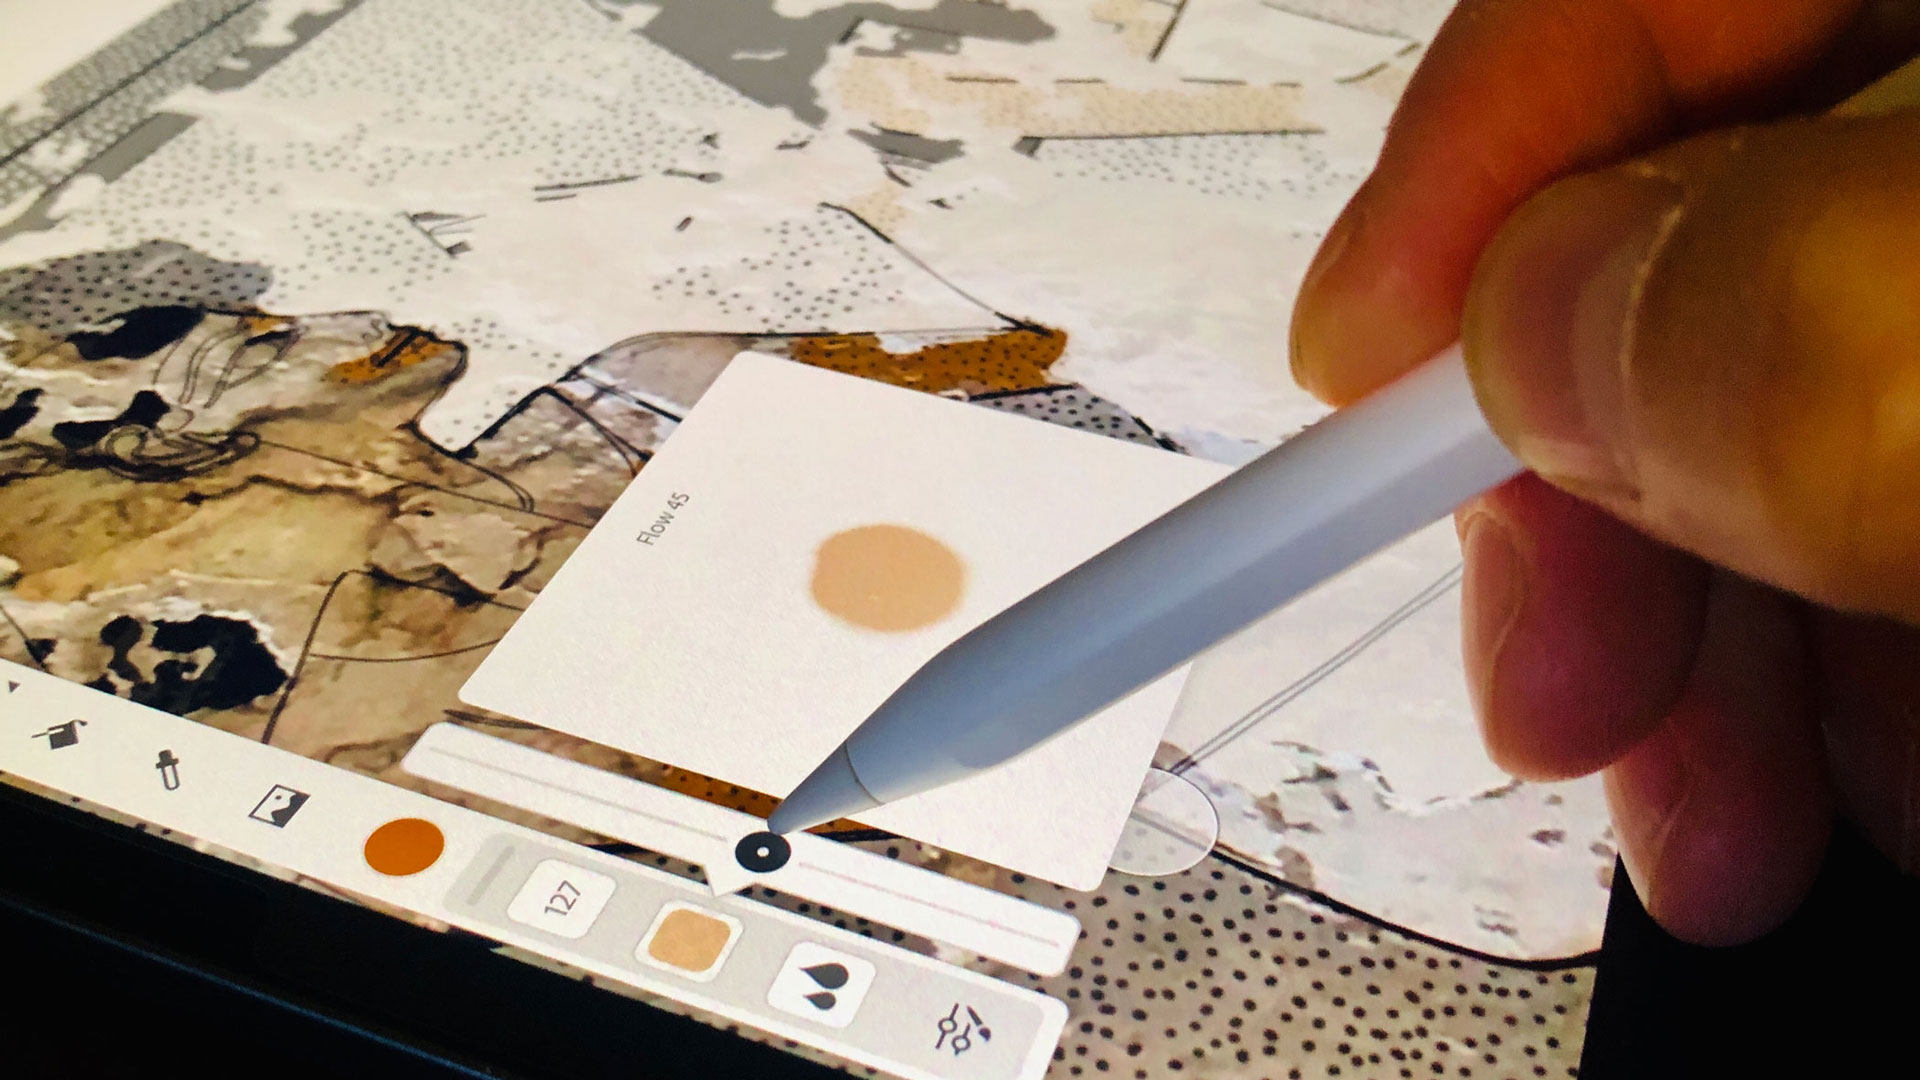
When painting with live brushes, one can optimize the amount of paint and water added to each hue.
If you’d like to use Fresco to create high resolution outline drawings or complex compositions with lots of layers, you might run up against its limits quickly. The maximum canvas size accommodated by the app is currently 8K (8192 x 8192 pixels), which may sound a lot, however far less than the average size required by the Epigraphic Survey’s drawings. Therefore, if you’d be hoping to start a large TIFF file in desktop Photoshop to pick up later in Fresco on the iPad, you can be up for a huge disappointment because it won’t even open. Nonetheless, assuming the file size is within its limits, Fresco handles multiple layers of information just fine. Art created with the app can be exported in several ways, such as PNG, PDF, JPG and PSD, with the file automatically saved in the cloud in PSDC format that is supported in all of Adobe’s software. One shouldn’t forget that Fresco also features vector brushes, giving epigraphers who work with Adobe Illustrator the ability to quickly design infinitely scalable outline drawings – a useful addition for those who need to print their work in a wide range of sizes.
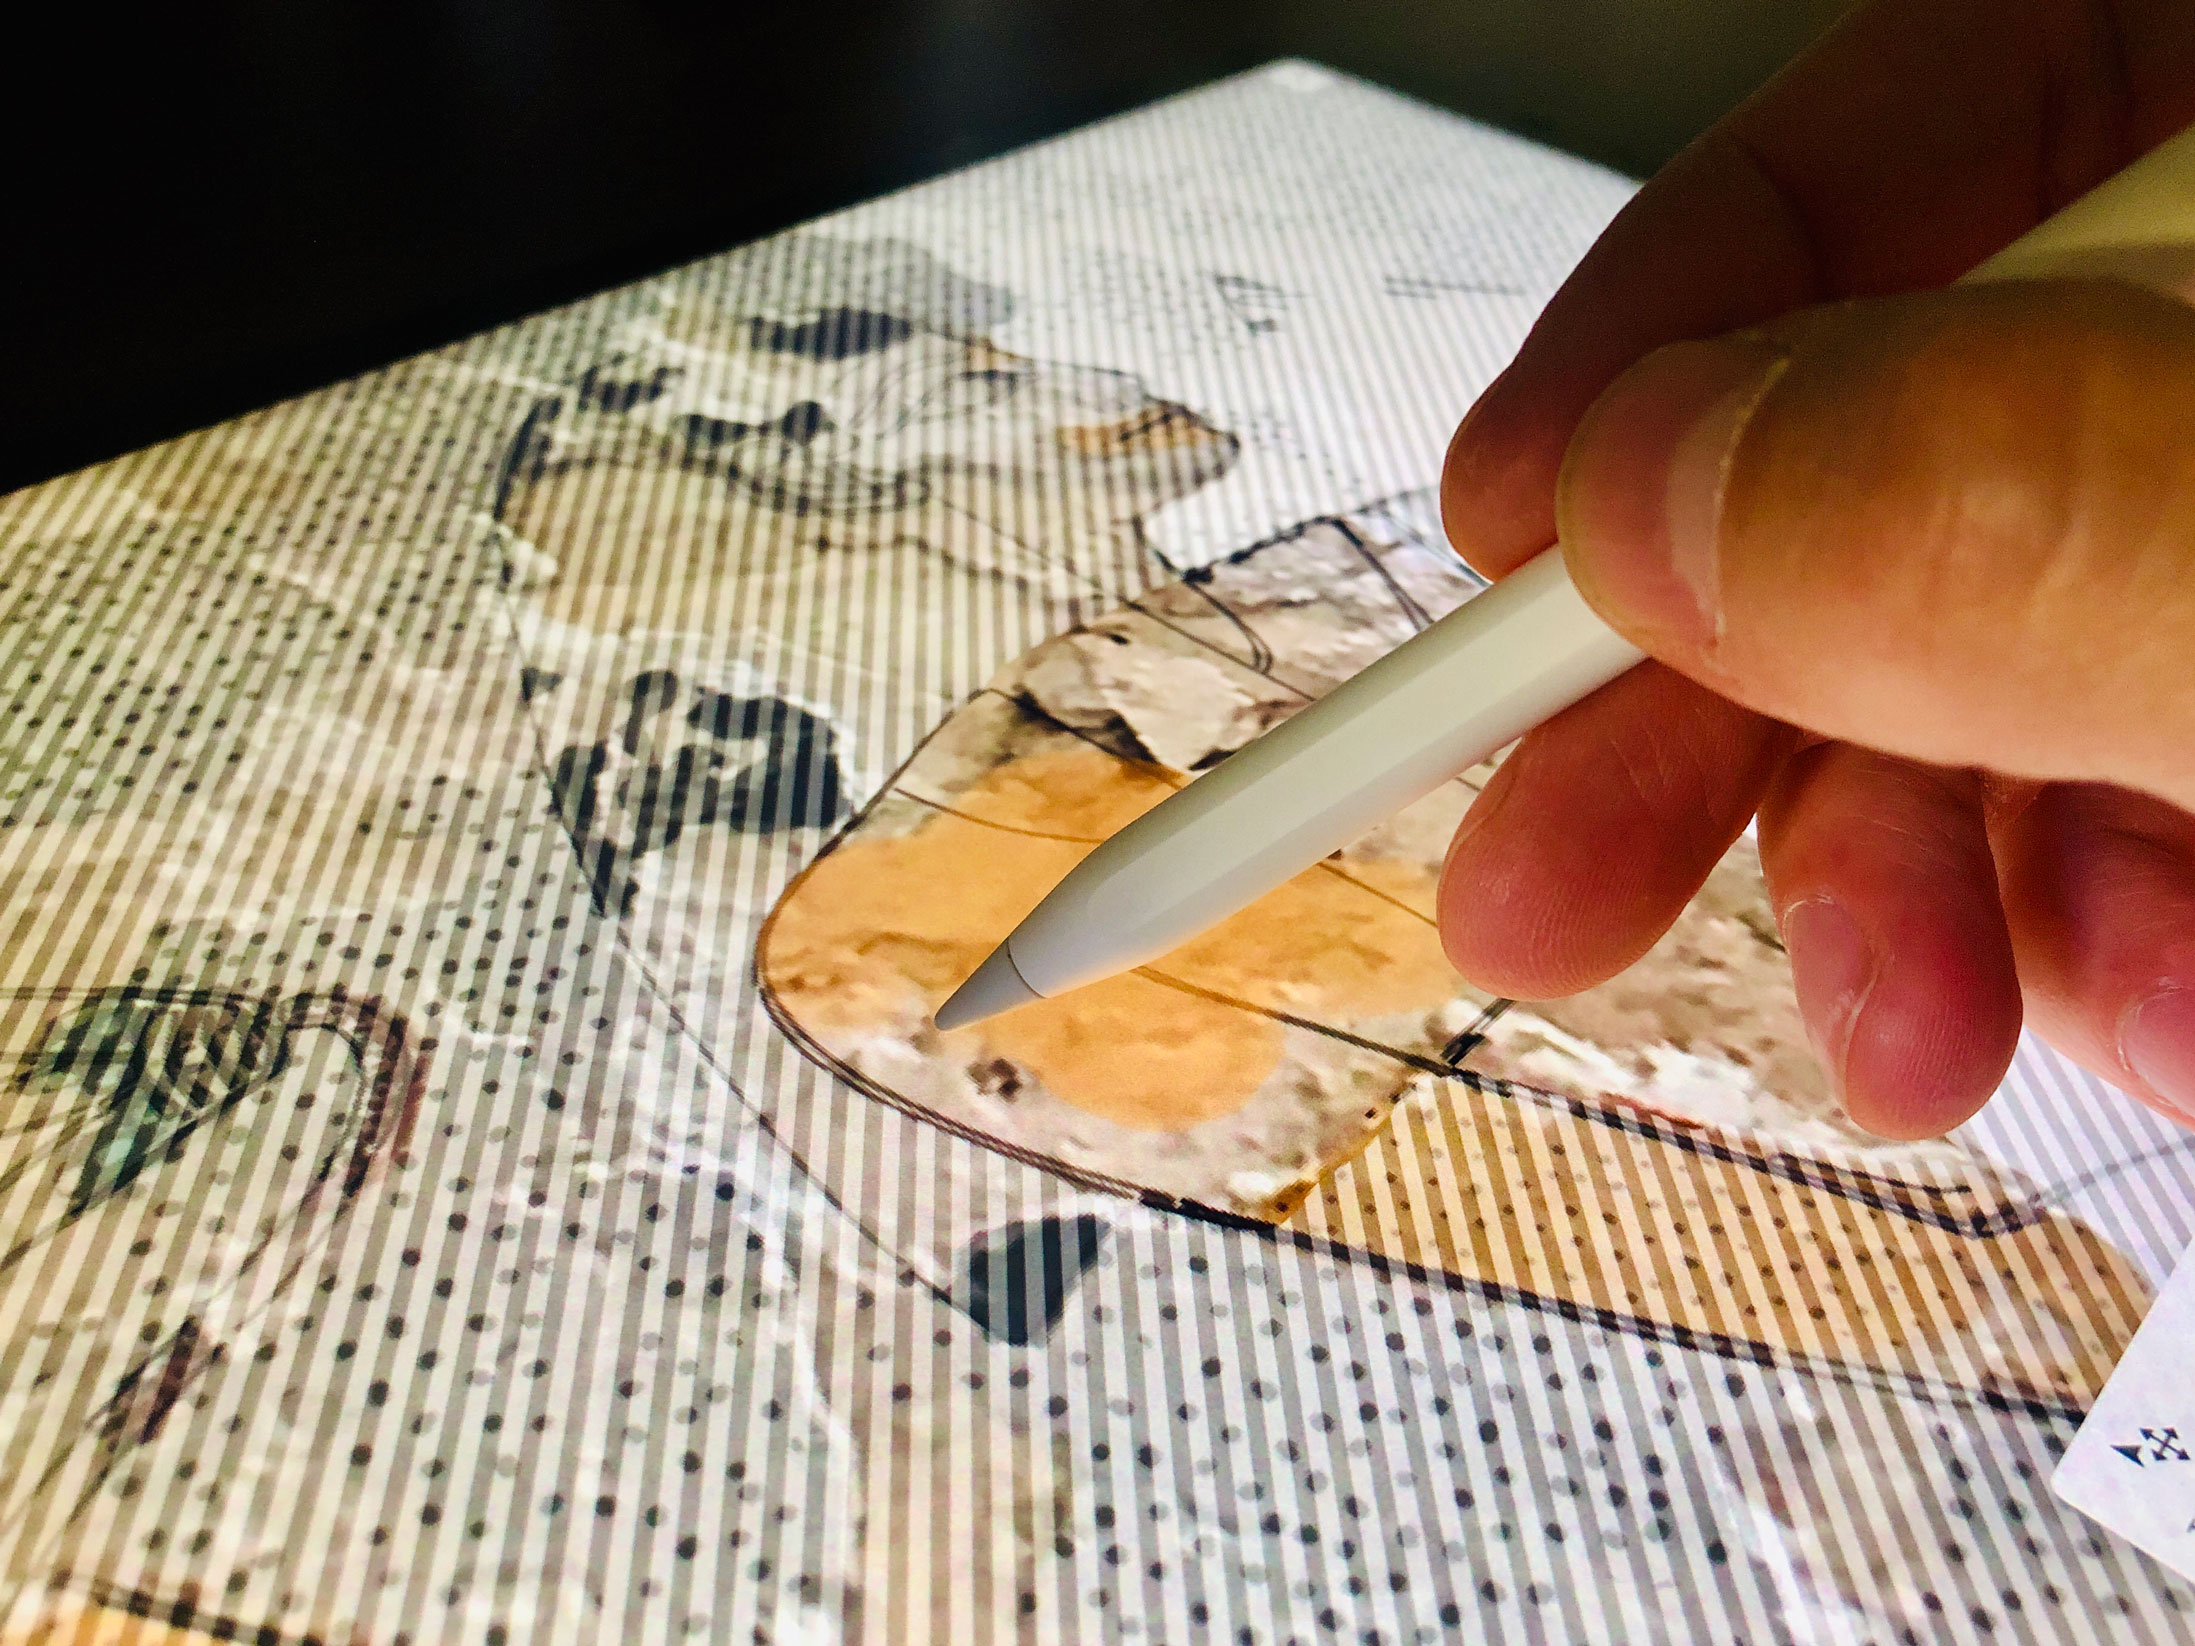
Fresco supports both vector and raster layers, eliminating the need to switch back and forth between multiple programs.
But let’s forget about these limitations and go back to painting a little bit. When we created a color reconstruction over some heavily damaged painted details in Theban Tomb 179, we tried our luck with Fresco’s exclusive live watercolor and oil brushes. Unquestionably, one of the most satisfying aspects is the way colors mix together or bleed into each other on the digital canvas. Thanks to the Adobe’s AI-powered Sensei platform, we can control the amount of water and paint used on the “paper”, regulating how the brush interacts with the background, a feature that couldn’t be replicated in a digital manner in the past. The way Fresco treats mixing and blending traditional mediums comes very close to the ancient painters’ techniques of treating painted walls. The software’s watercolor brush technology is especially remarkable, providing beautiful color transitions when imitating aging painted surfaces, adding multiple organic layers to our color reconstructions. Such a well-thought-out functional tool has been missing from the digital painter’s toolbox for far too long. Beside the control that combining said technique with the power of layers and infinite undo provides, there is also a feature to dry live paint in an instant. So just like with real paint, one can let that layer dry in a snap and move on to the next one or leave it “wet” for as long as possible – to remain with our pharaonic example, think about reproducing hair-thin details painted over largely homogeneous backgrounds.
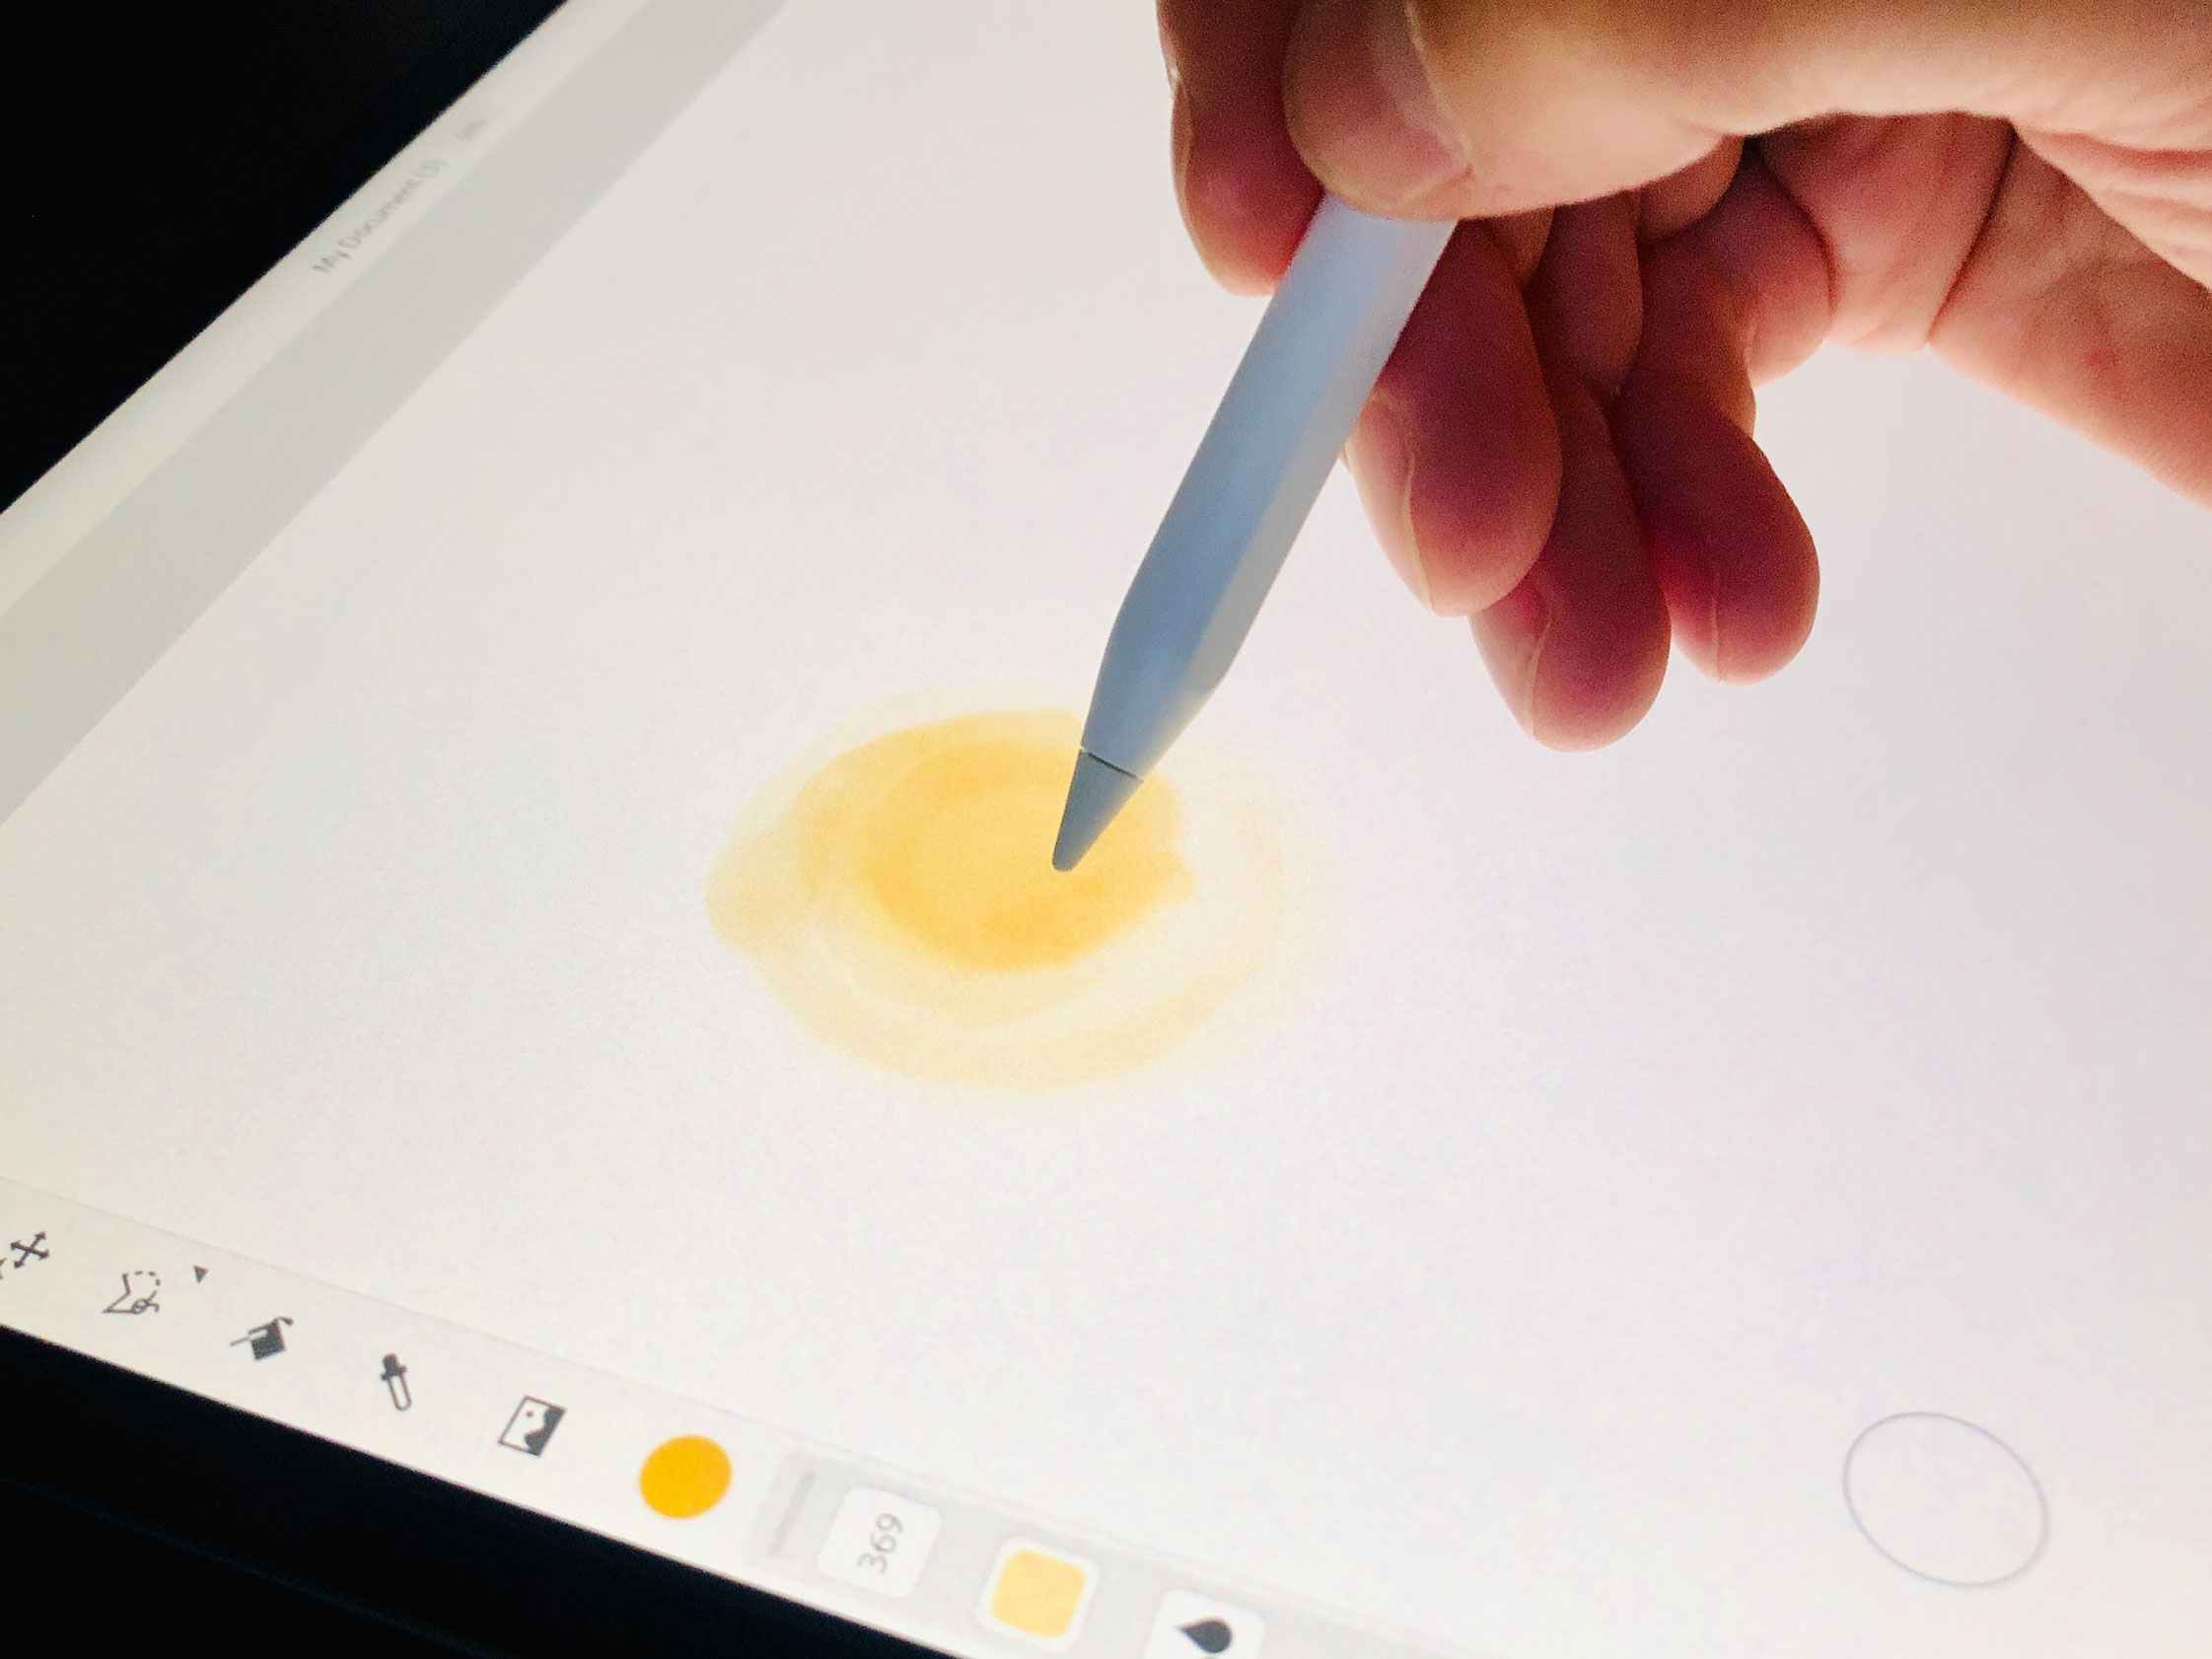
Mixing hues with Fresco’s live brushes is a delight and immediately impresses, making you forget about the digital nature of the process.
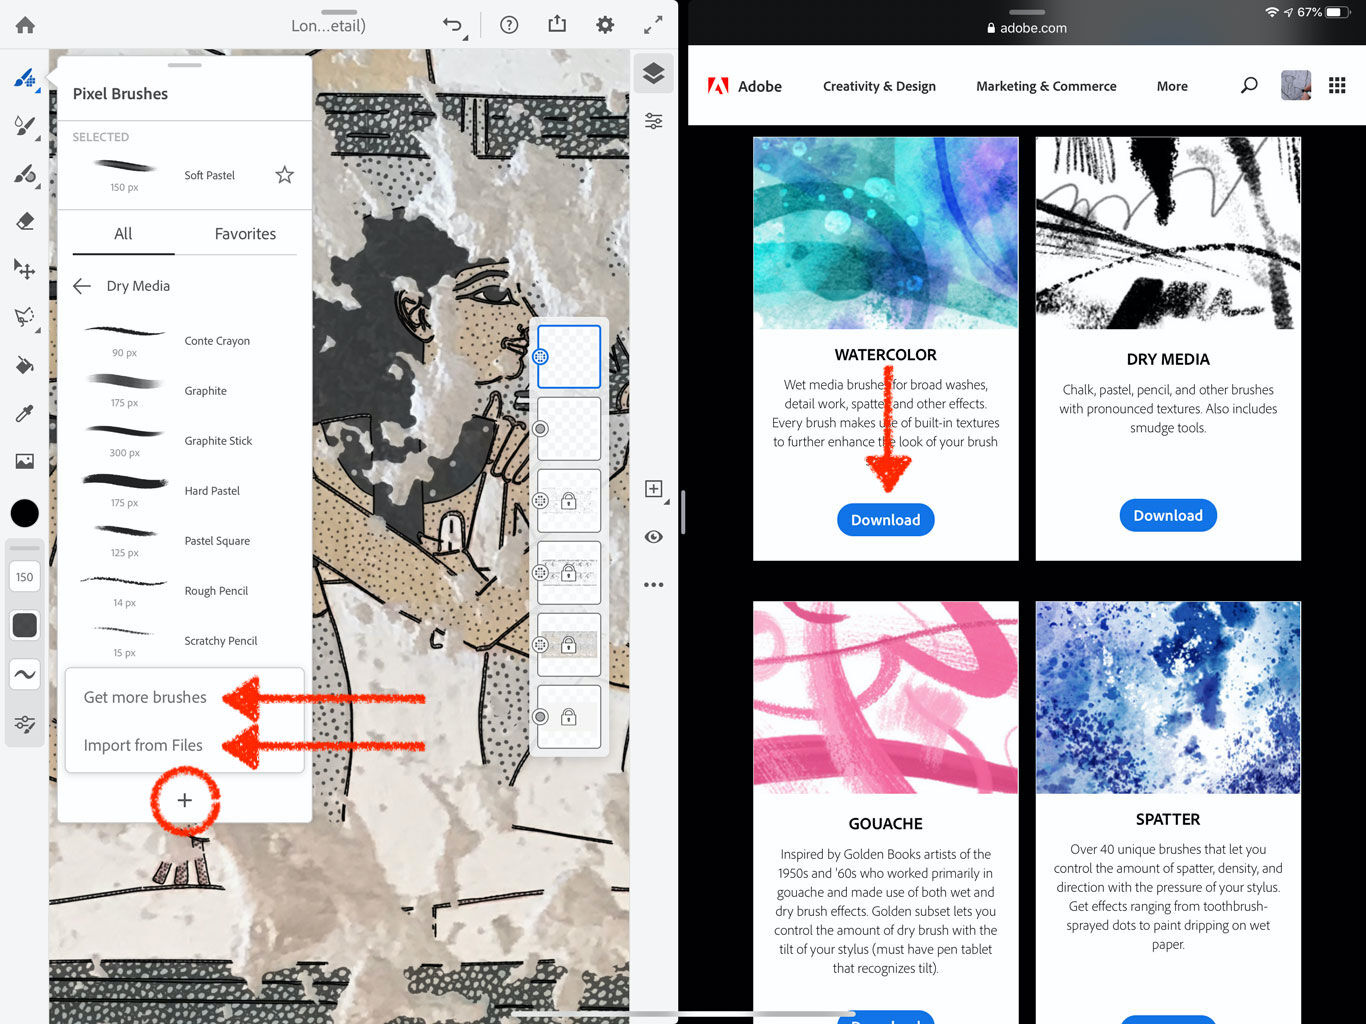
Brushes can be optimized in almost the exact way we use them in Procreate, with adjustments offered regarding size, pressure, jitter, flow, blending mode, shape dynamics and scattering options. While fiddling with brush settings, there is a little preview window at the top that allows testing out what each option does. Once created, brushes can be marked as favorites for easy access, an option that is sorely missed when dealing with colors. Although Fresco remembers the hues we used on a particular drawing, it isn’t possible to save our favorite color palettes just yet (the feature is mentioned in Fresco’s “Upcoming Features” section), making it hard to stay consistent with the color scheme across multiple artworks.
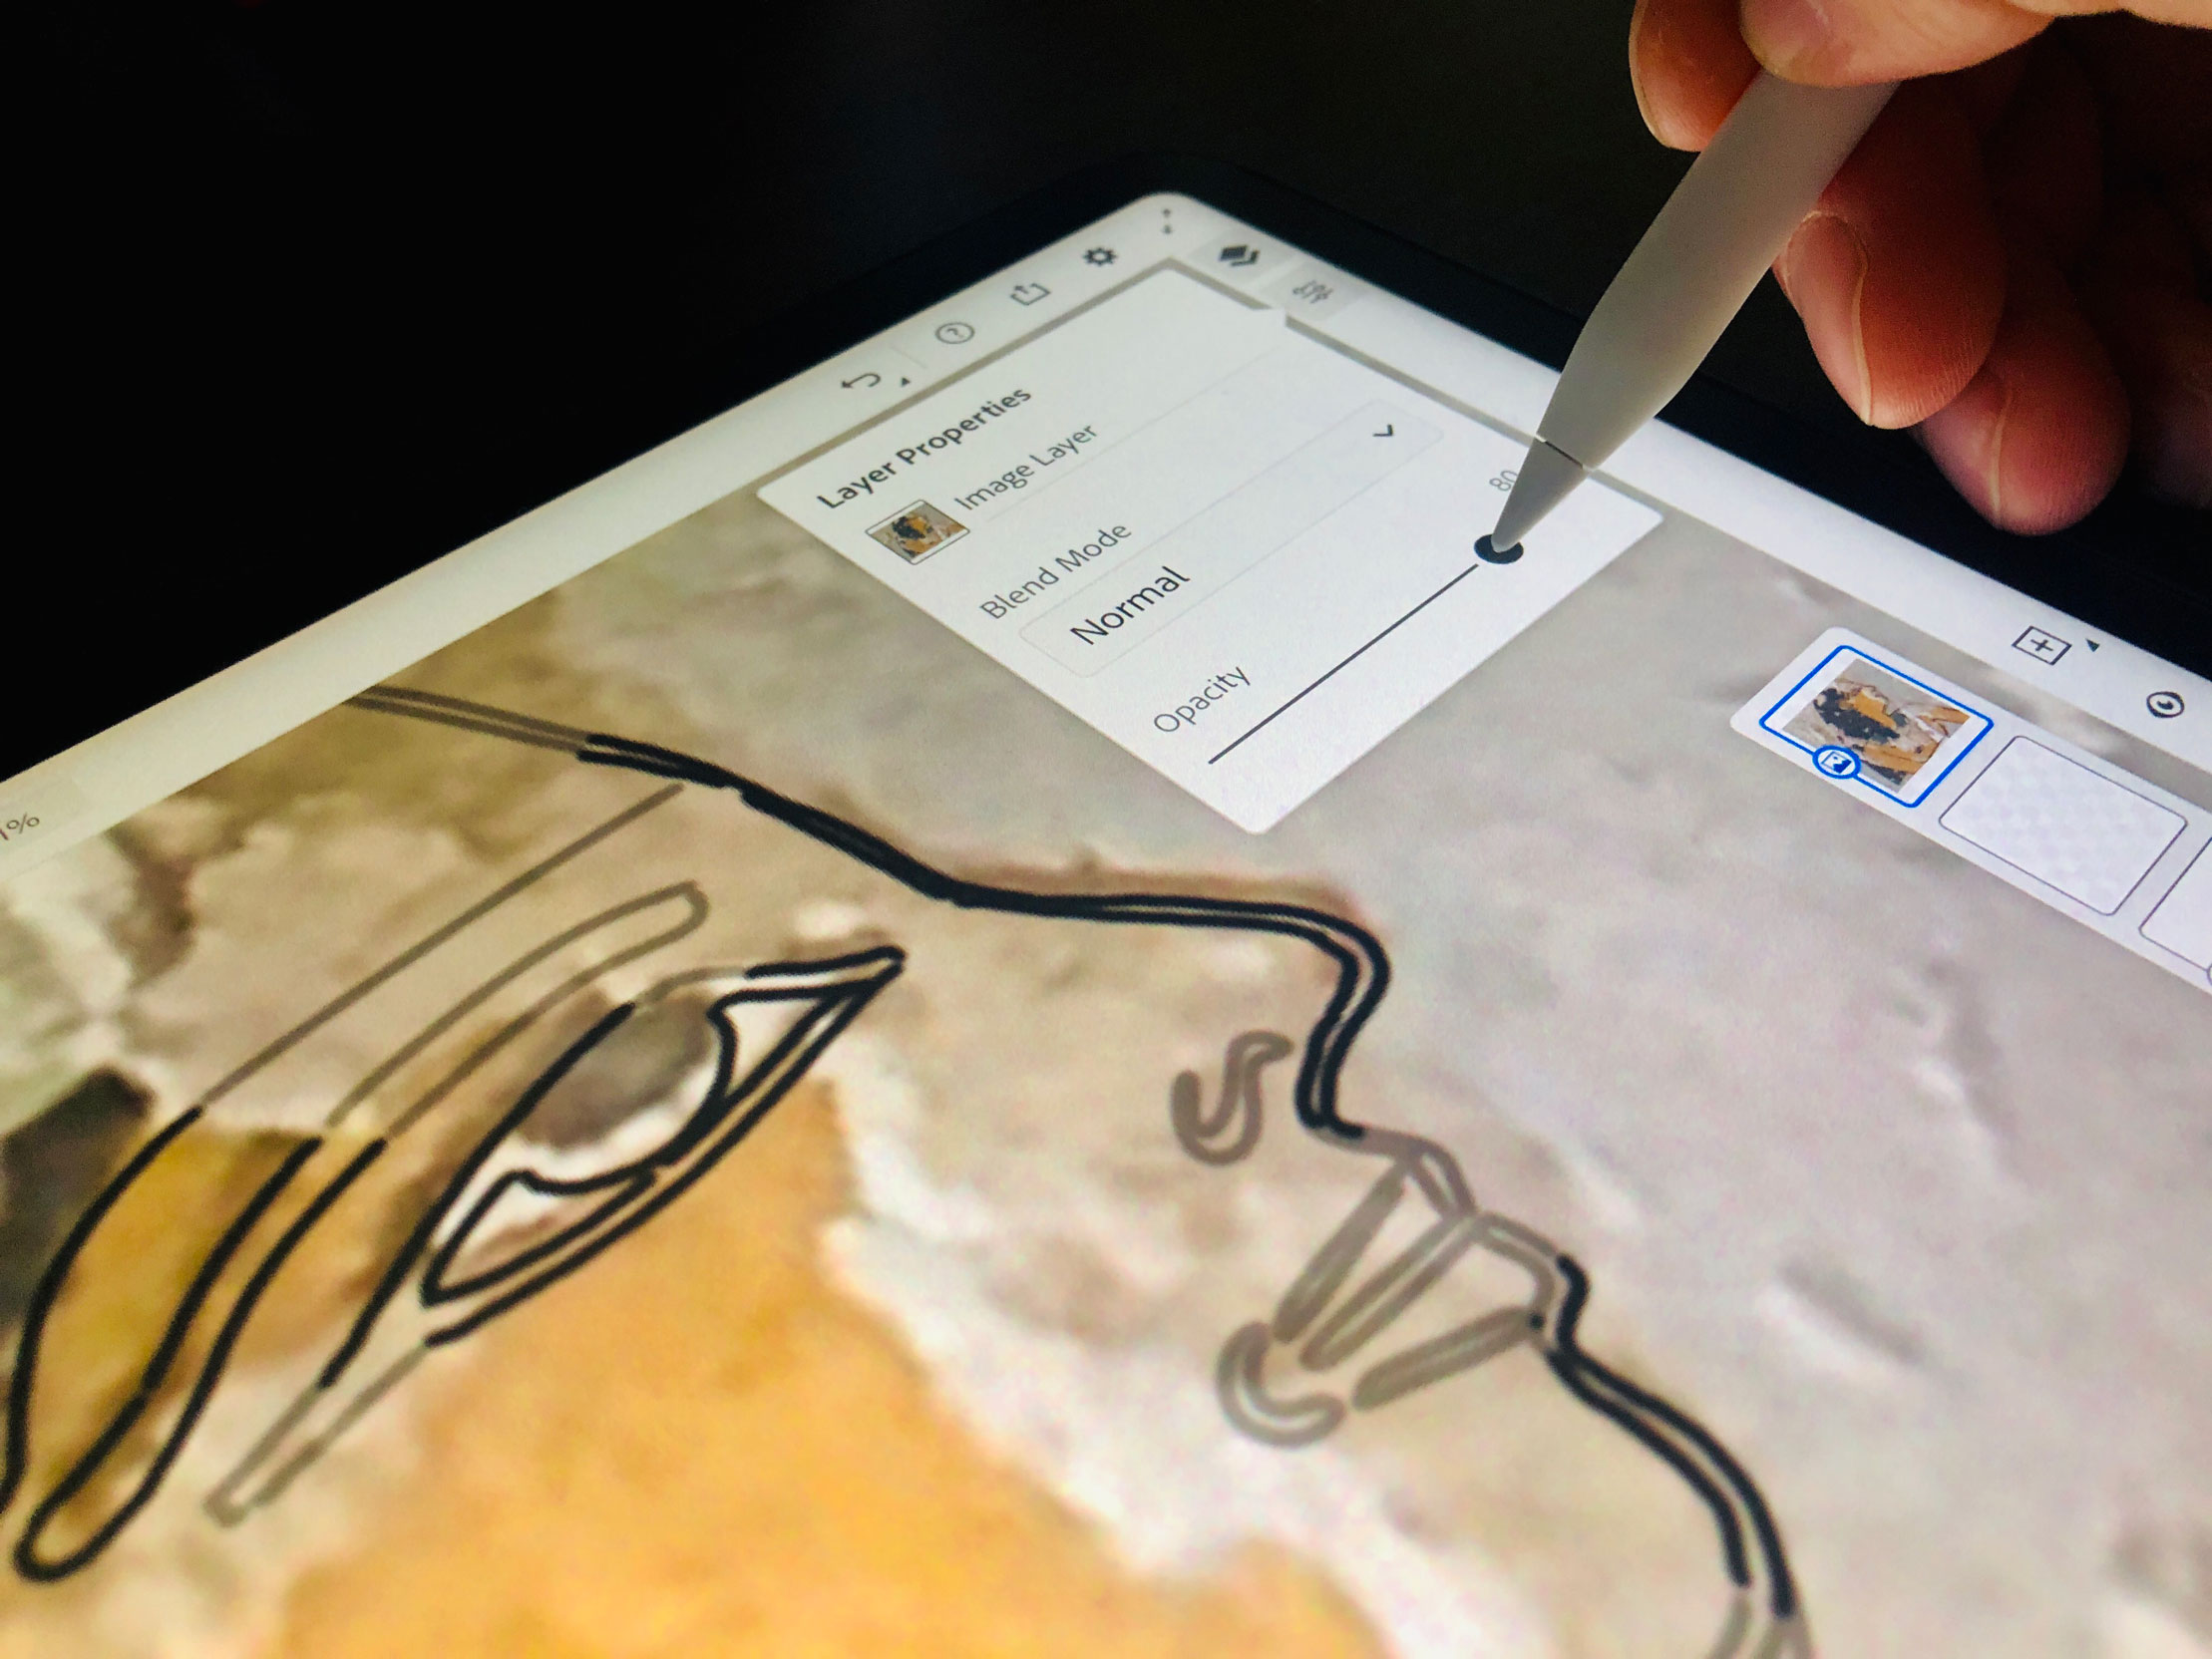
There are many touch-optimized settings available in Fresco, but heavy image modification must be reserved for Adobe’s desktop applications.
All in all, painting our color reconstruction on top of the TT179 line drawing sample was a very liberating affair, and made us almost forget about the digital nature of the process. Nonetheless, Adobe Fresco, with its debuting version, lacks many features compared to something like Photoshop. Although you can be a master painter using Fresco, when it comes to editing your work, it feels very limited. Transforming, resizing, masking and opacity options do exist and are optimized for the iPad’s touch-based interface, but – for this very reason - are a lot less refined than Adobe’s desktop solutions.
At the end, with its canvas size limitations and modest toolset leaving a lot of room for additional features, Fresco needs to evolve a lot before we can fully commit to it as our only drawing app. Adobe Fresco is available for the Pad Pro, iPad Air 3, iPad mini 5, or a fifth or sixth-generation iPad running iOS 12.4 and later. The iPad painting app can be downloaded from Apple’s iTunes store for a free try-out, before making any financial commitments. Stay tuned for our full review coming soon.



0 comment(s)
Leave a comment(We'll keep your email address private)