
The most useful new features of Photoshop CC - Using the Curvature Pen Tool for digital inking
As it was already explained in the first edition of the Digital Epigraphy manual, Photoshop is our choice of quintessential tool when it comes to digital inking in the studio. We paint most of our brush strokes freehand using very little artificial help. This natural way of working adds tremendously to the overall feel of the final artwork. However, working in a bitmap environment doesn’t necessarily mean that we can’t take advantage of Photoshop’s vector tool sets while building our inked drawings one brushstroke at a time. The Pen Tool and its cases of use are meticulously described in Chapter 5, Section 4 and there are numerous tutorials included on this website that are dedicated to creating long curvature lines and sun-shadow transitions with the aid of vector paths.
When Photoshop 18 (part of the Adobe CC Photography Plan) was released in October 2017, one of its outstanding features was the addition of the Curvature Pen tool. According to Adobe, its Adobe Sensei technology makes it possible to create paths more quickly, intuitively, and precisely. With the Curvature Pen tool, one can push and pull segments directly instead of having to modify Bezier handles, similar to the Curvature tool in Adobe Illustrator CC. The following tutorial aims to explain how we can take advantage of this excellent new tool and what are the typical cases of use and problematic areas when adopting it for our studio work.

The Curvature Pen tool might not be part of the visible tool sets upon opening Photoshop CC, however you can most probably find it in the Pen tool subsection of the toolbar. If you still don't see it, go to Edit/Toolbar and you can pick it out from the panel on the right in the Extra tools section. You probably want to make the Curvature Pen tool part of your permanent toolset. To do so, follow the instructions laid out in the Manual's Chapter 4, Section 2 (the relevant part is to be found under “Photoshop customization”). Once it becomes part of your toolset, you can start practicing. Pick the tool and click once on the canvas (I chose a hieroglyphic text as our sample), then click again to create a second point. Right now, you won’t notice any difference between the Curvature Pen tool and the regular Pen tool, as you’ll get a straight line. But when you add a third point, the Curvature Pen tool will spring into action rendering your points into one smooth curve. Let’s see how it works in action:
Drawing paths using the Curvature Pen tool
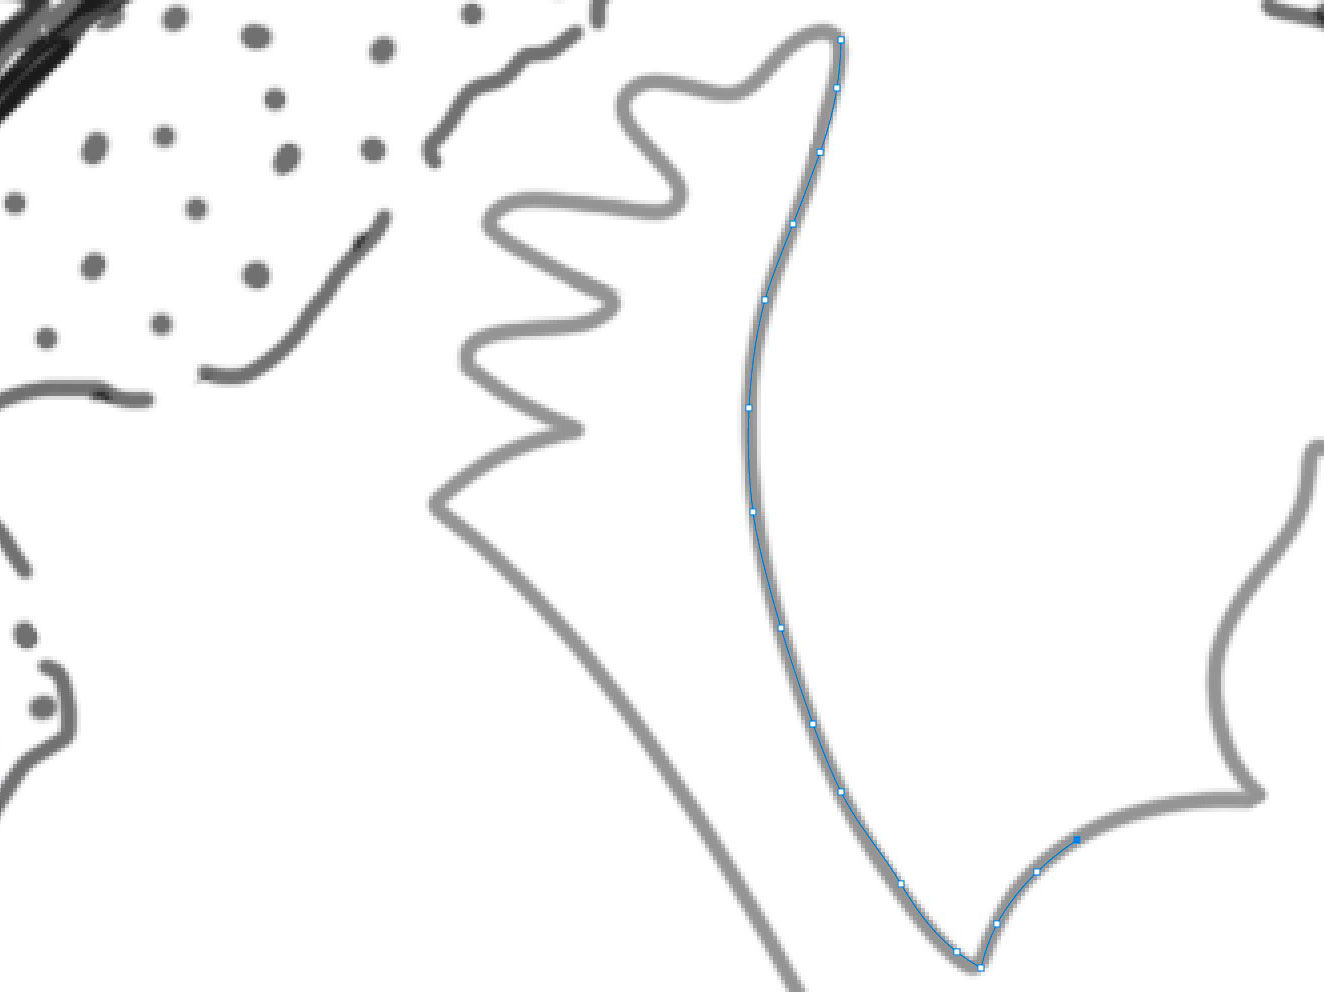
(1) As you lay down the points along the left front tibia of the scarab, you’d want to add points as often as there is a turning point along the curve. As a rule, more points create more accurate curves.
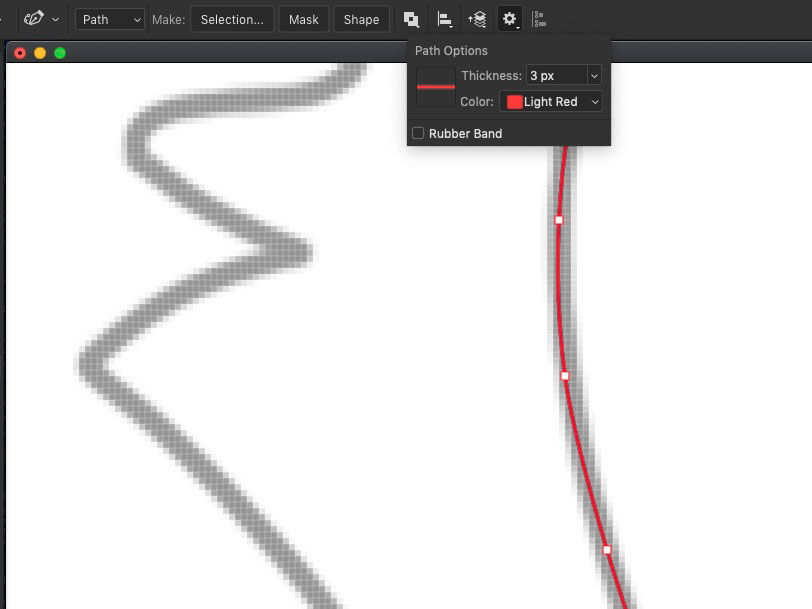
(2) To have a better visual of your paths, you can click on the Path Options button (gear icon) in the Options bar and adjust its thickness and color. Note that this only affects a path’s appearance and has no effect on the stroke. The Rubber Band option lets you previsualize a path based on your cursor’s movement.
(3) You can click to add extra points for finer control, click and drag a point to move it or delete a point by clicking on it (select) and hitting Delete.
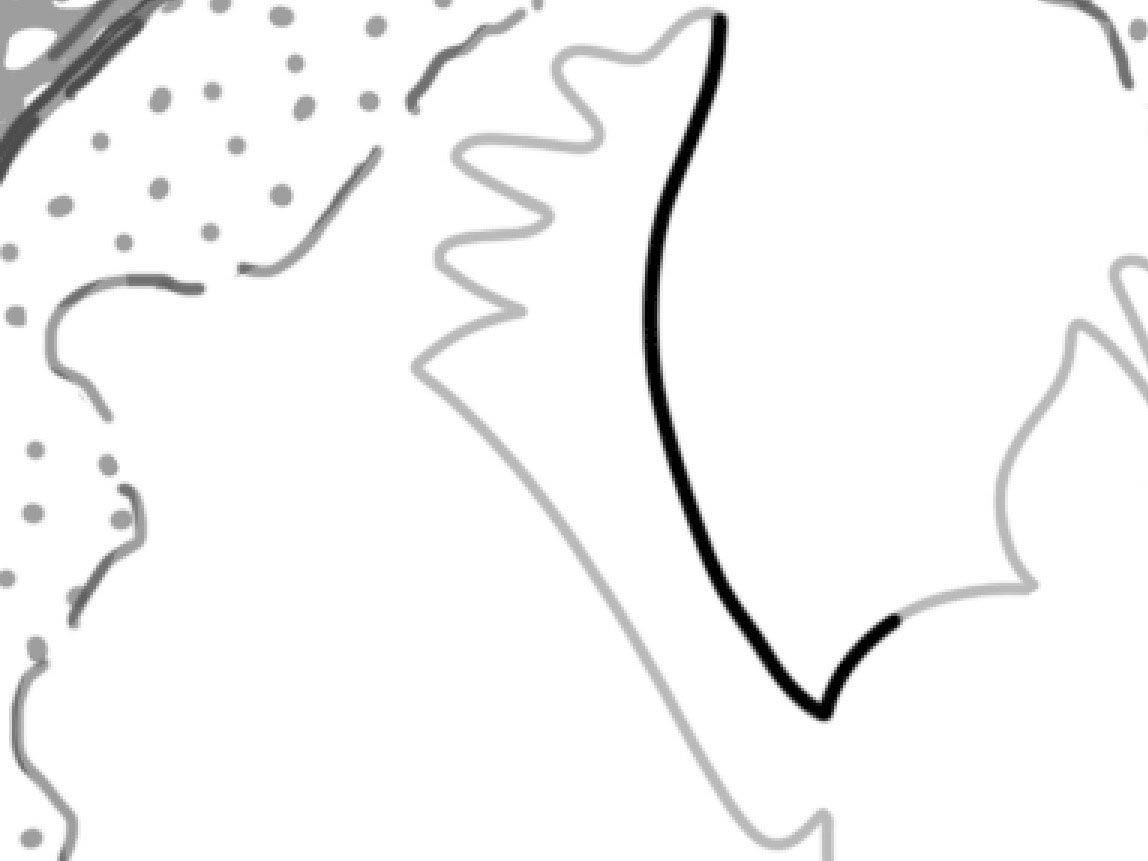
(4) Once you finished setting the points, right click on your path and select stroke path to apply your actual brush over the path. You’ll notice that setting too many points results “bumpy” curves.
(5) Sometimes, especially when inking short curved lines with lots of turning points, avoiding the Curvature Pen tool altogether and drawing freehand using the smoothing effect has better results while being less time consuming.
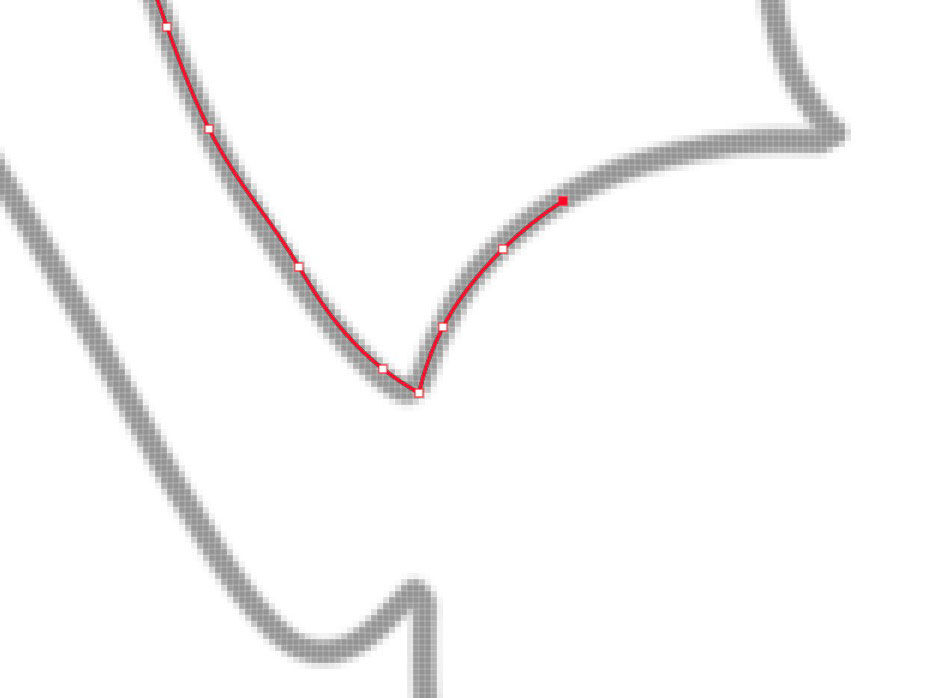
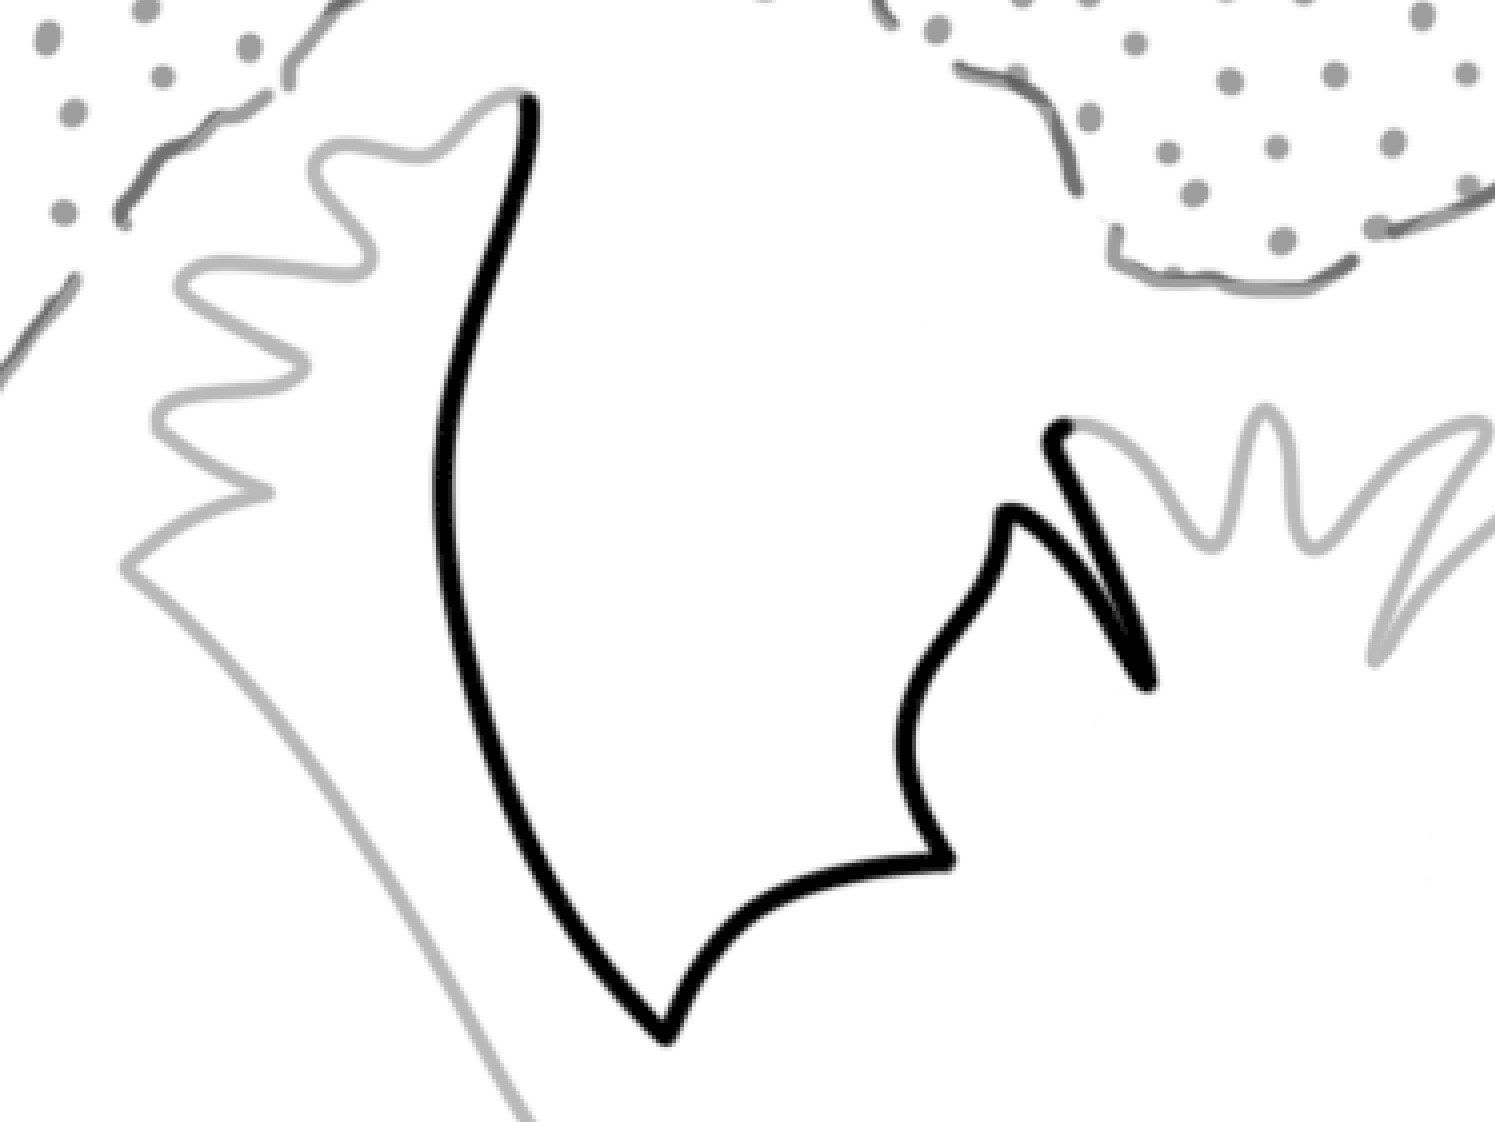
As we stay with our scarab sample, we realize that there are many sharp corners where the Curvature Pen tool naturally applies a smooth curve.
When you need to draw a sharp corner or a straight line while using the Curvature Pen tool, Photoshop has an easy solution for you – just double-click on a point to switch between corner and smooth points. Furthermore, you can also double-click on a point on a line or shape you’ve already drawn to change it from corner to smooth point and vice versa.

In case of inking circular shapes, you can close the path by going full circle and hitting your first point. As long as this point is free standing, you won’t be able to move or modify it without accidentally closing the path. However, pressing Alt while clicking on this first point allows you to apply further adjustments even on your starting point.
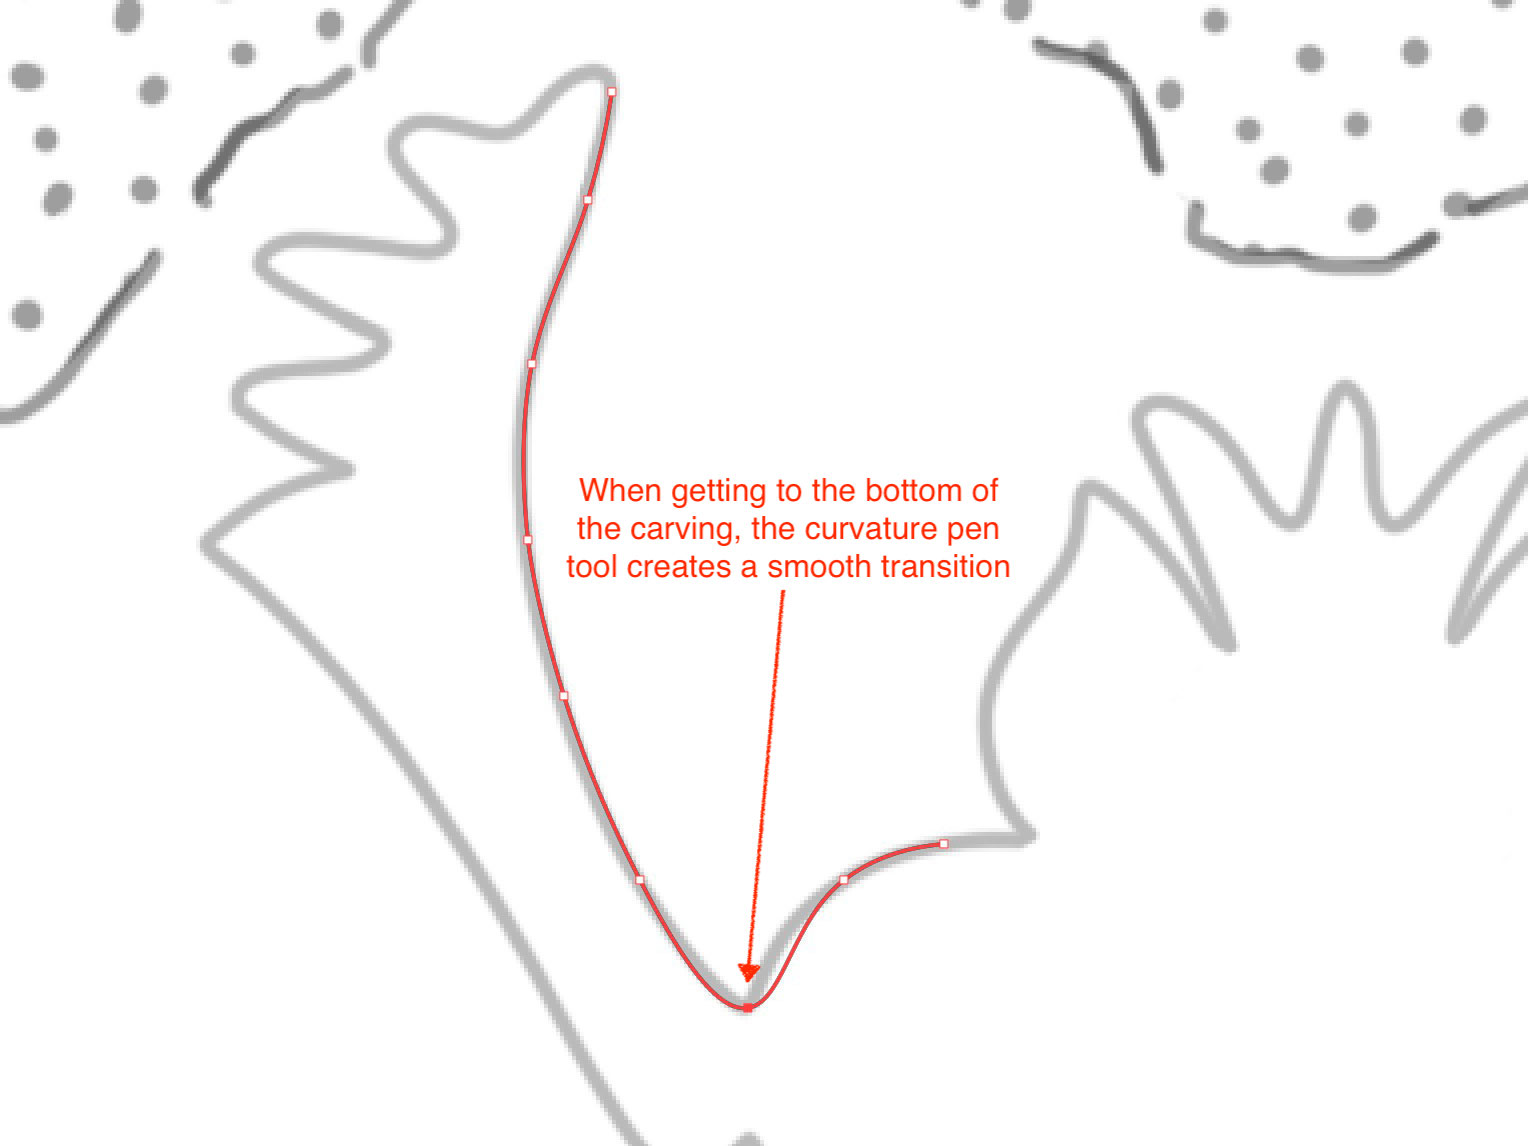
The Curvature Pen tool really shines when inking long curvatures with minimal turning points. For example, inking a cartouche in the next example becomes a breeze and takes as little as a few clicks. Additionally, adding sun-shadow transitions to the single-weight sun line is just a matter of moving certain parts of the path.
Drawing sun-shadow transitions using the Curvature Pen tool
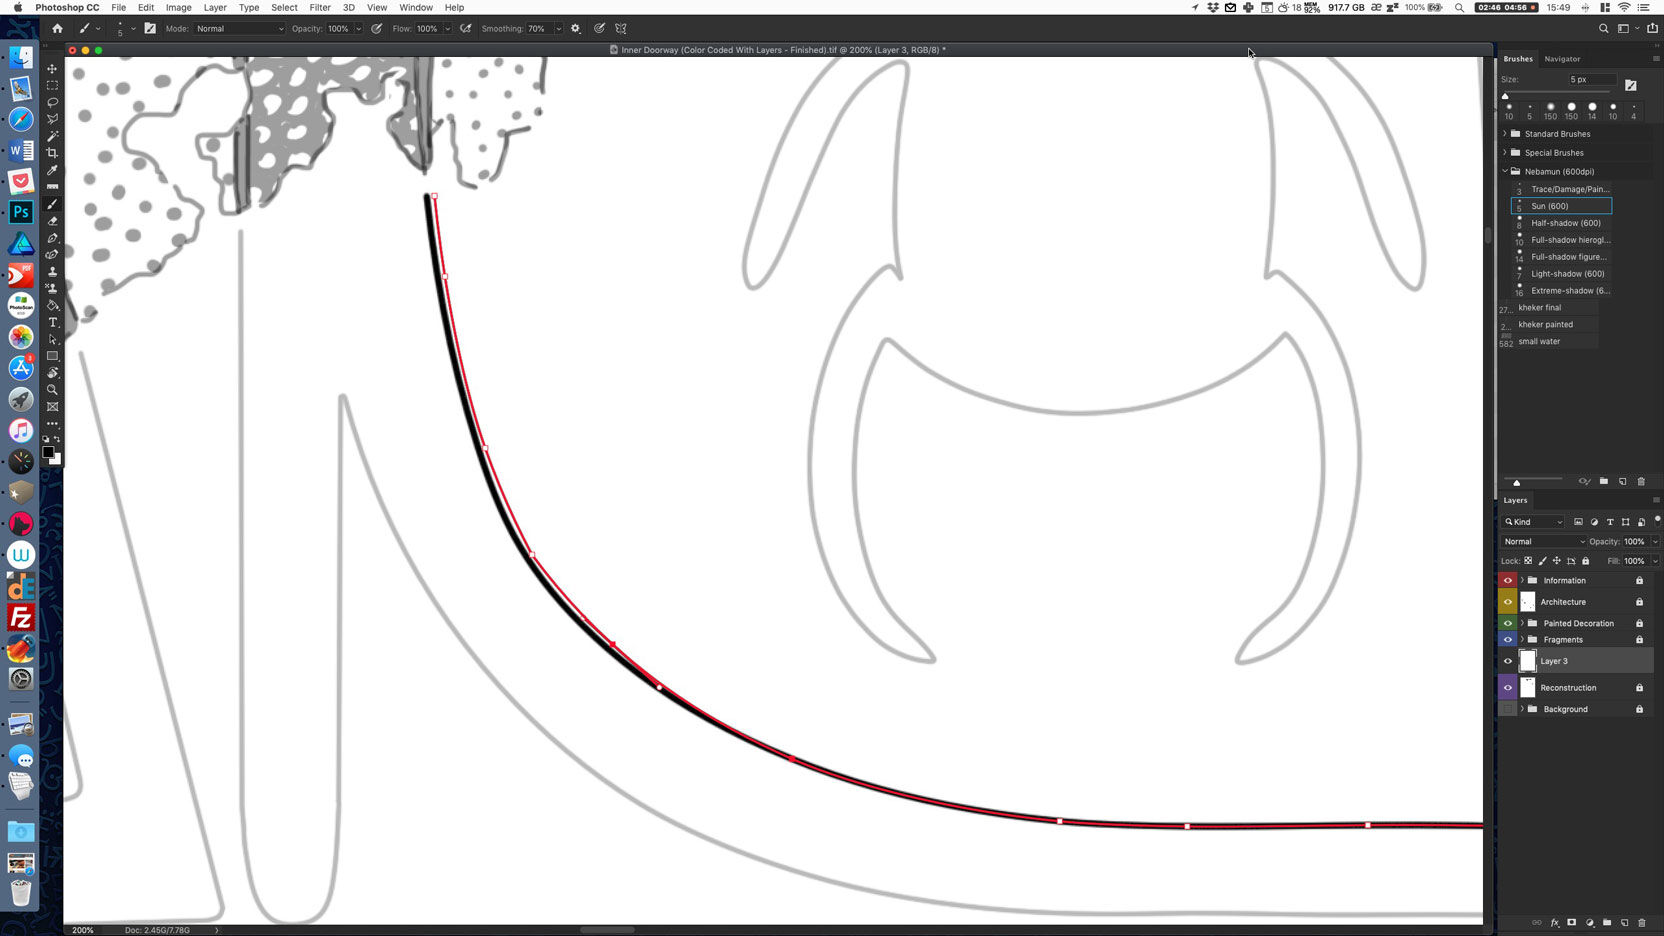
(1) First you must set the basic curve and avoid using too many points along the path. One can always go back and adjust its shape by adding or deleting points or dragging them into a better position.
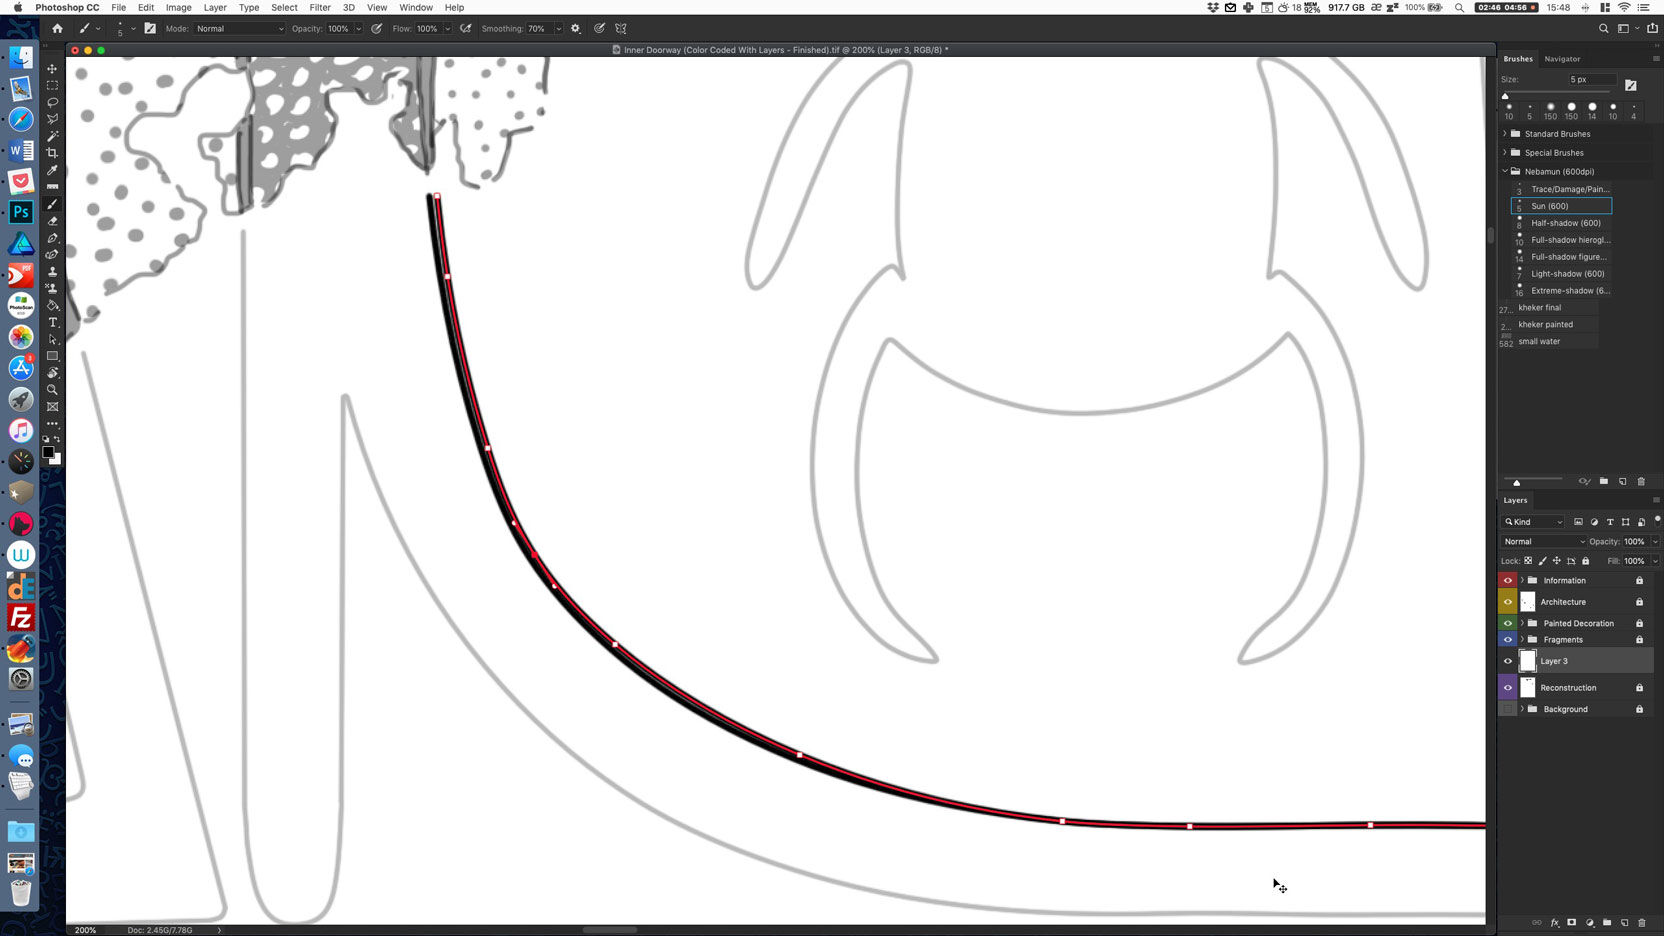
(2) As soon as the path is stroked by your preset brush size (when applying sun-shadow transitions at 1200 dpi it would be 10 pixels for sun line) move the upper portion of your path to create the transition points.
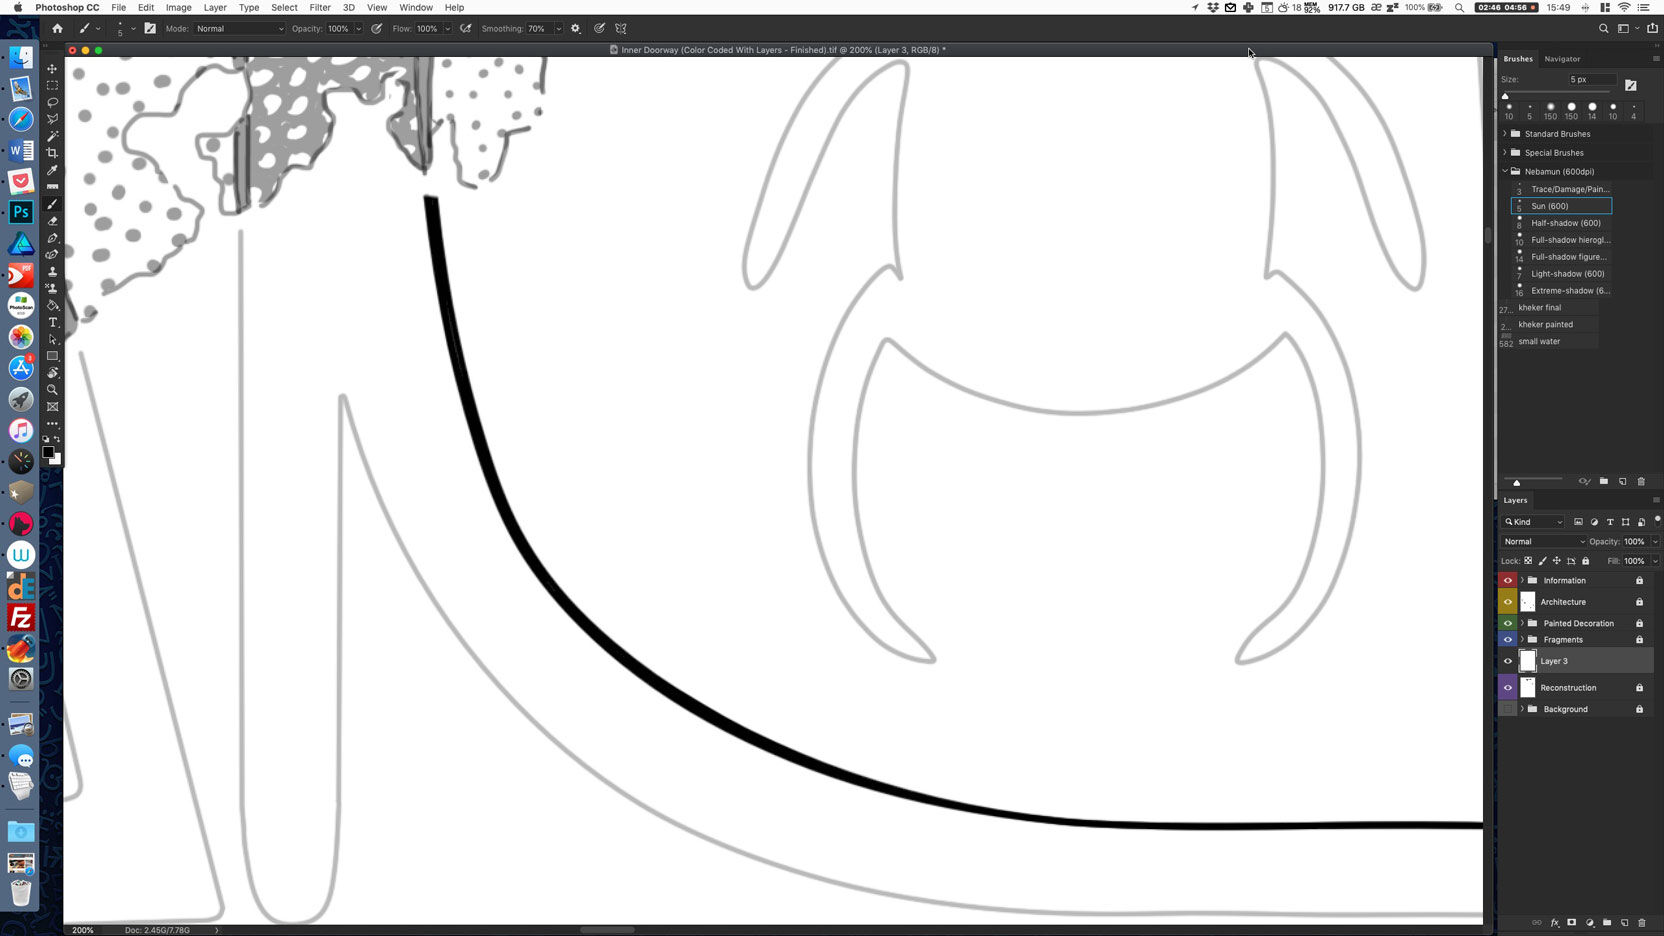
(3) Stroking the second path gives us the right effect by resulting in a nice and even sun-shadow transition. Now you can delete your path and fill in the gaps between the two strokes if necessary.
As you can see from the above examples, in certain scenarios the Curvature Pen tool can take over our regular inking habits by simplifying and speeding up this process tremendously. It takes a lot of practice to always know what tool is ideal for a certain scenario and when to abandon an overly complicated path for freehand brush strokes. However, by adding the Curvature Pen tool to its drawing tool sets, Adobe provided a fantastic new path (no pun intended!) when creating the final versions of our field drawings.
4 comment(s)
Suzanne Herzog
Nov 18, 2018It seems like a very complicated way to draw, why don’t you use a vector based program for the whole process? Thanks

Nov 19, 2018Dear Suzanne, thank you very much for your comment! Answering your question, first I have to say that you are absolutely right and you have a valid point here. However, we chose Photoshop as our main drawing environment for the very reason to be be able to imitate traditional freehand drawing. Some of our methods may seem complicated, but - in my opinion - the results compensate for the time-consuming process. If you'd like to see more of our digital documentation techniques, please, stay with us as we constantly update our website with new material. If you have any further questions or suggestions, please, contact us via email.
Suzanne Herzog
Dec 6, 2018Thank you for answering so fast! Yes I see that you are putting up a lot of tutorials on your technique, very interesting! I hope you'll share longer videos about your Photoshop method! Good luck with your project!

Dec 15, 2018Hi Suzanne, yes we are certainly planning to get into more and more details about the technical aspects of digital epigraphy, however we are also preparing our site to involve other projects and share their methods as well! Thank you for your interest and please, stay with us in 2019!
Ken Ethridge, AIA
Jan 9, 2019Interesting site. I look forward to receiving your newsletter. -Ken

Jan 10, 2019Dear Ken, thank you very much for your interest! Our first Newsletter was already sent out to our subscribers, but you can find its content among our Spotlight articles. You'll receive our forthcoming periodical in your mailbox around the beginning of March. In the meantime, please, keep reading the articles and let us know if you have any questions or remarks.
Glenn Lane
Dec 2, 2021I am having an issue with the curvature pen tool. The path options is grayed out. When I go to the gear button at the top it won't allow me to change the thickness and color of my path. Can't find a tutorial on youtube to help me. Not sure who to ask about it.
Leave a comment(We'll keep your email address private)