
Detached Pencil Lines on Photo Enlargement
If further clarification of the pencil lines is needed for some reason, the artist has one more tool in his/her hands, but the process has to be carried out meticulously from the first manipulation of the enlargement. There is a way to produce a separate pencil layer over the photo enlargement thanks to the bleaching system, which the Epigraphic Survey has been using for many decades. Traditionally, bleaching is used at the very end of the drawing process, as has been described in Chapter 1. Because inking in Photoshop eliminates the necessity of any background enhancements, we would obviously eliminate the bleaching part of the process. But we can benefit from erasing the photo background after the pencil draft has been applied, but before the entire inking process starts. We need to have 3 scans in our hands:
Detached Pencil Lines on Photo Enlargement
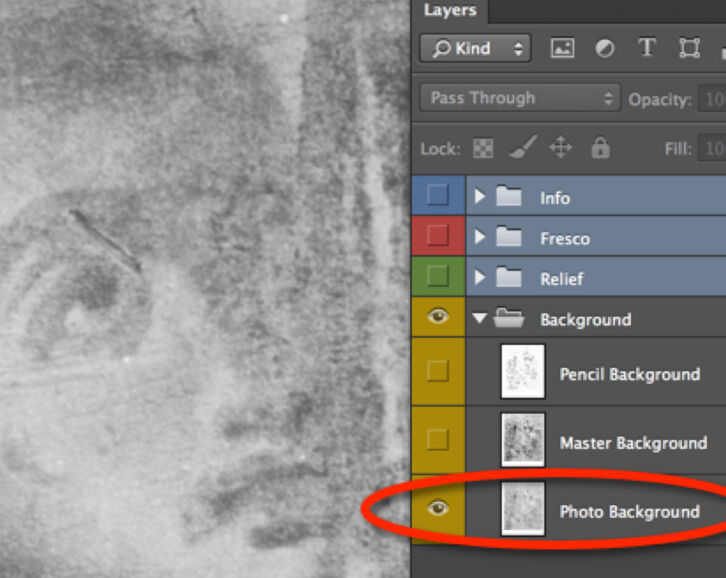
(1.) Scan of the photo enlargement before any pencil lines are added to it.
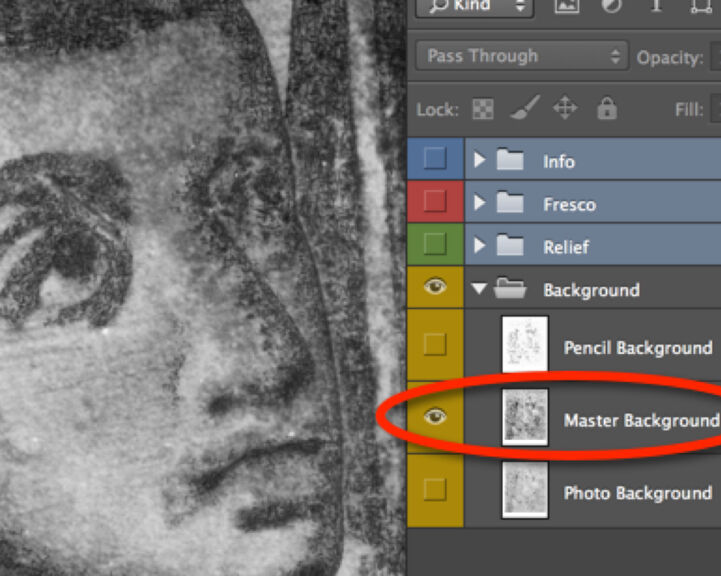
(2.) Scan of the photo enlargement after adding all the pencil lines to it.
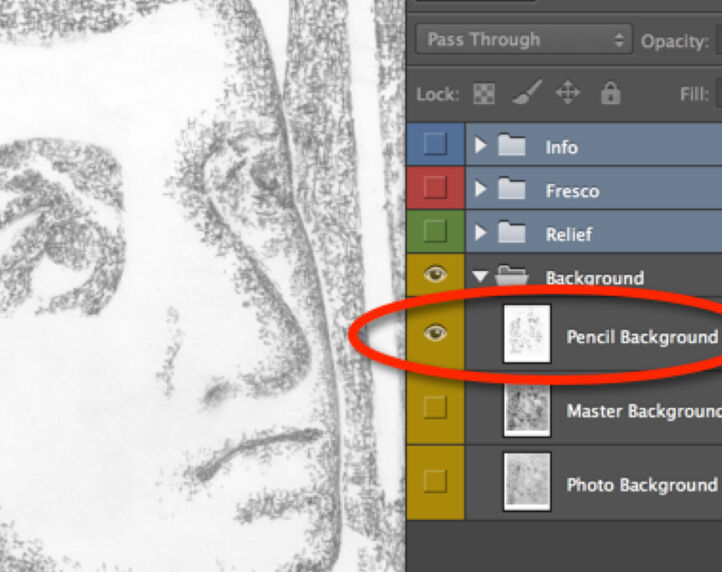
(3.) Scan of the bleached photo enlargement with its white background and exposed pencil lines.
When we have all three scans open in Photoshop, we have to set them up as three aligned layers on top of each other. We have to use the one with both the photo and the penciling present (Master Background) as our alignment guide. Once it’s done, we can delete the Master Background.
0 comment(s)
Leave a comment(We'll keep your email address private)