
Delete Transitions with Path Selections
There are two slightly different methods that can be introduced here: the artist can either delete from or add to the initial curves. They are both very effective and, once mastered, they can be useful complements to hand-drawn brush strokes. The artist has to keep in mind that sometimes it’s easier to draw freehand than to force drawing with the Pen tool.
Delete Transitions with Path Selections
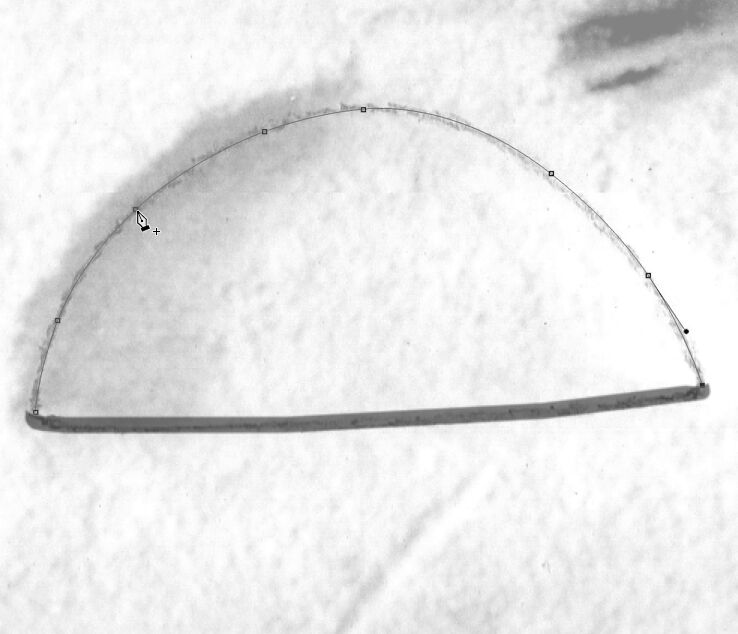
(1) Draw a path by carefully following the line you want to trace. This path will be the center for both shadow and sun lines.
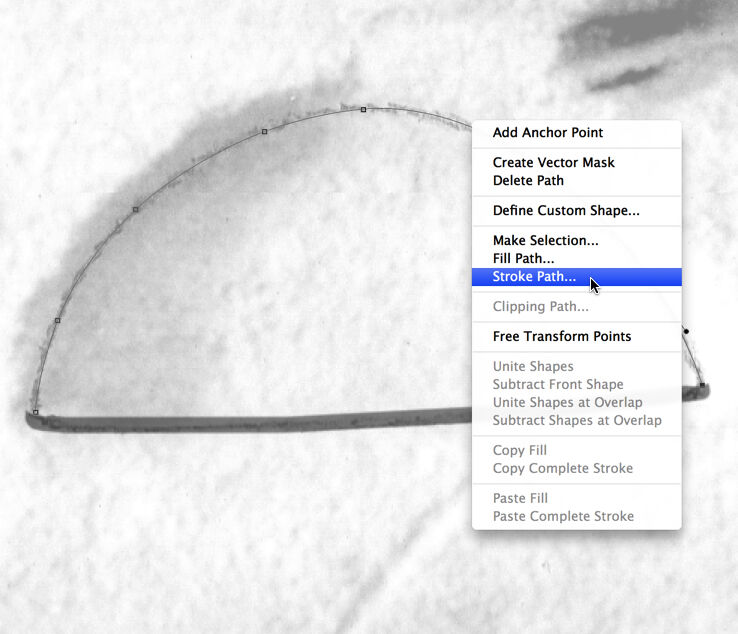
(2) Stroke your path with the shadow line weight first (16 or 20 pixels accordingly).
(3) Keep your path and erase the section where the sun-shadow transition ends, and you will be drawing a sun line.
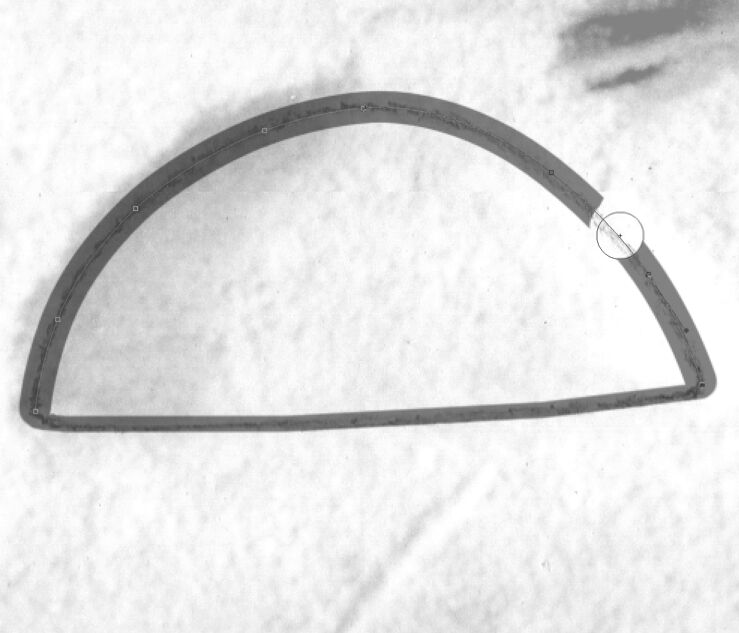
(4) Repeat Step 2, but this time use the sun line weight (10) instead of shadow. (Change brush size to sun!)
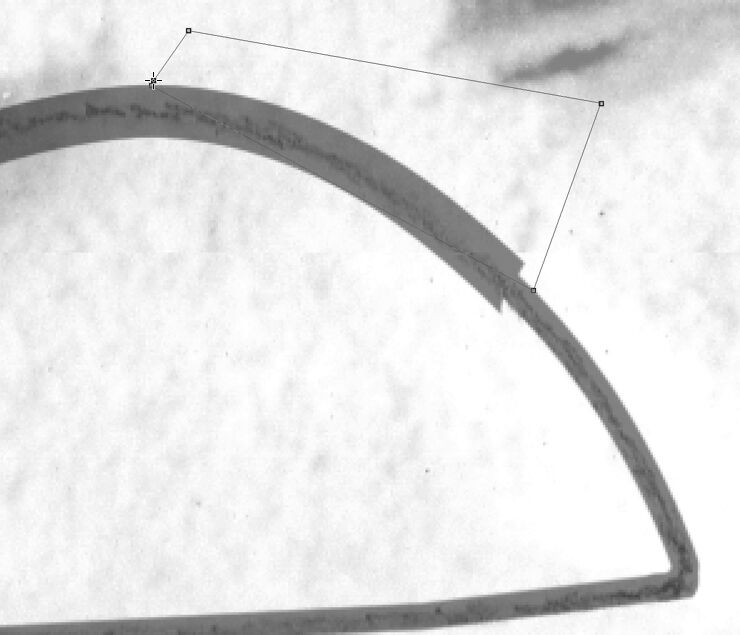
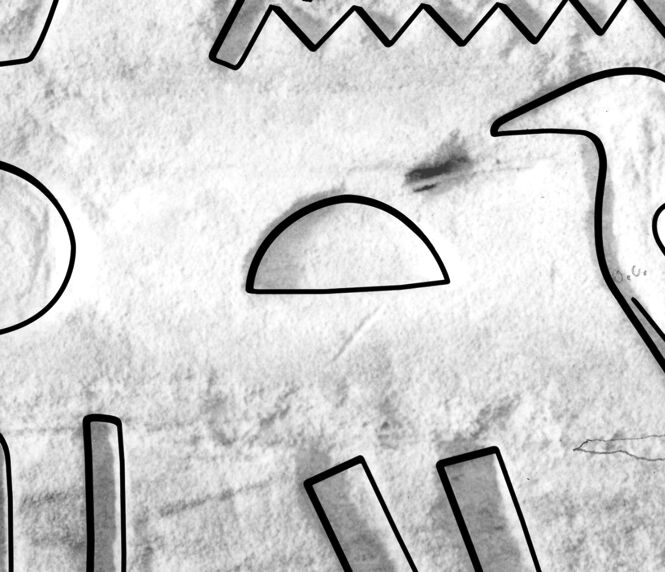
(5) Delete your path and draw another one over the transition area as shown on the image. Don’t close the path!
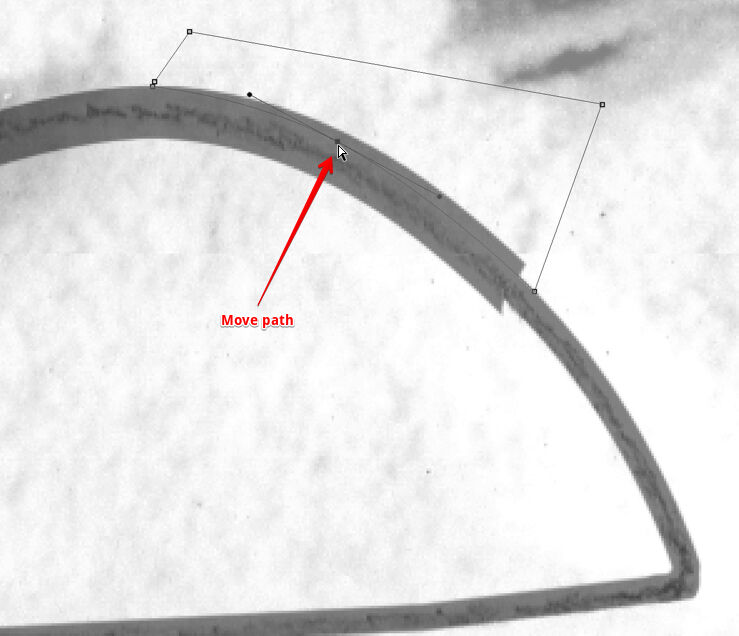
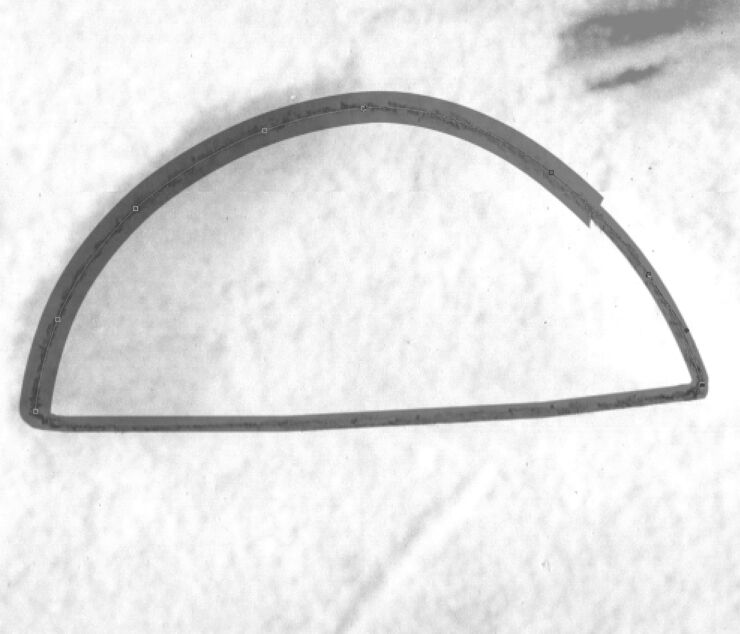
(6) Adjust your path to form the outer curve of your sun-shadow transition. Starting and ending points must touch the lines.
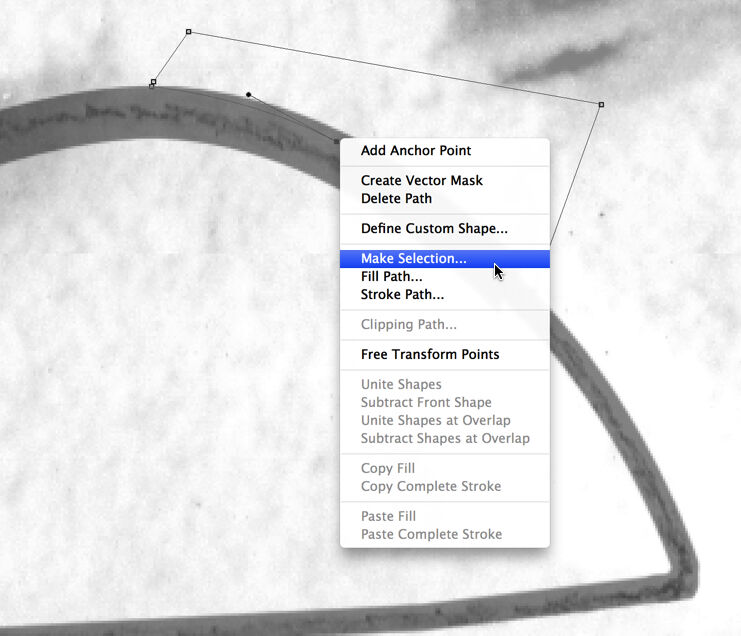
(7) Make your new path a selection by calling up the same panel as you’d use for Stroke Path.

(8) You don’t have to change anything in the Make Selection pop-up window, unless it looks different from the one here.
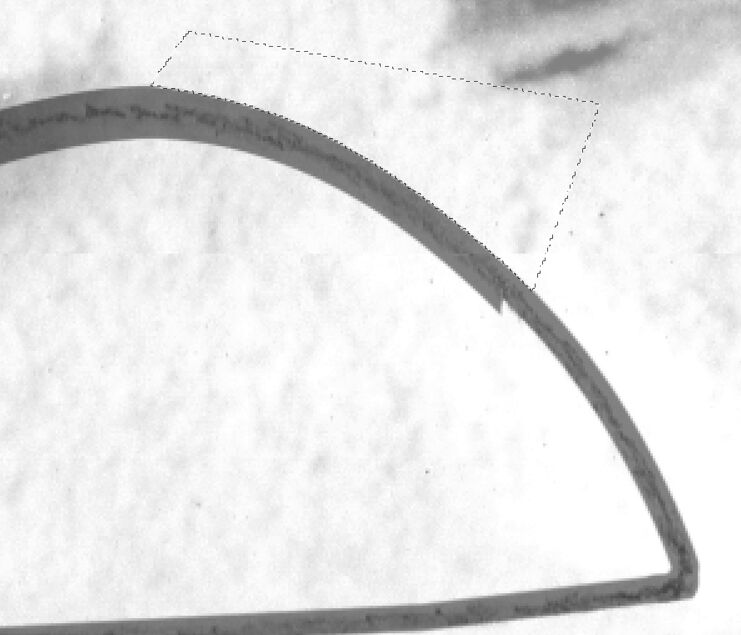
(9) Once you hit OK, your path turns into the usual “marching ants”. Now you can hit delete and clear the selected area.

(10) You have to repeat Steps 5–9 again, but this time on the inside. Place your selection carefully!
(11) The final inked circle with the transparency changed back to 100%. Unevenness in transitions can be corrected manually.
You can download the short tutorial to learn this skill.
0 comment(s)
Leave a comment(We'll keep your email address private)