
Creating a Pattern for Modeling
Modeling is indicated by a stippled area in which the variety in dot density adds a certain dimension to the texture. As with dotted paint lines and dashed architectural lines, the artist is free to add all the dots individually, and this is probably the easiest way to do so, especially when the area to be modeled is fairly small.
Nevertheless, there are cases when the artist has to add modeling to larger areas, such as large-scale figures, etc. Adding repetitive elements on the drawing can be made easy by defining patterns and using the Pattern Stamp tool to apply them. To set up a pattern one has to open a new canvas (File/New) and configure it to the same Resolution, and Color Mode as the drawing he/she intends to use it on. Of course the Size should be smaller; in our case 1x1cm is more than enough.
When adding the modeling pattern digitally, first the artist has to cover the entire area with one light layer of dotted pattern (one should use a rather large Pattern Brush size).
Once the area to be modeled is covered with a layer of dots, the artist has to change his/her pattern brush to a smaller size and, by going over and over the darker areas, add some depth to the texture. Certainly, there is more than one way to provide satisfactory results when using patterns, and experimentation will be necessary.
Creating a Pattern for Modeling
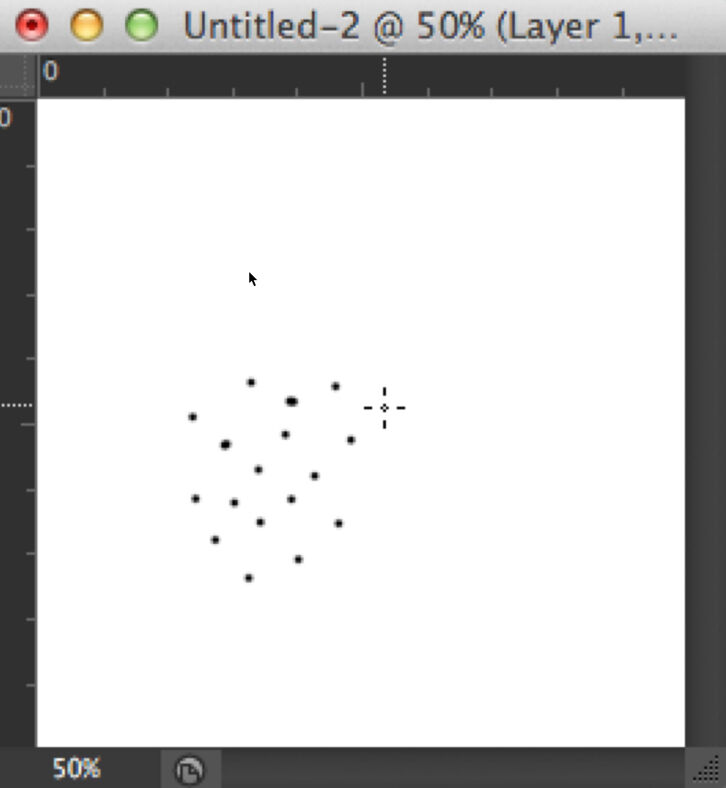
(1) Start painting dots on the canvas using the same brush size you would use for modeling. Keep a certain distance in between your dots, keeping in mind that your pattern needs to refer to the lightest parts of the modeled area. You don’t need to add too many dots.
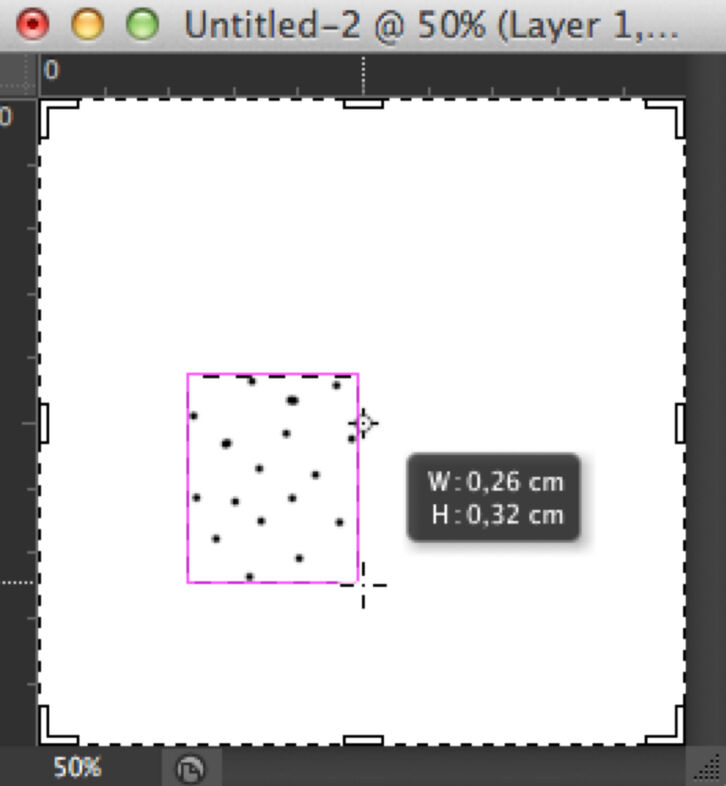
(2) Crop your canvas as small as possible around the dots. The easiest way to do so is by turning on Snap and Smart Guides.
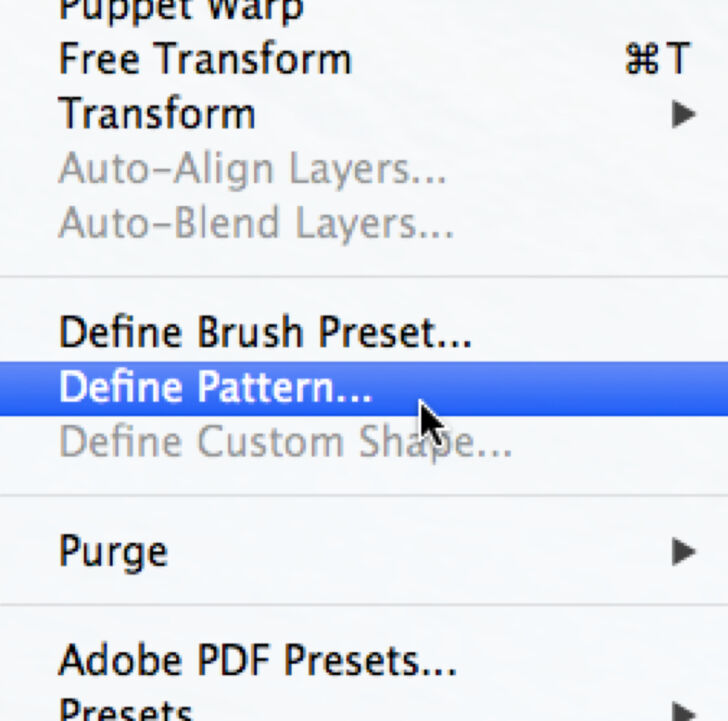
(3) Open Edit/Define Pattern and give your pattern a name. It can be called Modeling (or Modeling_1 if you have different variations).
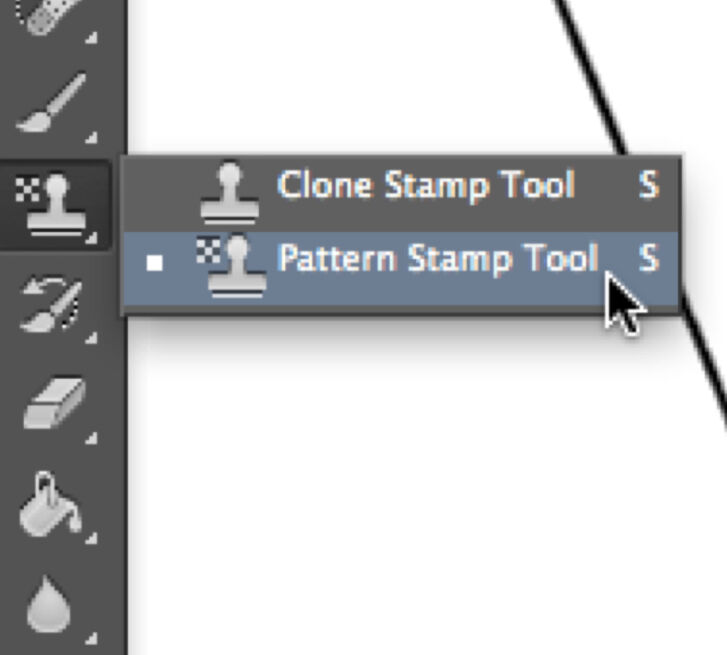
(4) Now your pattern is defined and, whenever you’d like to use it, all you have to do is hover over the Tools Bar and right click (secondary click) the Stamp tool. Choose Pattern Stamp tool.
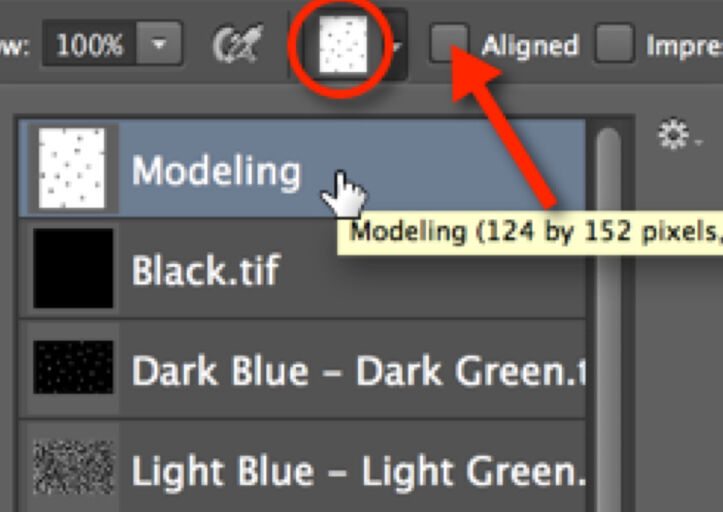
(5) Now find your pattern in the Pattern Tool Menu. Click on the Pattern drop-down window and pick the pattern for Modeling. (You’ll find your new pattern at the bottom of the list, but - as always - they can be rearranged, deleted, or modified by clicking on the cog sign.) Make sure Aligned is not checked, so instead of using your pattern in a grid, Photoshop generates a random arrangement of your pattern.
0 comment(s)
Leave a comment(We'll keep your email address private)