
Using your studio computer in the field Part 2 – Providing remote access to shortcuts while drawing on the iPad
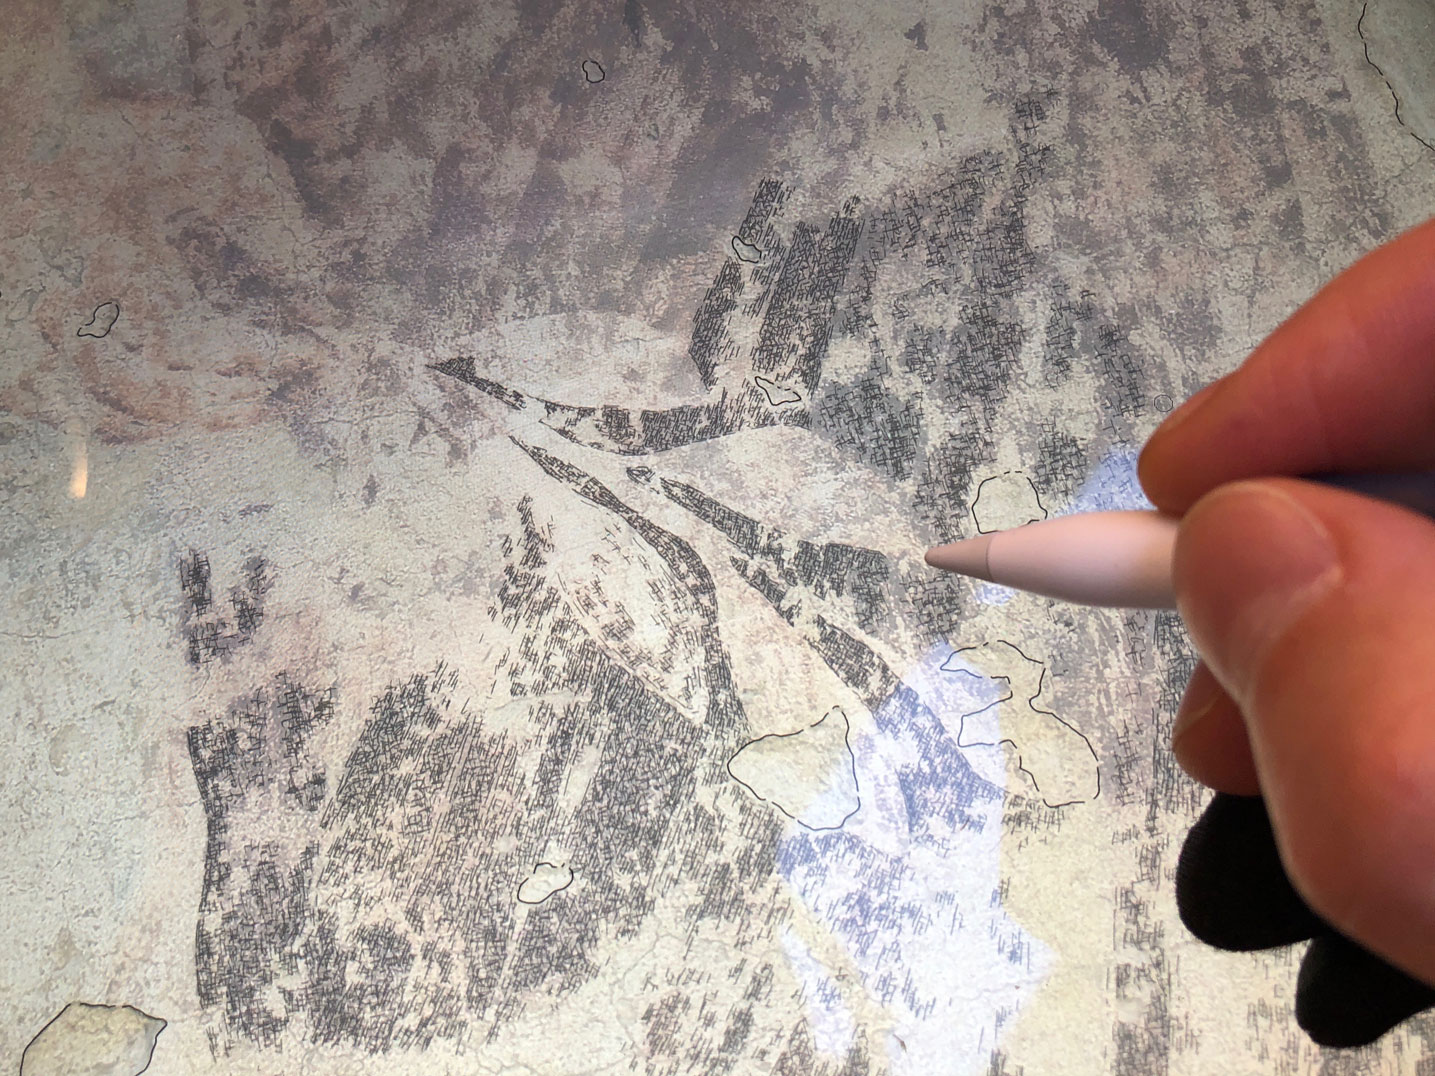
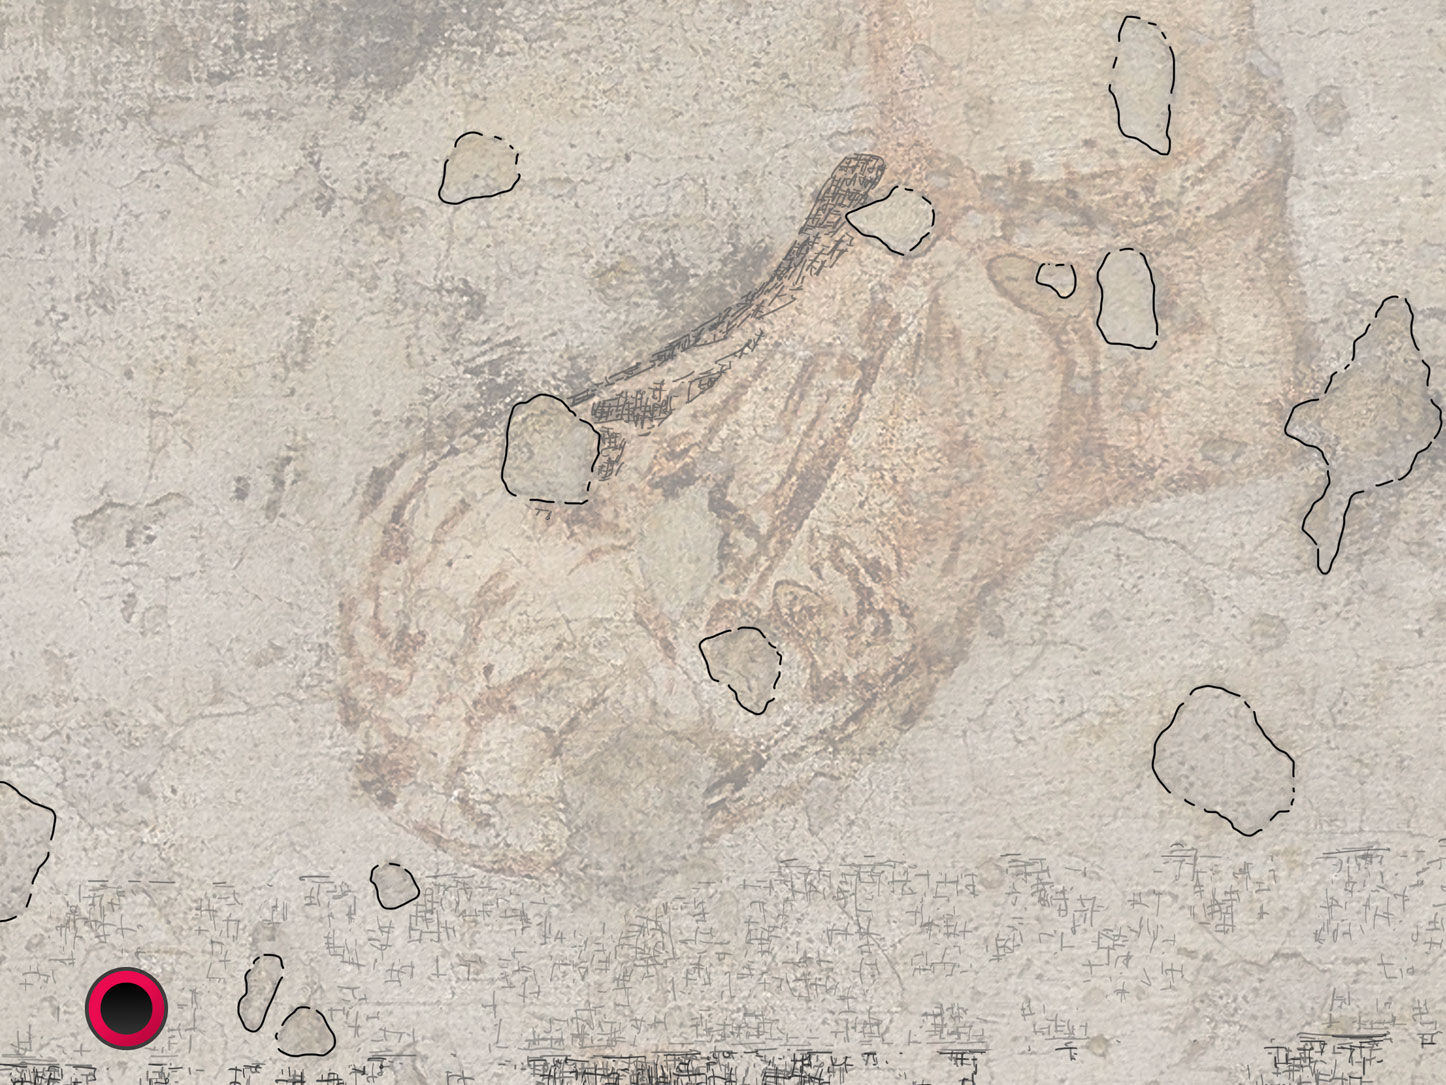
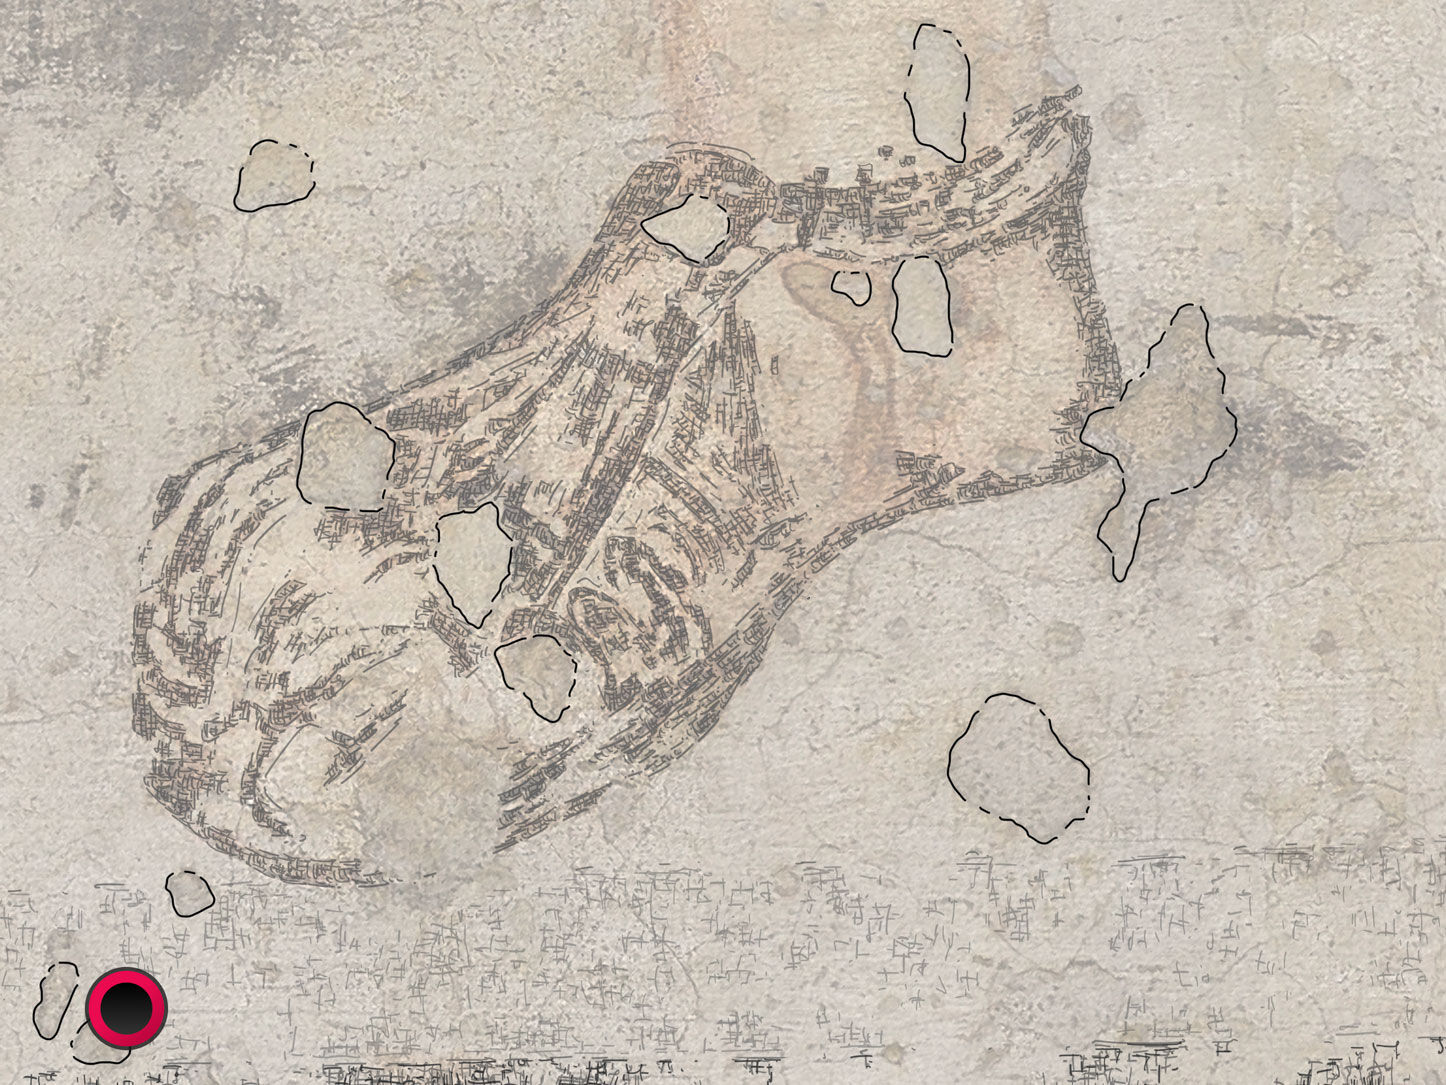
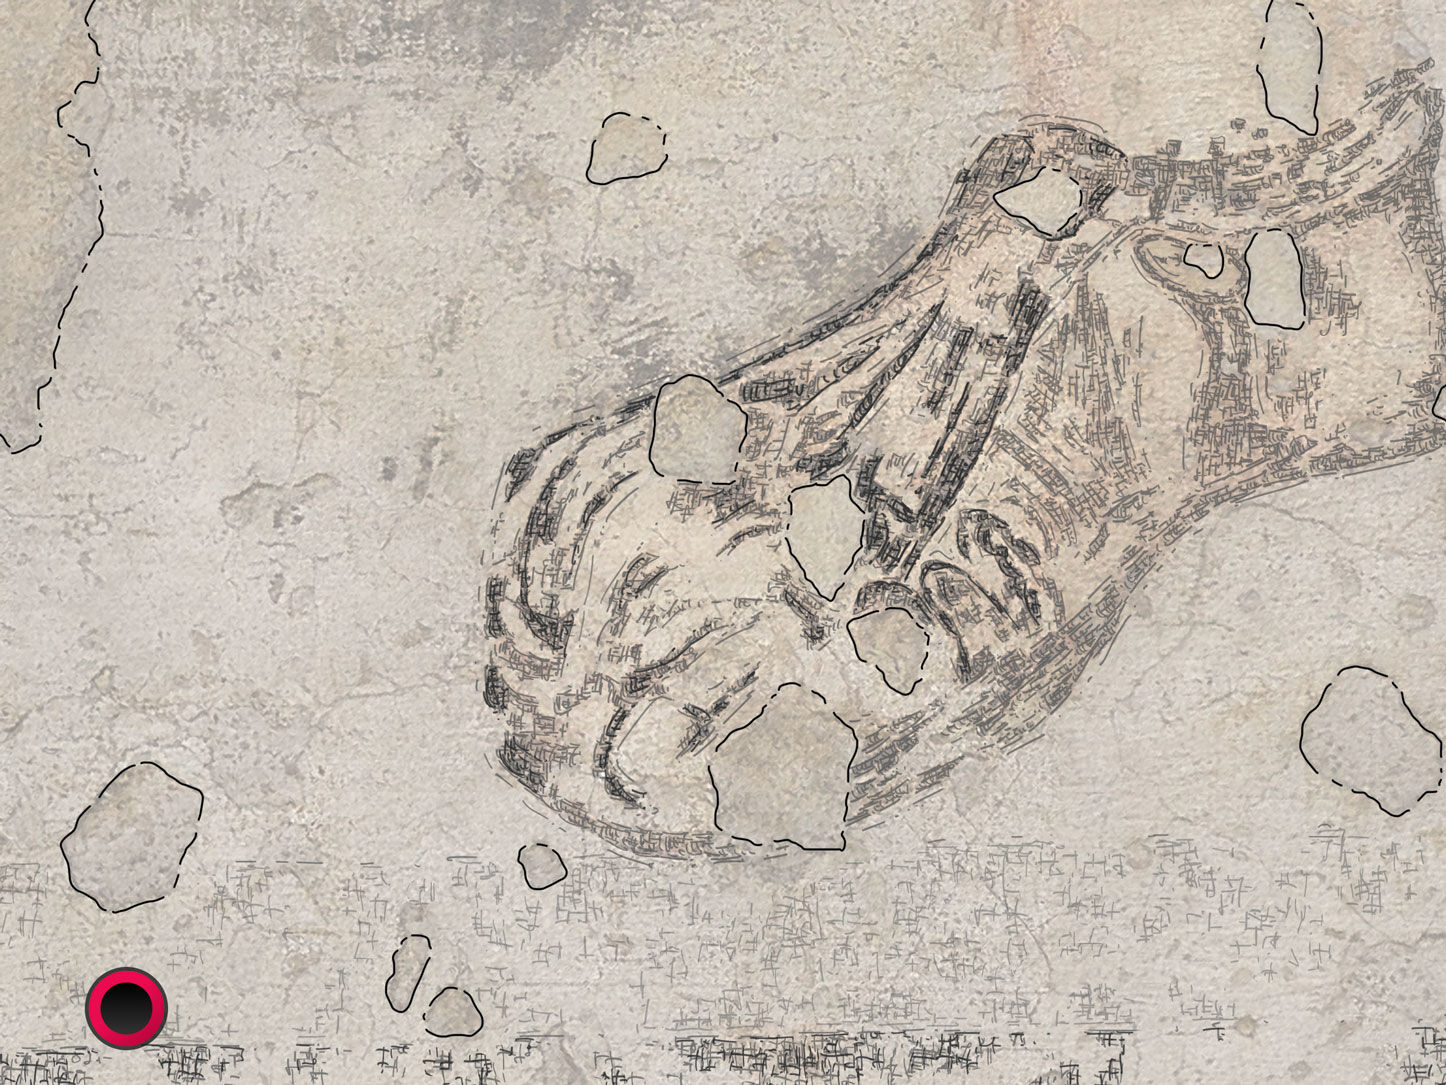
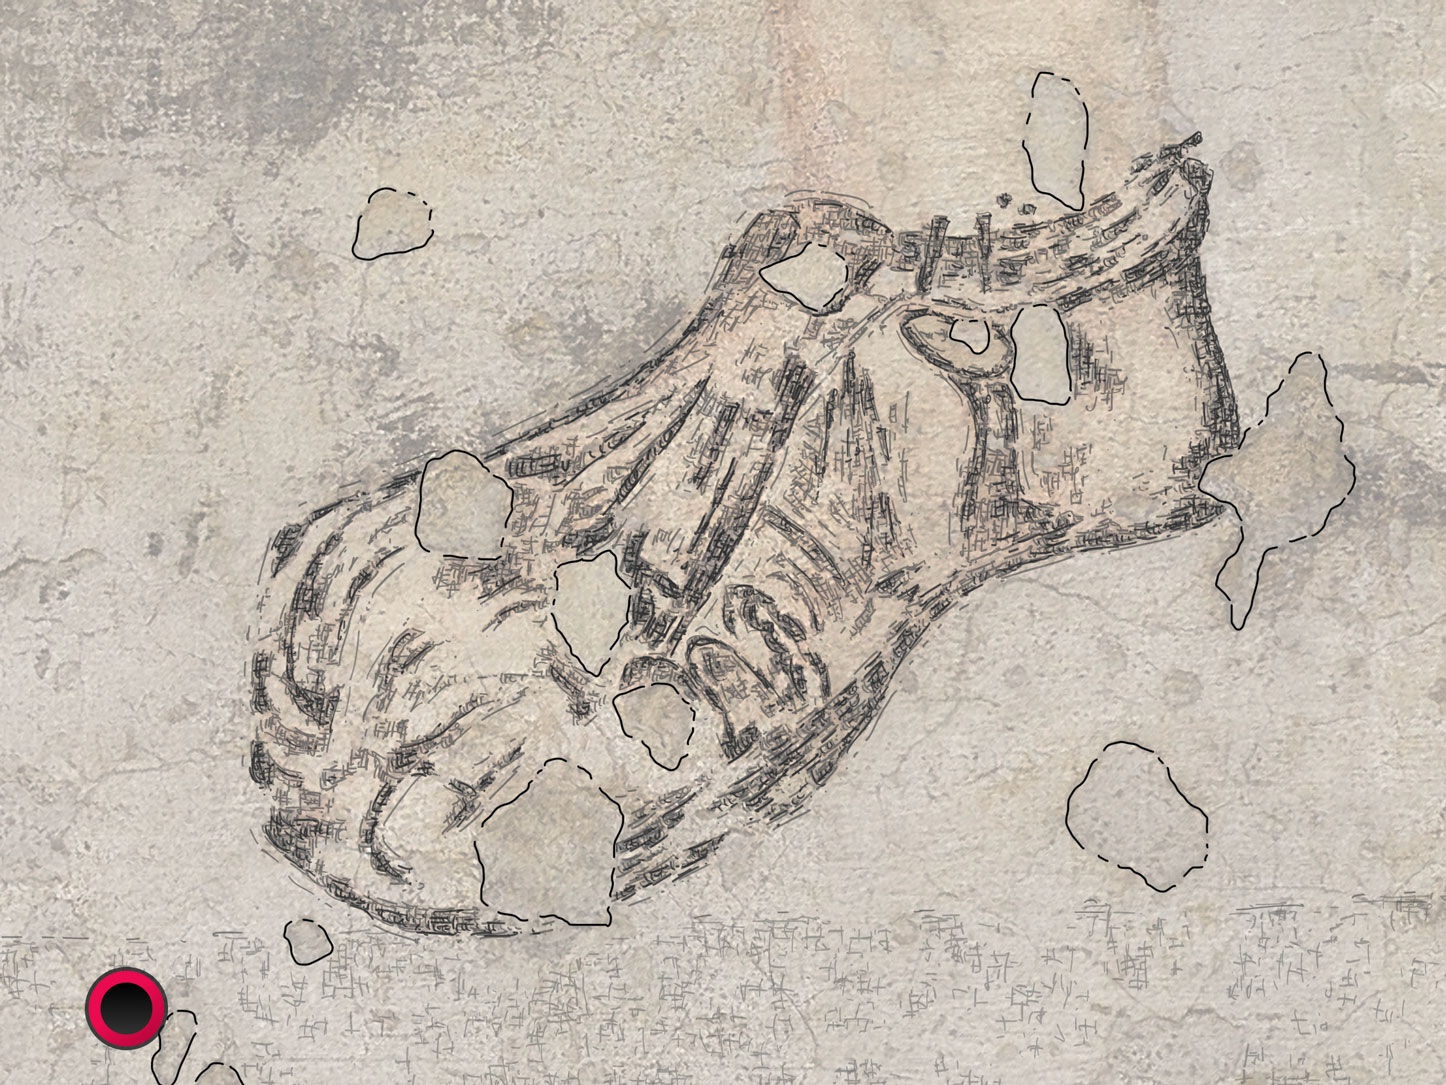
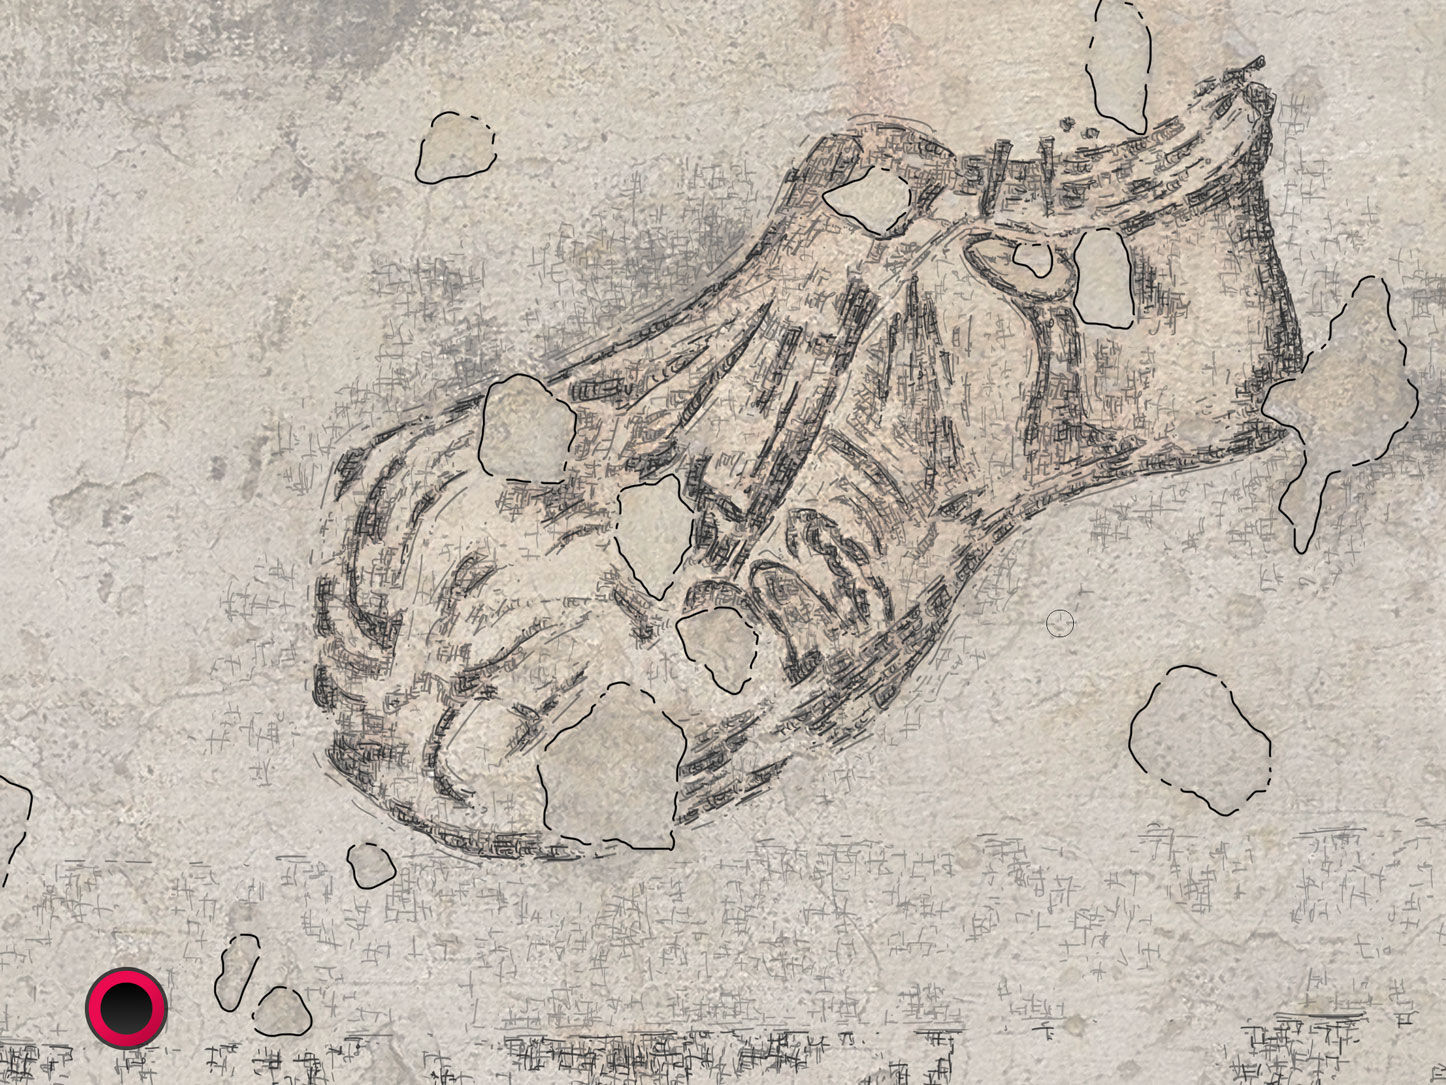
Adding Photoshop texture to fresco remains in the Imperial chamber at Luxor temple using iPad Pro
In the second part of the introduction regarding using full-fledged desktop software in the field, I’d like to elaborate on the importance of creating the best possible workflow for our documentation needs. Now that you are familiar with the basic equipment used for the specific project I’m working on at Luxor temple, it is time to look further into the actual drawing process. Unfortunately, a detailed introduction of the actual drawing method invented for documenting the imperial chamber’s late roman murals would exceed this tutorial’s boundaries, therefore allow me to save it for later, in a more complex article. In this tutorial, I’d like to take you back to the field, explaining how to proceed with the setup described in part 1 of this article.
Just like I mentioned earlier, the key to a successful workflow when working in the field is to have the right set of shortcuts exactly where you want them, preferably in the same manner as in the studio. While I can have as many external devices providing shortcuts as possible scattered around my drawing table at home, working with too many gadgets in the field can be counterproductive. For this very reason, I never have more devices around me than I can hold in my hands at once. Switching tools frequently can be destructive to your focus and can easily create a tedious and cumbersome drawing experience. For that matter, I like having my computer lid closed with all the necessary visual information tethered to my iPad; I find having to deal with only one screen at a time allows me to concentrate more on the wall in front of me.
With that said, the best portable device to have in the field is the Wacom Express Key Remote. Although it is designed to be used with Wacom’s own creative displays, it doesn’t need to be physically connected to the Cintiq Pro. Instead, the ExpressKey communicates with one’s computer directly via its USB dongle, letting it control Photoshop even when the Cintiq isn’t connected. What it means is that one can use Photoshop shortcuts in an instant through Wacom’s remote, while drawing in Photoshop on the PC, tethered to the iPad Pro using Luna Display and Astropad Studio. This may sound like a complicated setup for some, but, in reality, it is just the right combination of software and hardware to give us the best possible experience in the field.
Certainly, one can have a large selection of different options when setting up specific shortcuts for fieldwork, however I prefer using the Wacom ExpressKey in tandem with Astropad Studio’s built in shortcut panel. In this manner, the commands that must be executed the most have a physical button dedicated on my Wacom remote, while shortcuts that are less often needed live on my iPad.
The ExpressKey setup is as follows (all shortcut commands apply for the Mac; PC users must use their PC equivalent):
Outer Keys:
Step Back (Cmd + Z)
Step Forward (Shift + Cmd + Z)
Zoom In (Cmd + = reassigned shortcut command)
Zoom Out (Cmd + -)
Brush (B)
Pattern (S)
Full Screen (Opt + Cmd + F reassigned shortcut command)
Escape (Esc)
Inner Keys:
Shift, Cmd, Opt, Ctrl
Ring Keys (clockwise from top):
Smoothing Off (Opt + 1)
Smoothing On (Opt + 7)
Right Click
Delete (Del)
Save (Cmd + S)
Touch Ring:
Rotate
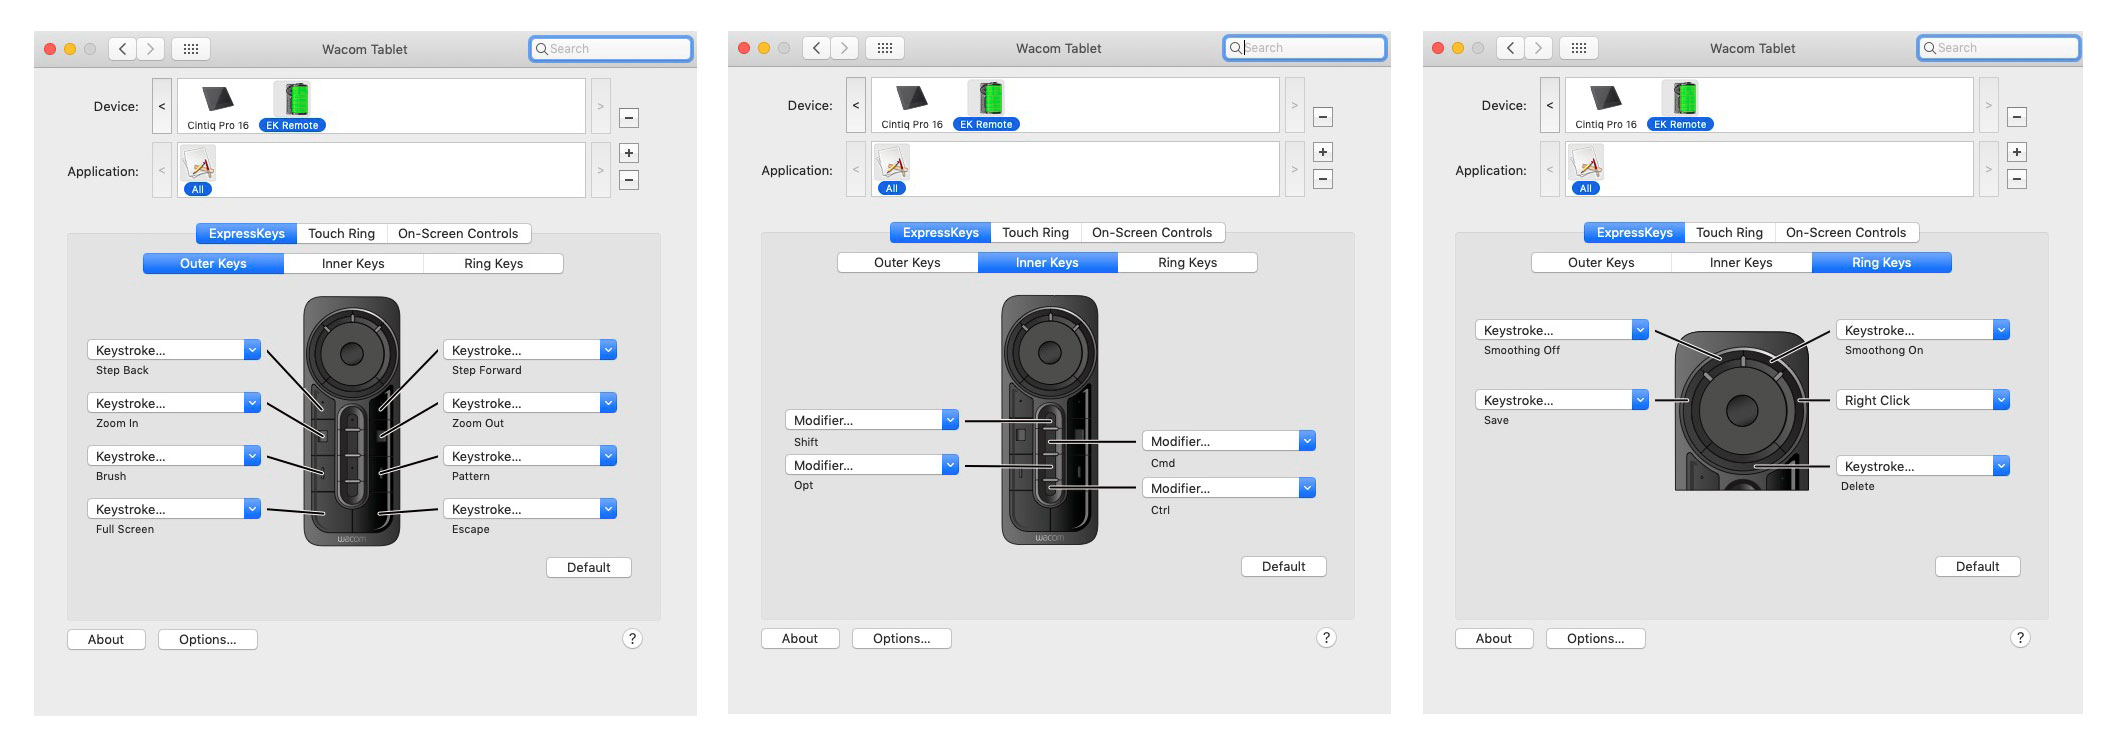
Fieldwork specific button setup on the Wacom ExpressKey Remote (click to enlarge)
The Astropad Studio softkey setup is as follows (all shortcut commands apply for the Mac, PC users must use their PC equivalent):
Step Back (Cmd + Z)
Step Forward (Shift + Cmd + Z)
Brush (B)
Eraser (E)
Curvature Pen (I reassigned shortcut command)
Pattern Stamp (S)
Stroke Path (Ctrl + Cmd + S)
Delete Path (Ctrl + Cmd + G + B) – deletes path and switches back to brush
Deselect (Cmd + D)
Enter (Ent)
Escape (Esc)
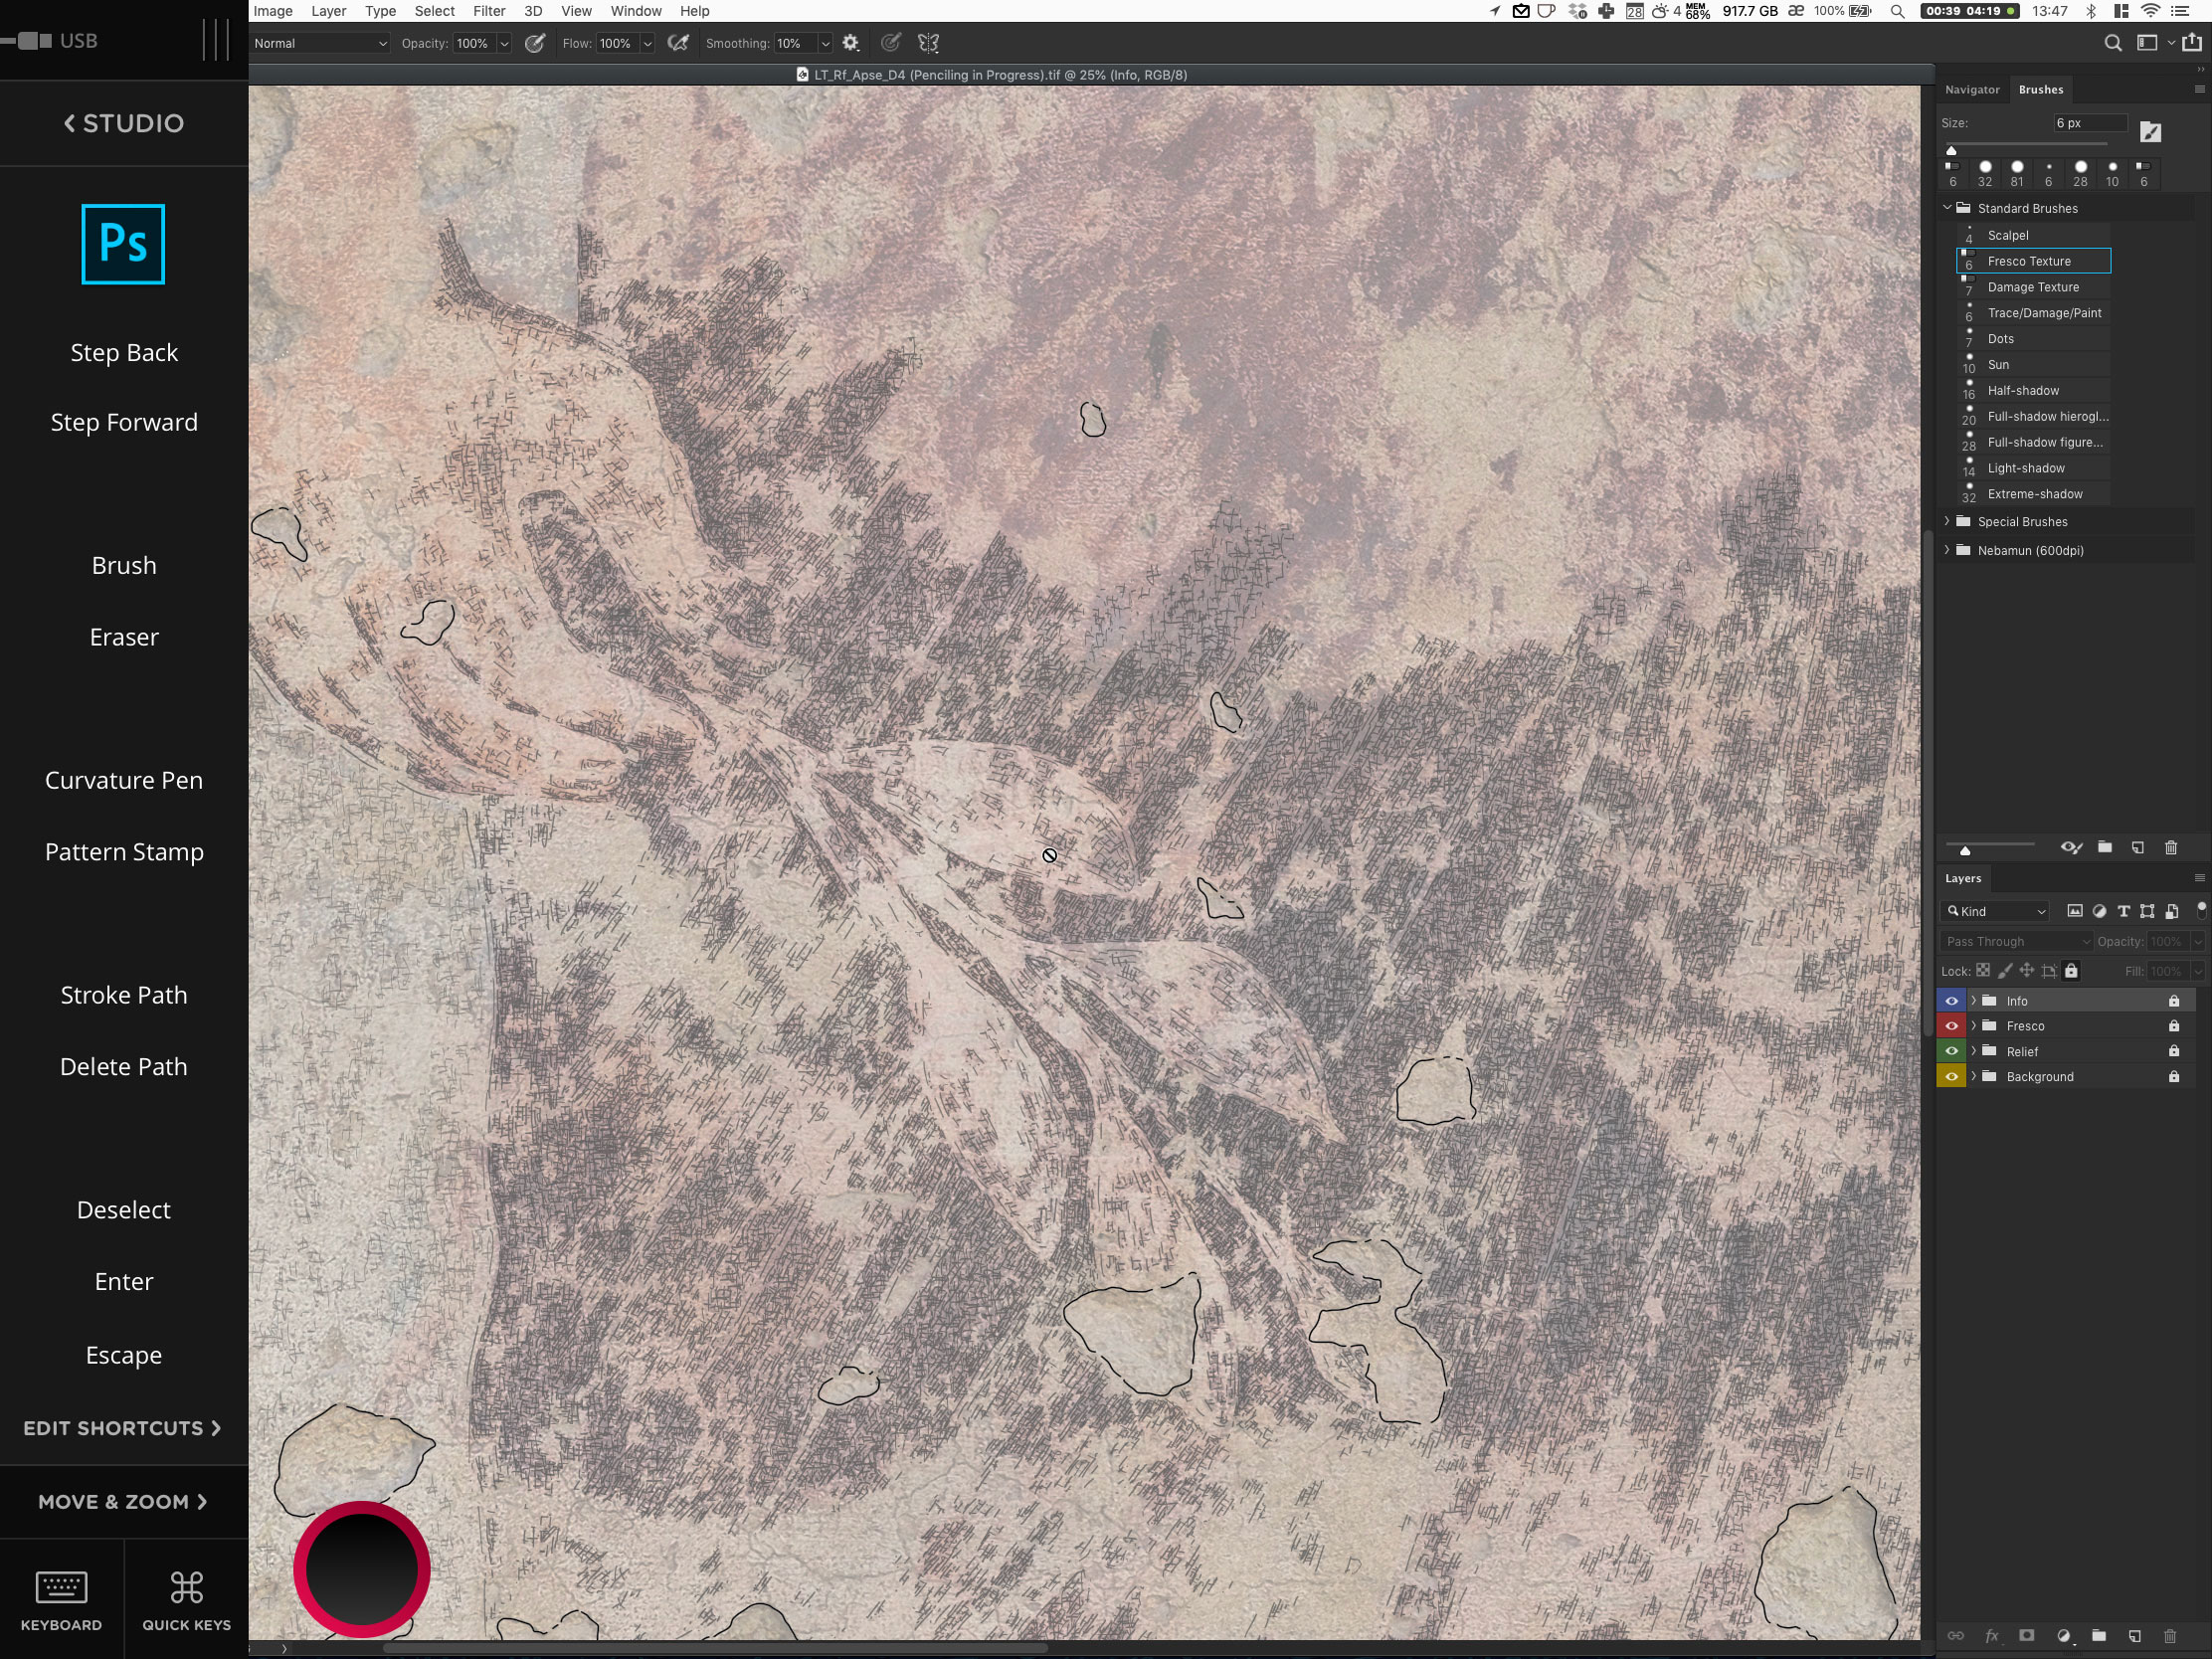
Fieldwork specific button setup in Astropad Studio shown on the 10.5 Inch iPad Pro
With the right shortcut setup one can proceed relatively fast, even when dealing with complex drawings. As shown in the video tutorial, I mainly work in full screen mode to provide the largest possible canvas on the iPad and to avoid accidentally hitting buttons when focused on drawing. Just to give you one example of the many hidden features when working in full screen mode in Photoshop: pressing the right click shortcut on the Remote while using the brush tool calls up the brush switcher panel, which is a convenient extra to have when one needs to use many different preset brushes. The importance of finding the right workflow and device arrangement when working in the field can’t be overstated. However, with the right combination of today’s hardware and software solutions, it is finally possible to work with desktop software in the field with a lot of confidence.
Texturing in the field using iPad Pro with shortcuts

Screen recording showing the drawing process (at 3x speed with no sound included):
0 comment(s)
Leave a comment(We'll keep your email address private)