Setting up a Digital Scalpel Pattern
Once again there is the obvious method of applying a “digital scalpel” over painted lines, using the Eraser, except that using the Eraser tool to get this lighter effect takes a very long time. To speed up the process, one can set up a Scalpel Pattern and apply it over the inked lines the same way as he/she would do when modeling or drawing plaster. Although it acts like an eraser, we use a pattern based on white brush lines to accomplish our task:
Setting up a Digital Scalpel Pattern
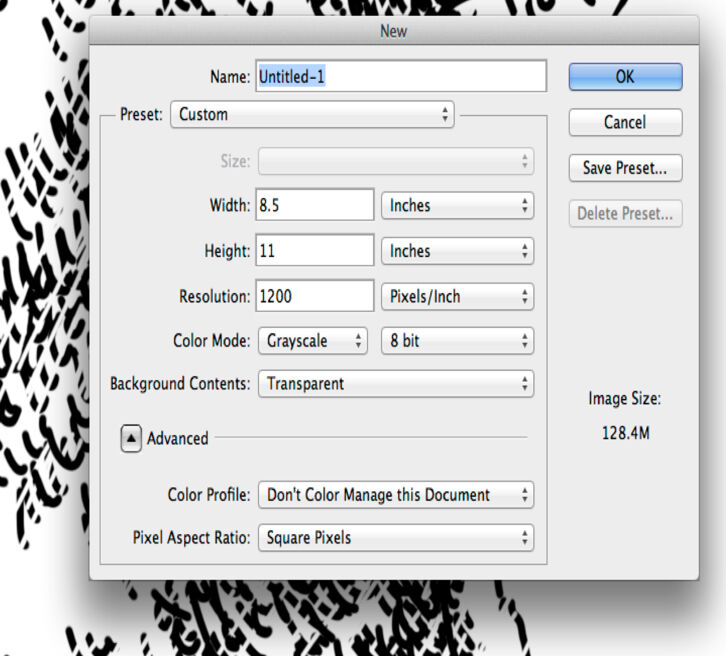
(1) In a similar fashion to setting up all the previous patterns, open a new canvas, set the Resolution to 1200dpi, with Color Mode to grayscale.
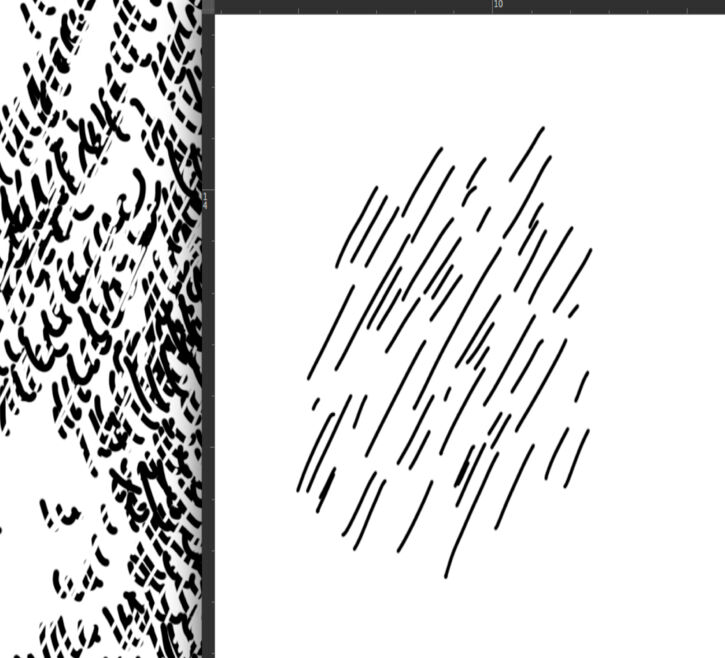
(2) Draw a few Brush Strokes with the same orientation as your scalpel would have. Add some variety in length.
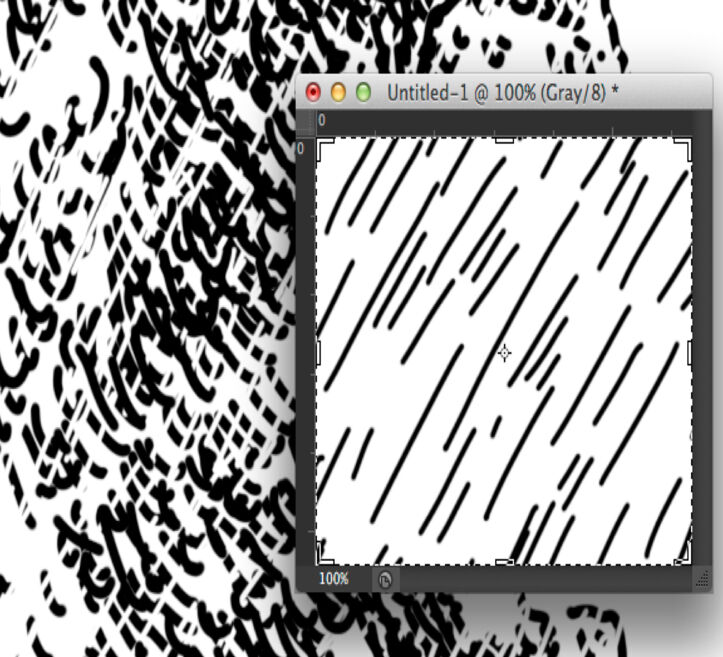
(3) Crop the area around your pattern in a way that no significant white space remains and the texture looks homogeneous.
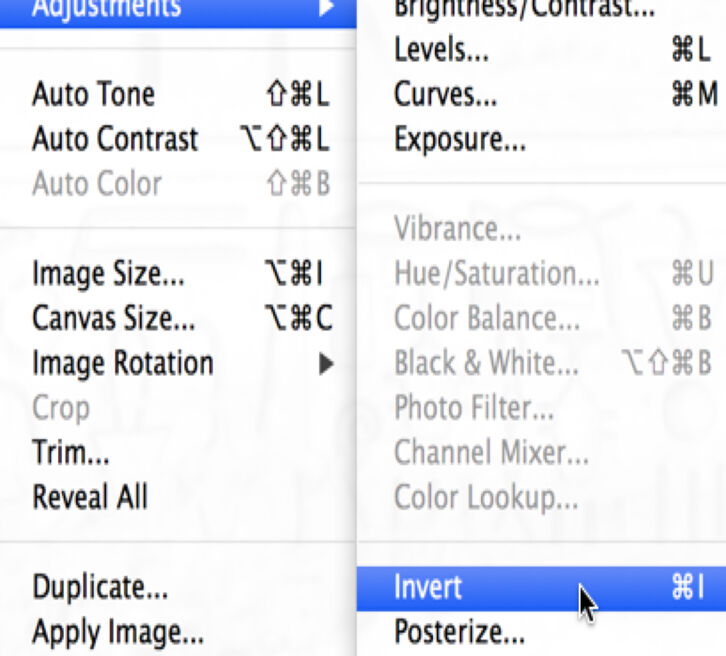
(4) Go to Image/Adjustments/Invert transform your black brush strokes to White. It turns your entire canvas white.
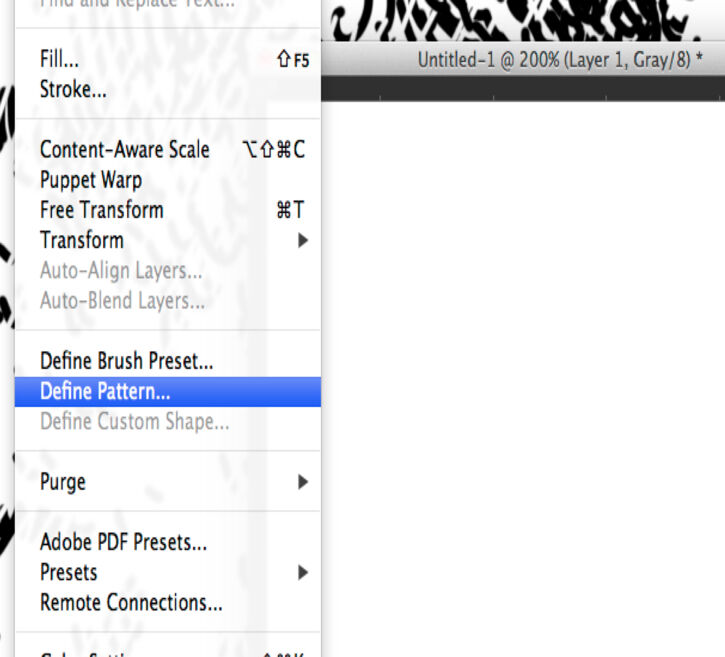
(5) Hit Edit/Define Pattern and set your new pattern up as Scalpel_1. (Try different patterns with slightly tweaked brush work.)
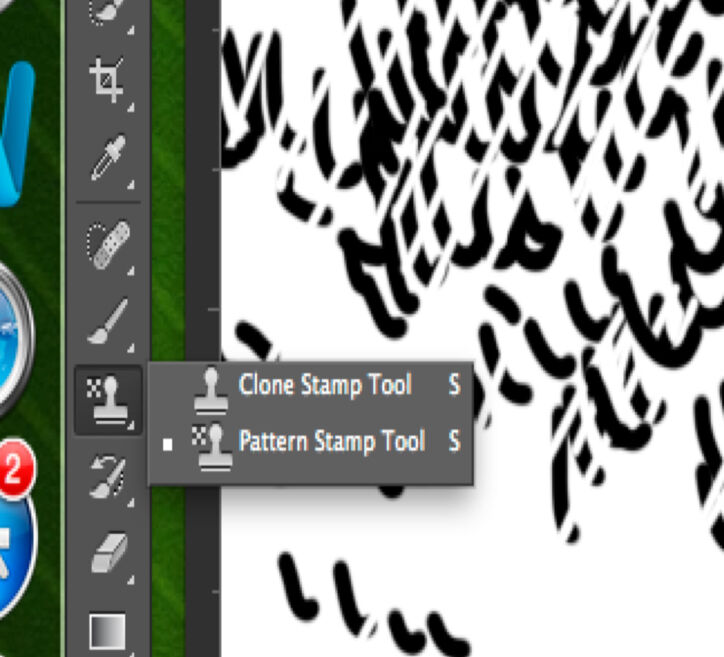
(6) Hover over the Tools Bar and hit right click (secondary click) at the Stamp tool. Choose Pattern Stamp tool.
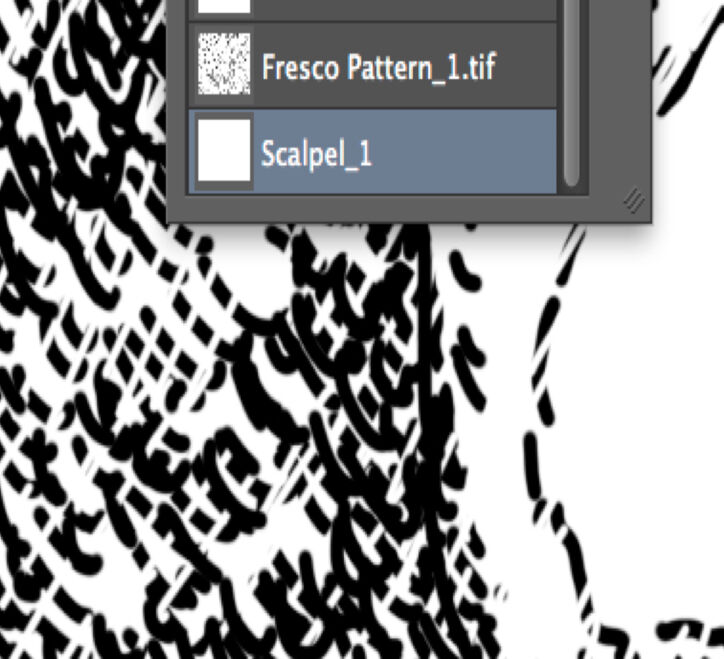
(7) Pick the Scalpel_1 pattern you want to use. Note that newly set patterns always end up at the bottom of the pattern list.
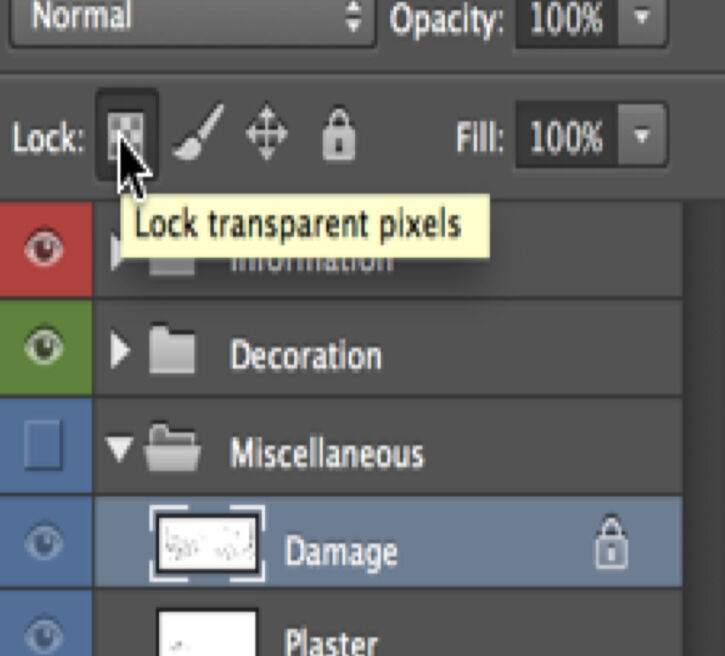
(8) Go to the Layers Panel, and with the Damage layer active, lock the transparent pixels by hitting the first tab on the Lock Menu.
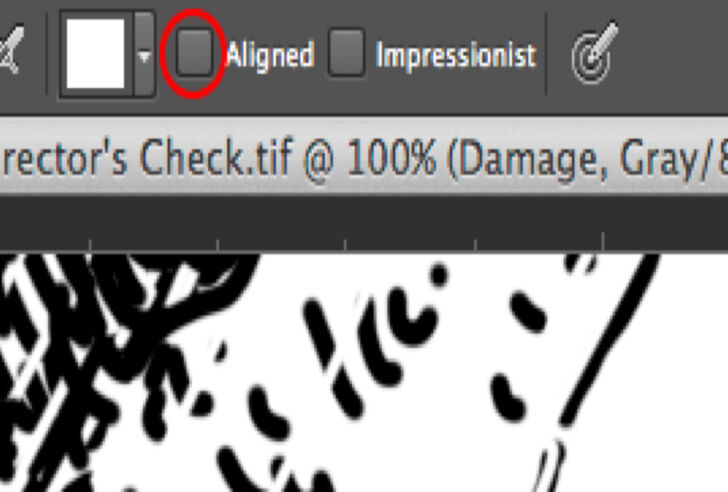
(9) Make sure Aligned is deactivated on the Tools Panel. Use the pattern by painting separate strokes over the damage.
You can
download the short tutorial to learn this skill.


0 comment(s)
Leave a comment(We'll keep your email address private)