The North Hill of Dayr al-Barsha with the Tomb Entrance of Djehutihotep

Continued from PART ONE...
Following the theft of a relief fragment that was hacked out of the interior chapel in May 2015, the urgency of a new and detailed copy of Djehutihotep's tomb became evident. Funding was obtained from KU Leuven in order not only to record the present state of the tomb but also to digitally reconstruct its original appearance as much as possible by integrating the many decorated wall fragments that are preserved both at the site and at several museums worldwide into a virtual model.
As with any epigraphic project, deciding on a method and workflow was a crucial first step. That this method should be digital, and not by tracing on transparent plastic, was self-evident, but the choice between a vector-based or a raster-based program was not. Since the epigraphers' original preference went to a vector drawing, one scene was drawn in Adobe Illustrator as a case study.
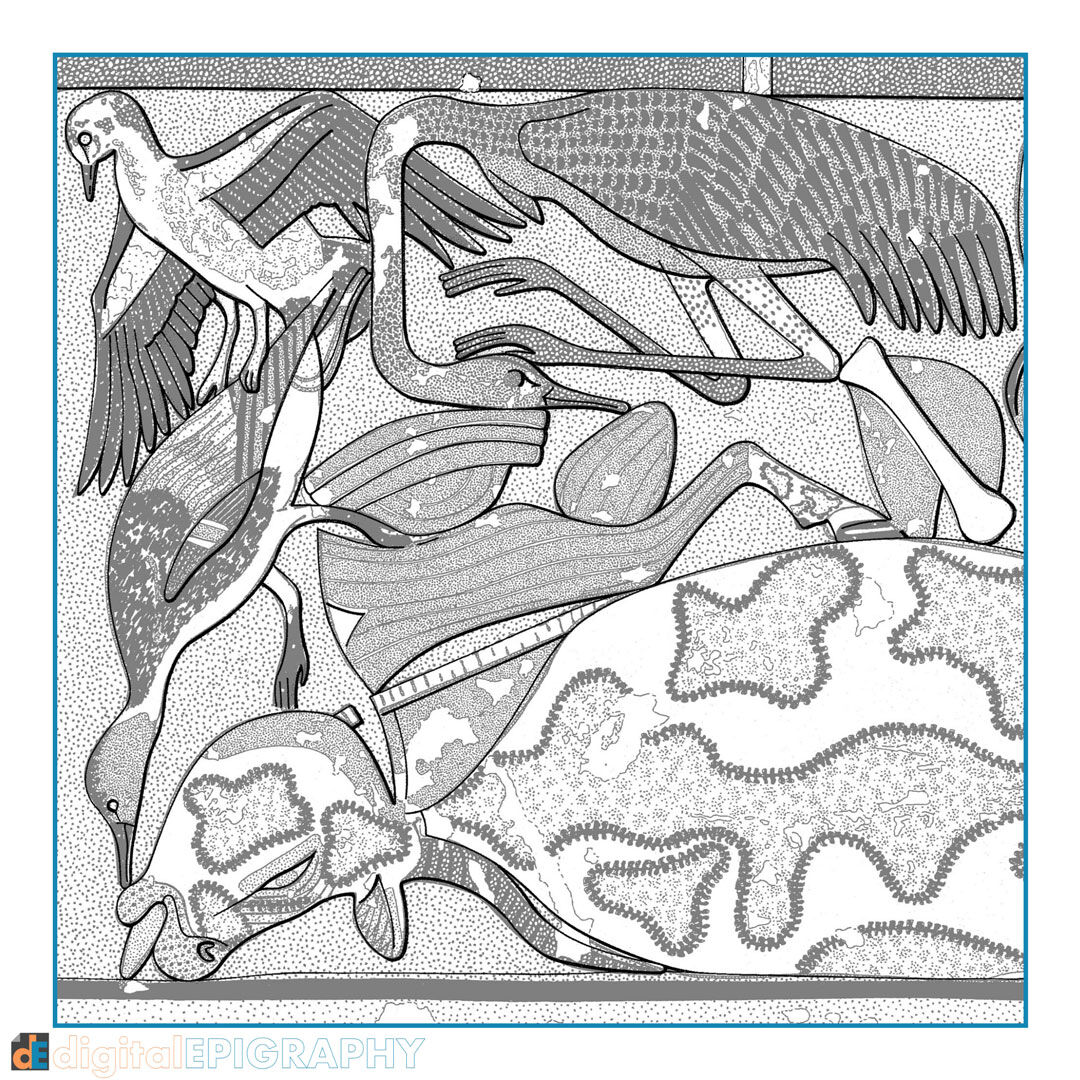
While the scene of the dragging of the colossal statue of the governor is the best-known scene of the entire tomb, it is usually looked at in isolation. However, this scene forms part of a larger narrative covering the entire upper part of the western interior wall of the tomb. To its left, the statue is being followed by a large figure of Djehutihotep himself accompanied by his relatives, guards, and high officials. To the right, the gate of the building (now destroyed) is shown towards which the statue was transported, in front of which a number of offering bearers are depicted. The latter was only summarily rendered in Newberry’s 1894 publication, perhaps because the walls were still covered with dirt.
Today, however, much more of this scene is visible and a new copy makes it clear that Newberry’s drawing is not only incomplete but also incorrect.
This post was originally released as part of digitalEPIGRAPHY's growing Instagram collection. If you'd like to see our latest photos as soon as we post them, please follow us on Instagram.
Back to GalleryWhat to see next