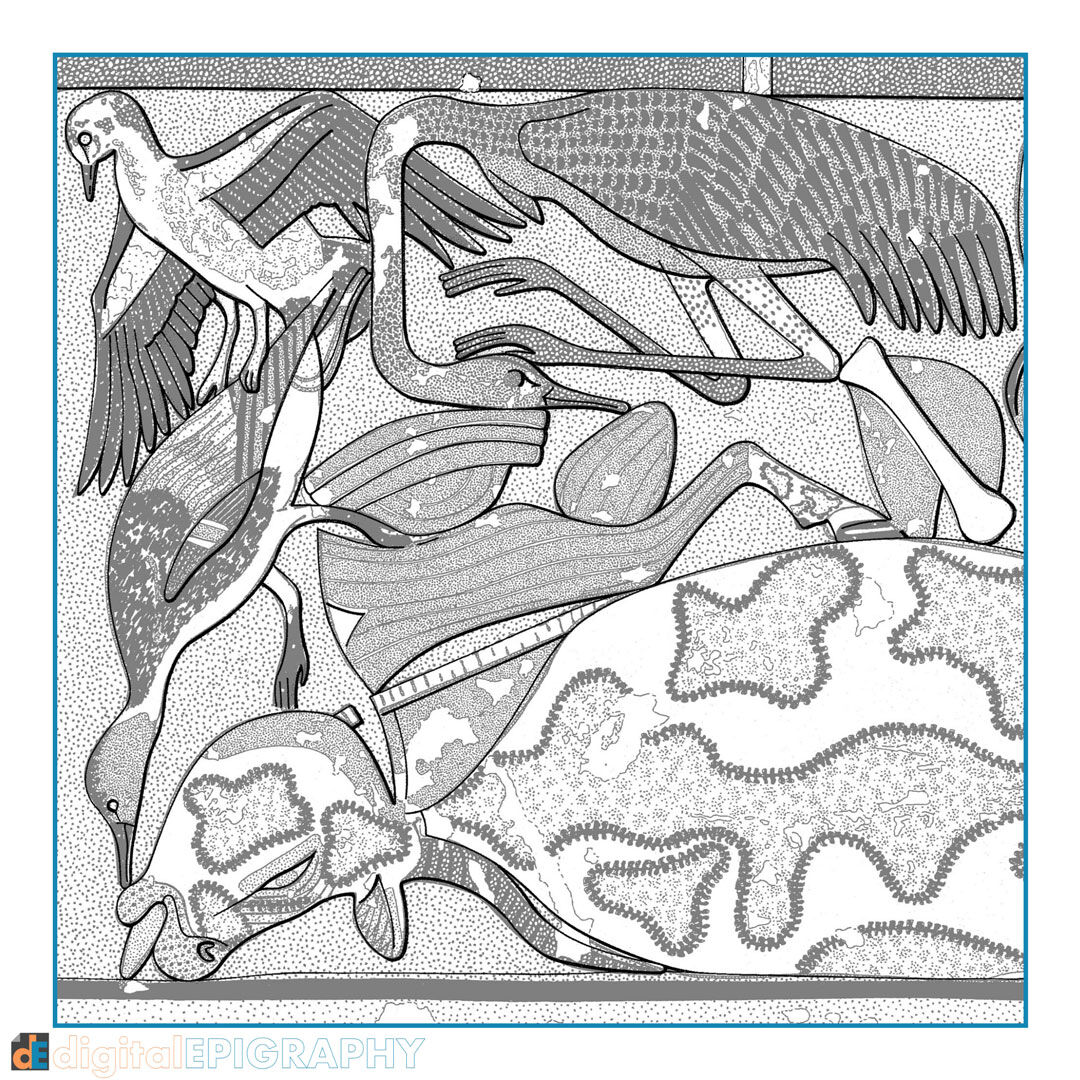
Adding specific patterns from a historic watercolor image of a saddle to the roman fresco reconstruction at Luxor temple

To learn the fundamentals of using selections in Photoshop, our favorite content creating software, read our tutorial by clicking here.
Making a selection before interacting with certain elements of a drawing is one of the most vital tasks anybody who works with visual documentation must learn. In this first installment of our new tutorial series, we explore the attributes of this seemingly simple tool that immensely speeds up our workflow, both in the field and back at the studio.
Naturally, selection tools are usually associated with photo modification, becoming a necessity when one wants to erase parts of an image, change a hue, or duplicate part of an image. However, in this tutorial, digitalEPIGRAPHY would like to elaborate on these foundations and show how you can effectively use selections in your day-to-day epigraphic work.
As you might notice reading the article, some of the selection tools we describe become useful when changing the outlines of a certain feature, while others can be mostly used for content modification. Some of these tools speed up the penciling and inking process by offering the ability to change a line’s shape, direction, color, etc. without the need to redraw them. Other selection tools come handy when we need to treat more complex surfaces, such as greyscale and color texture layers, or when we want to enhance certain portions of our images.
Either way, selections are one of the cornerstones of Photoshop editing. Whether you need to cut something out or perform any number of other tasks, creating a selection is often the starting point.
This post was originally released as part of digitalEPIGRAPHY's growing Instagram collection. If you'd like to see our latest photos as soon as we post them, please follow us on Instagram.
Back to Gallery


