
Modifying Pencil Lines on B/W Photo Enlargements
The best way to make local enhancements over smaller areas is by using the Burn and Dodge tools. The Burn tool can be used over light areas to make the pencil lines appear darker. When the artist uses the Burn tool, he/she has to be very careful about setting the Range to shadows or Midtones, because setting it to Highlights just draws a cast over the area. The Dodge tool can be used to lighten up dark areas, to make the photo enlargement around the pencil lines appear lighter. When applying this tool, the range has to be set to Highlights; otherwise the line disappears.
Modifying Pencil Lines on B/W Photo Enlargements
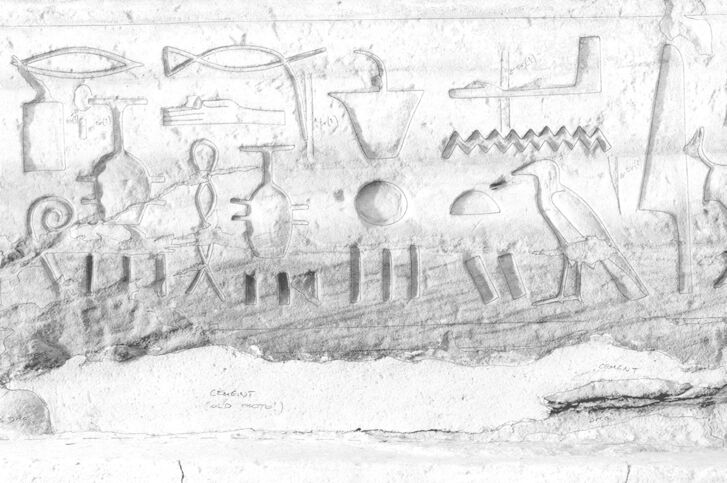
(1) Original scanned photo with darker and lighter areas. While lighter photos are generally better backgrounds for penciling, the photo details tend to disappear.
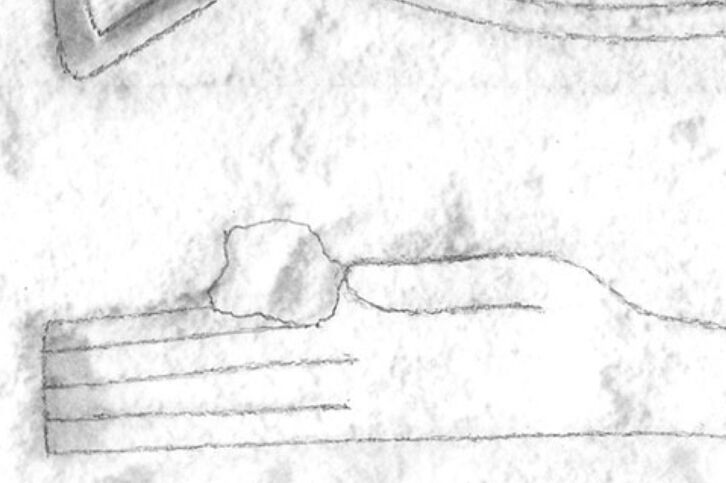
(2) Pencil lines over lighter areas are more visible, but sometimes need to be darkened for more contrast.
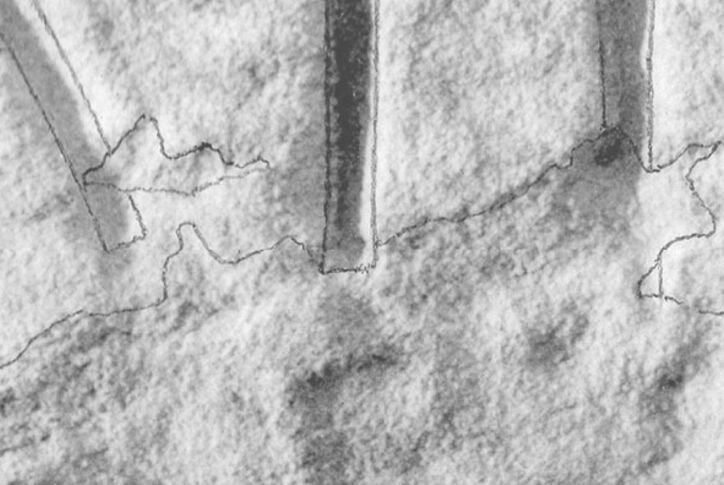
(3) Pencil lines over darker areas tend to be less visible, and sometimes they need to be further emphasized by lightening up the background.
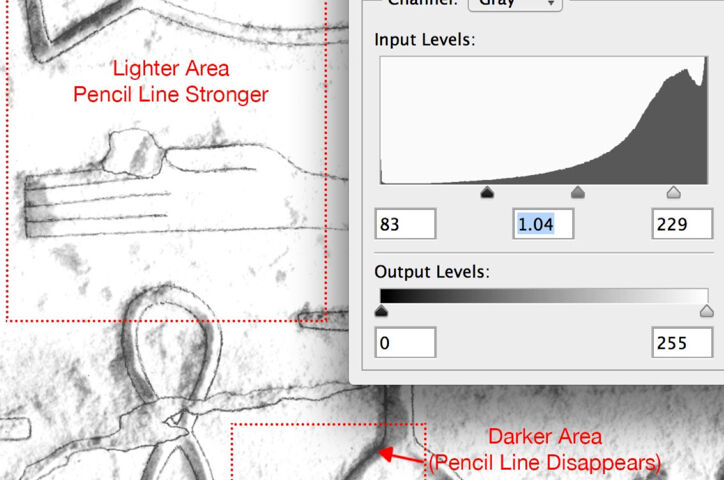
(4) One can make general photo enhancements by using Levels. These modifications can be counterproductive when used over the entire photo.
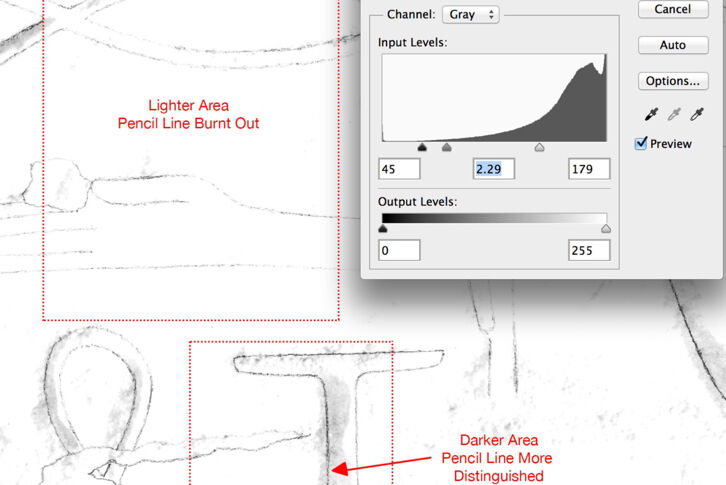
(5) One option is to select certain areas for particular modifications and/or to use Layer Masks for specific enhancements.
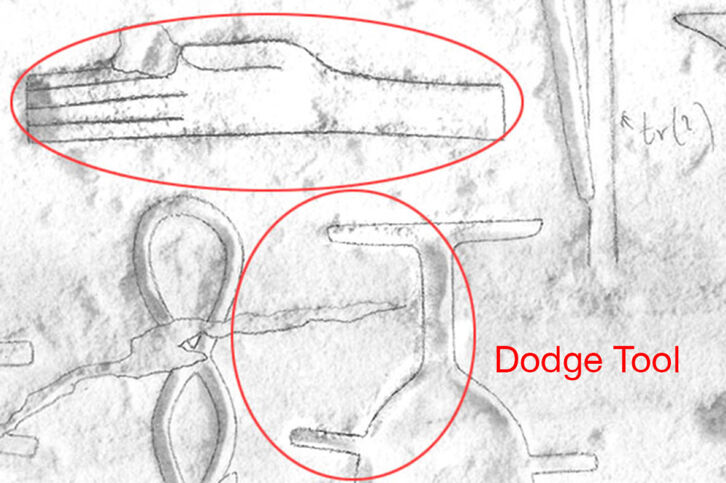
(6) The easiest way for quick enhancements is to use the Burn and Dodge tools for strengthening pencil lines or for lightening up darker areas respectively.
0 comment(s)
Leave a comment(We'll keep your email address private)