
Creating a Companion Drawing Case
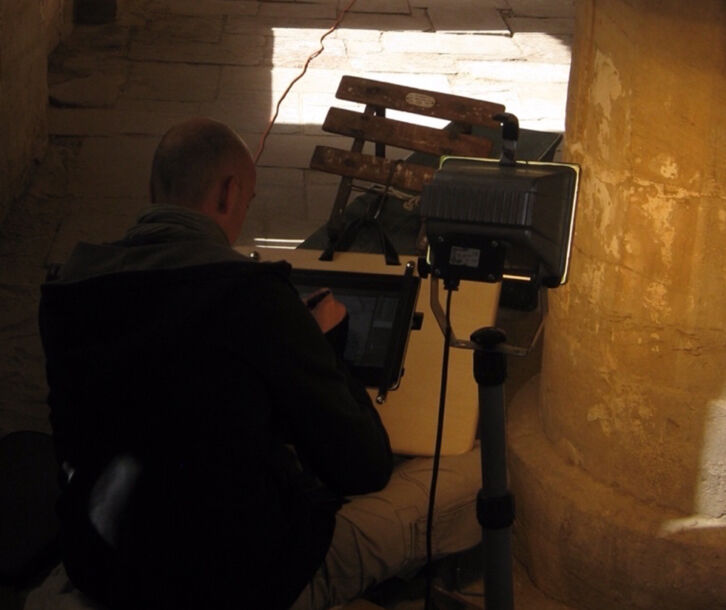
With Wacom’s Companion, it is possible to use a digital photograph instead of a printed enlargement for the drawing background, “penciling” directly onto the digital image in the presence of the inscribed wall surface. There are, however, a couple of initial issues to be addressed with this new technique.
First and foremost, the tablet needs to be secured at the wall, but at the same time the artist must be able to perform the usual rotation of the surface and bending movements. Due to the tablet’s size and narrow bezel, it needs to be inserted into some kind of wooden frame to give the necessary support to the artist’s arms. Although the first experiments with this technique on the tablet were made simply by putting it on a regular drawing board, afterwards a special drawing case was designed and produced to accommodate the device.
Creating a Companion Drawing Case
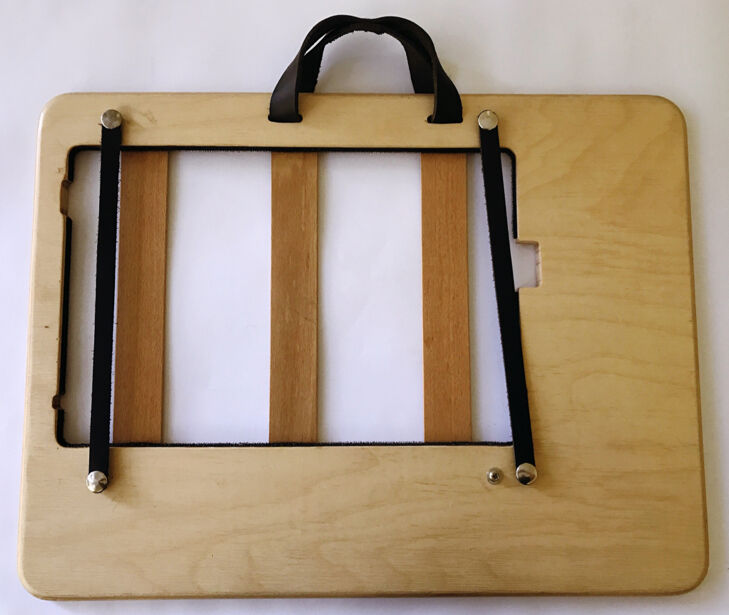
(1) The Companion sits securely in a cutout that also provides optimum ventilation while creating a continuous flat surface.
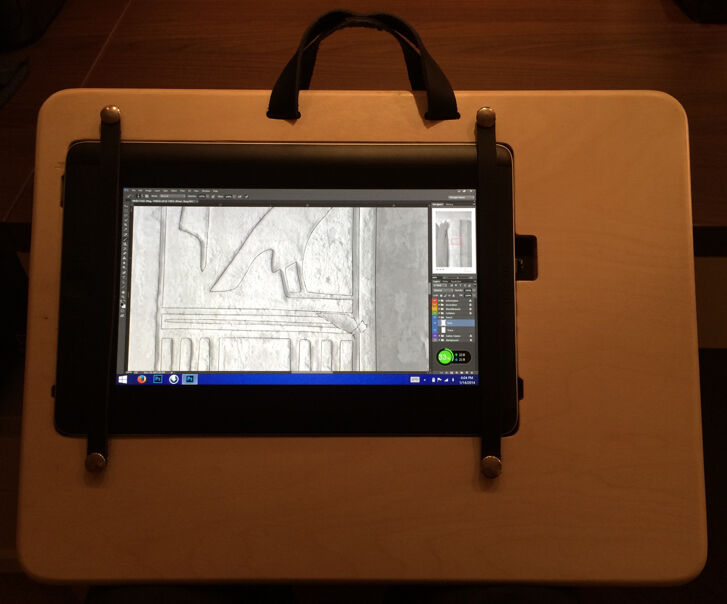
(2) The tablet is secured by removable leather straps. The asymmetrical arrangement provides room for the artist’s elbow while drawing.
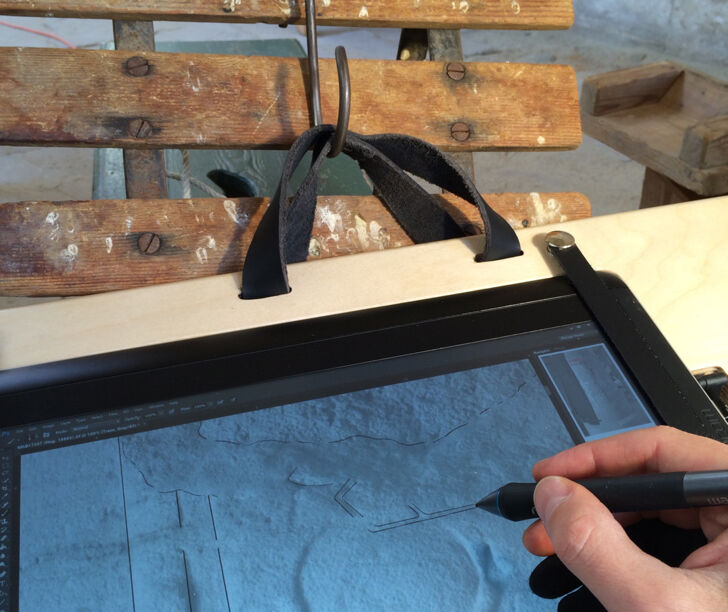
(3) The case can be attached to a metal hook by its leather handles, providing the correct angle for drawing while remaining horizontally adjustable.
(4) Overall the digital “penciling” experience remains very close to working on an actual photographic enlargement on regular drawing board.
To learn more about the context of this tutorial read the following chapter:
0 comment(s)
Leave a comment(We'll keep your email address private)