Setting Up Collation Sheets
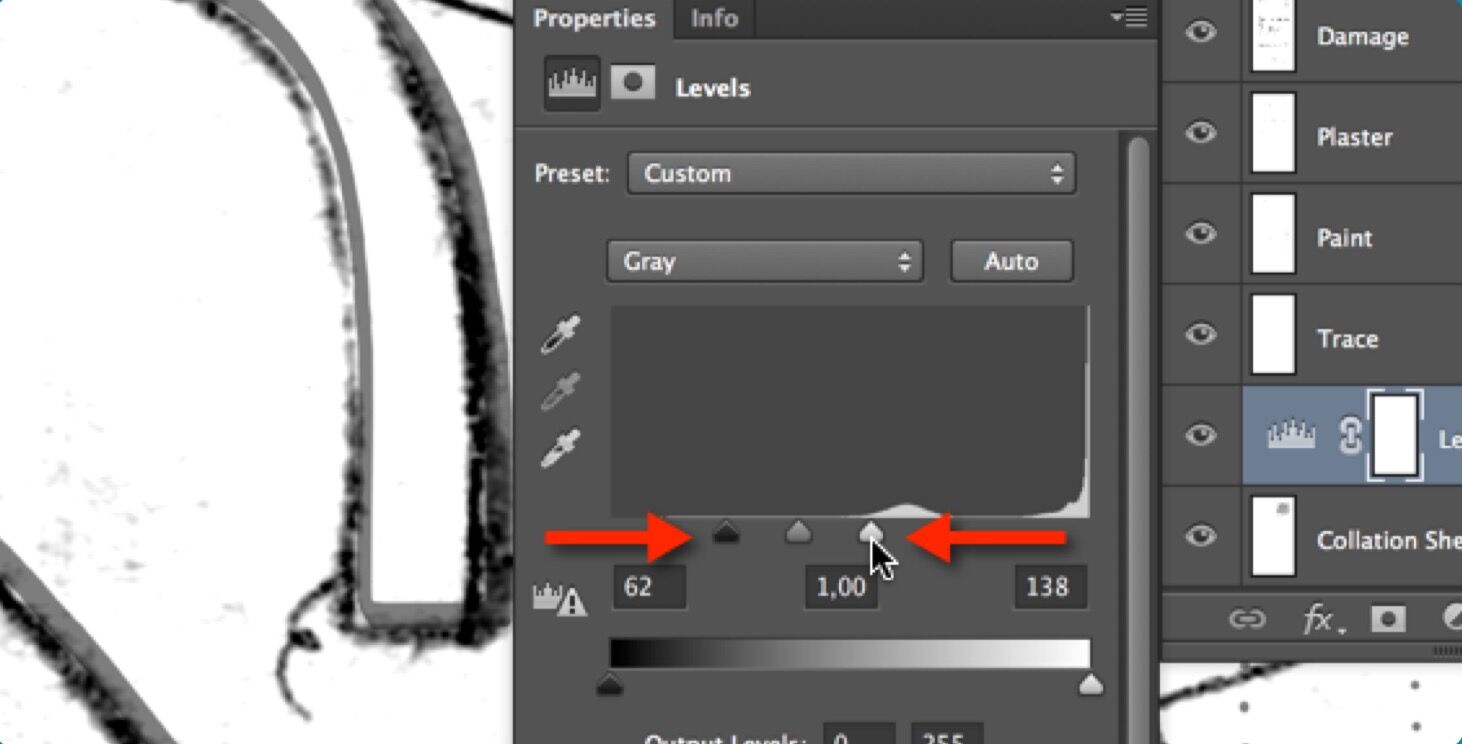
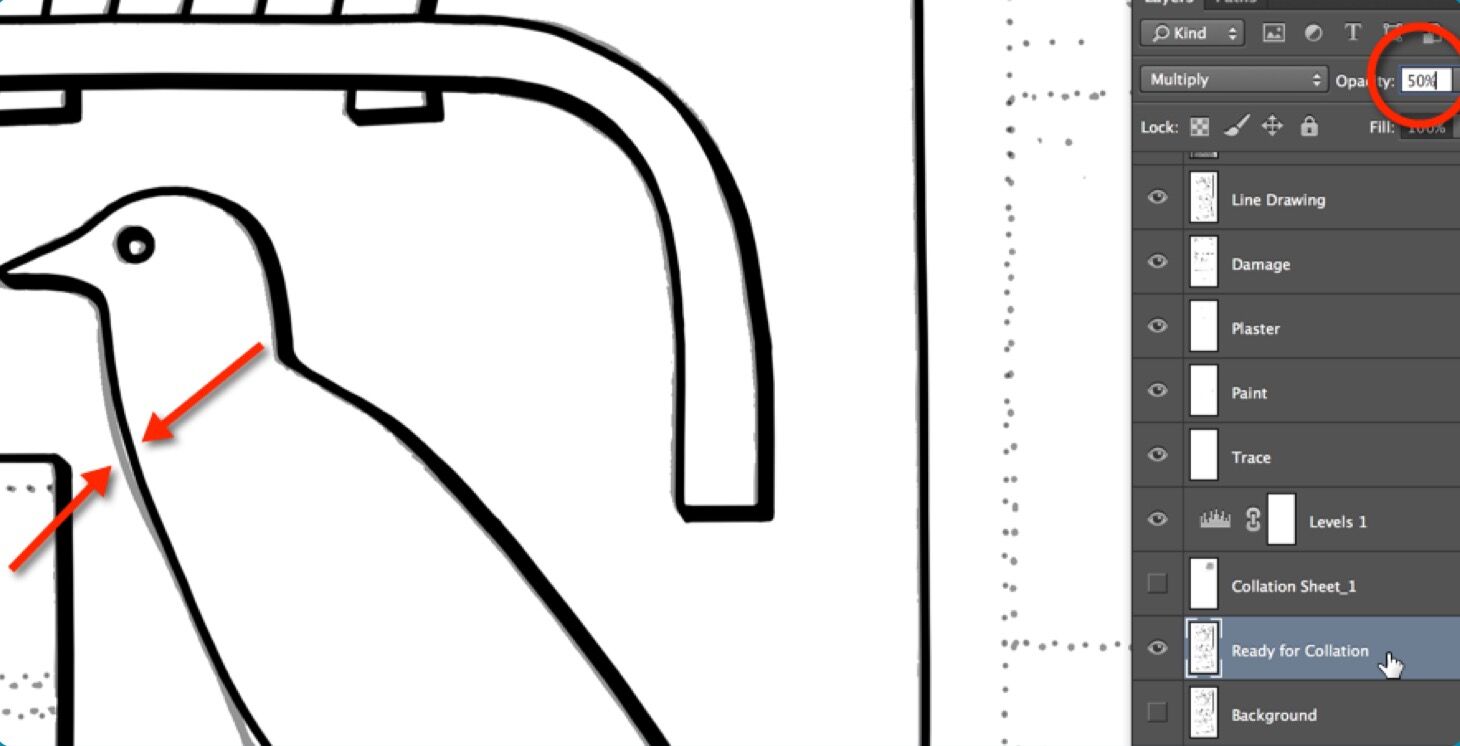
Once the “Ready for Collation” layer is created, it should be locked. It needs to be visible only when comparing drawing stages to each other.
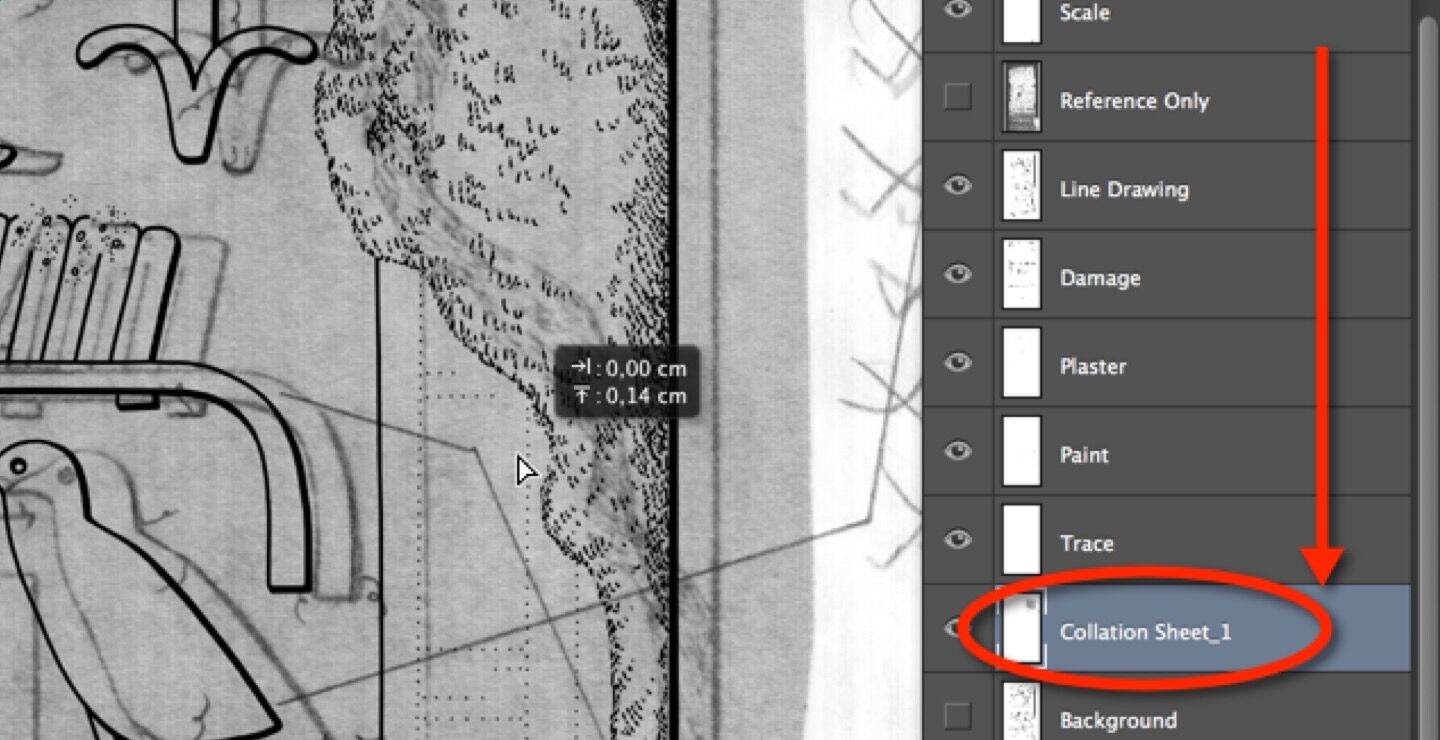
Now we are ready to import the first collation sheet to the drawing. Of course it needs to be scanned first, but the scan must not be saved as a tiff file, but rather as .jpeg to keep its file size at the minimum (resolution stays at 1200 dpi, image is grayscale scanned in 8-bit mode). If one needs a reminder he/she can find more information about the scanning process in Chapter 4, Section 1. Needless to say, once the sheets are scanned, they have to be saved to their specified folder (see Section 1 in this chapter).
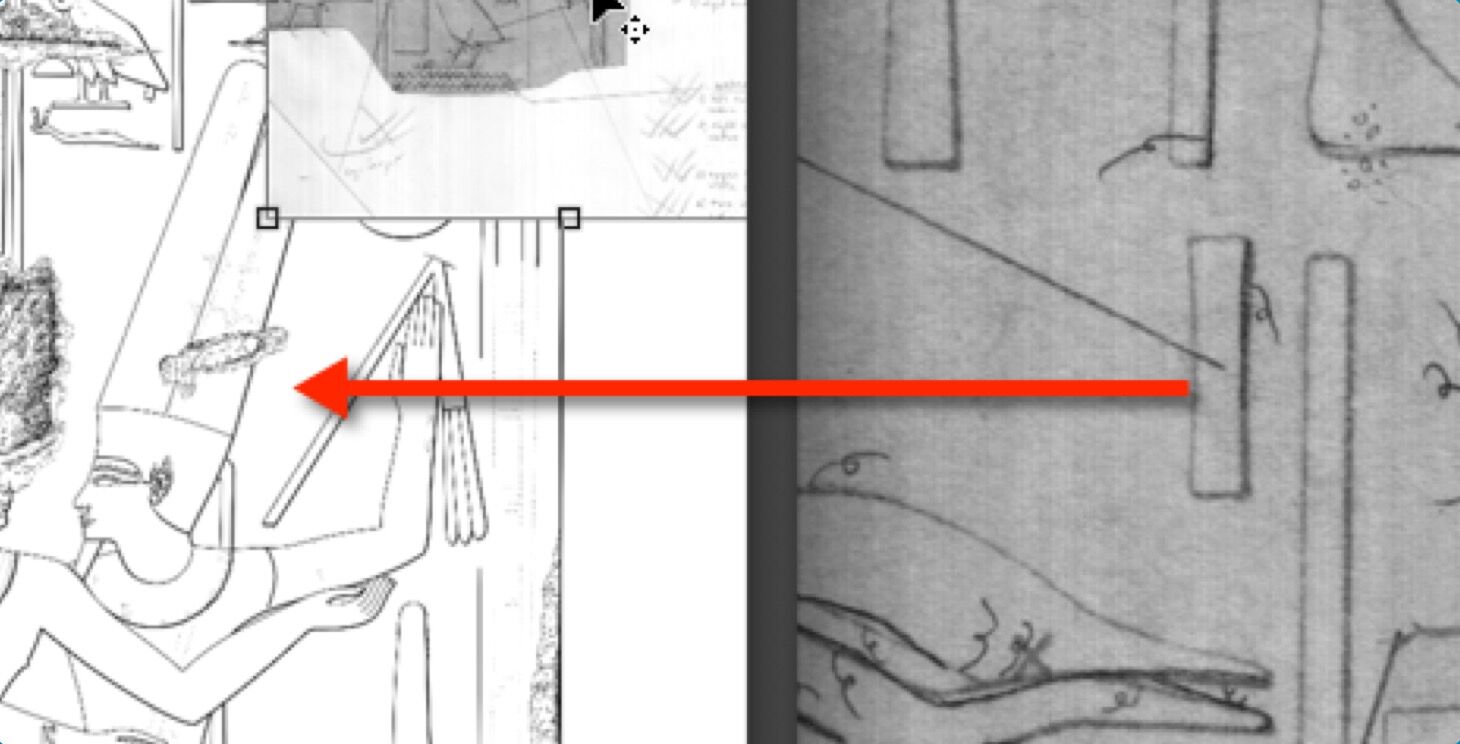
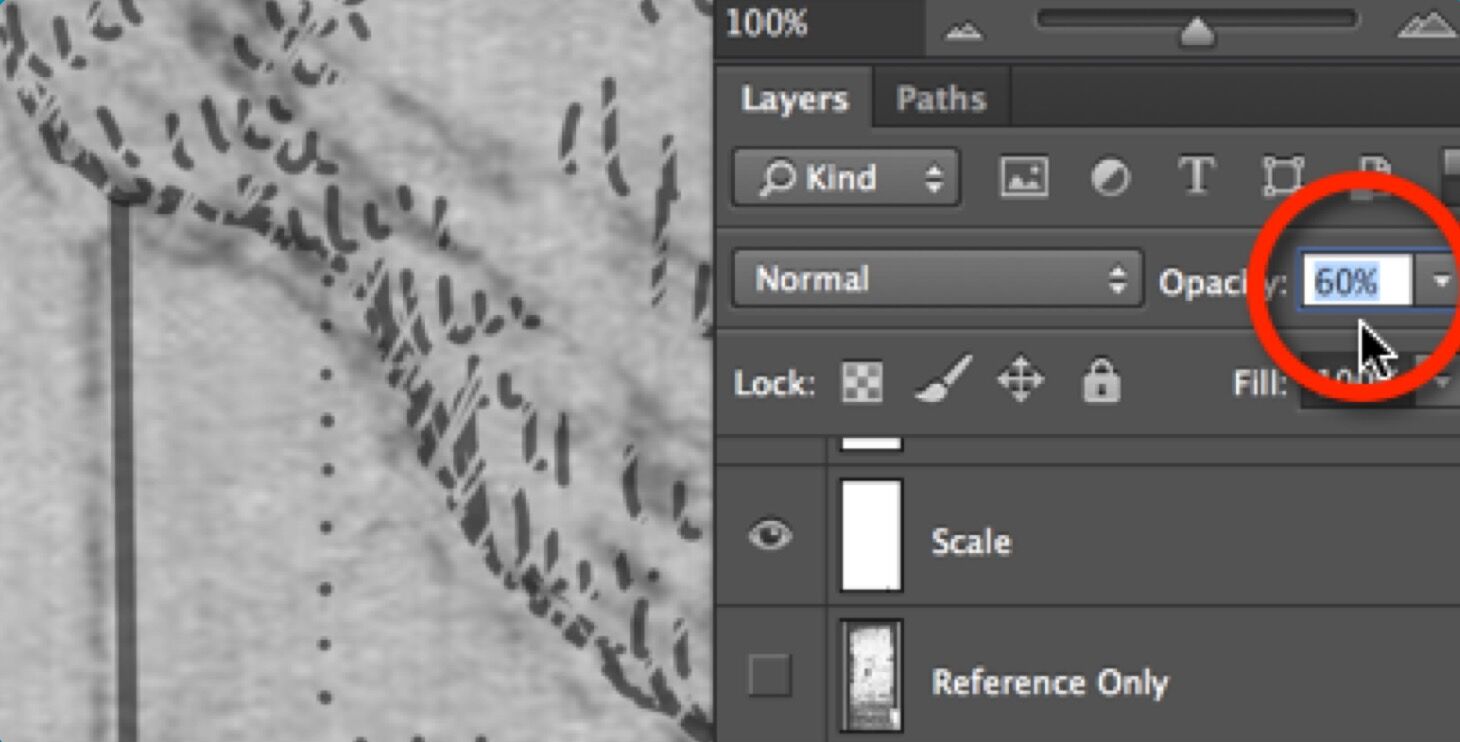
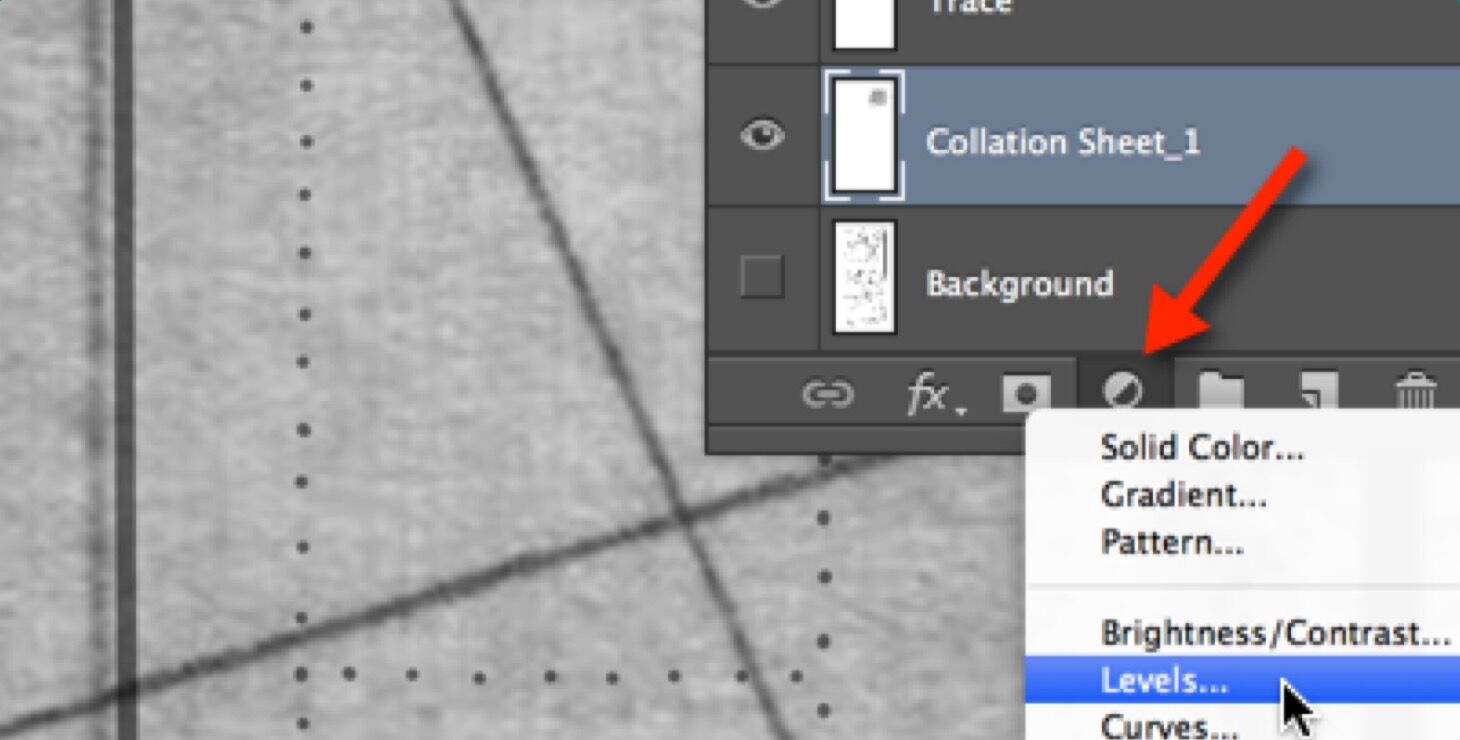
Along with refreshing our scanning skills, we also need to remember how to align layers properly. The Collation Sheet Layer needs to be matched exactly with the drawing, otherwise the changes end up being misaligned. Sometimes moving the layers on top of each other is not enough, and the collation sheet needs to be rotated as well to get the desired result (see Chapter 4, Section 2 for more details about layer alignment). In the meantime, the artist has to remember to lock all the drawing layers while adjusting the collation sheets to avoid accidental modifications.
Setting Up Collation Sheets


0 comment(s)
Leave a comment(We'll keep your email address private)