
Customizing Procreate
Once the jpeg is imported and placed in the relevant project’s folder, we can move on to Procreate’s interface customization. There is not a lot to do here, but one should be aware of a few tweaks that could potentially help with work in the field.
Customizing Procreate
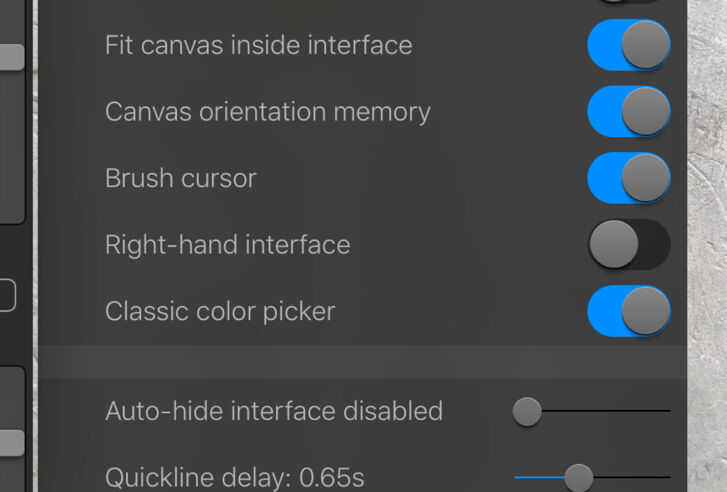
(1) Most of the basic customization tweaks depend on personal preference. The arrangement presented here is the Survey’s standard setting.
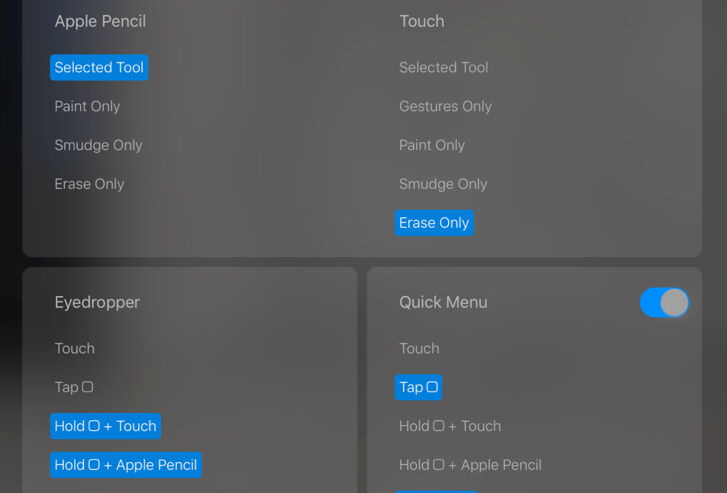
(2) In this setup, only Apple Pencil is used for brushstrokes, while finger is used for erasing. The last panel activates the shortcut menu.
(3) The quick menu calls up hidden menu actions that are often used, and they can be changed by touching and holding their panels.
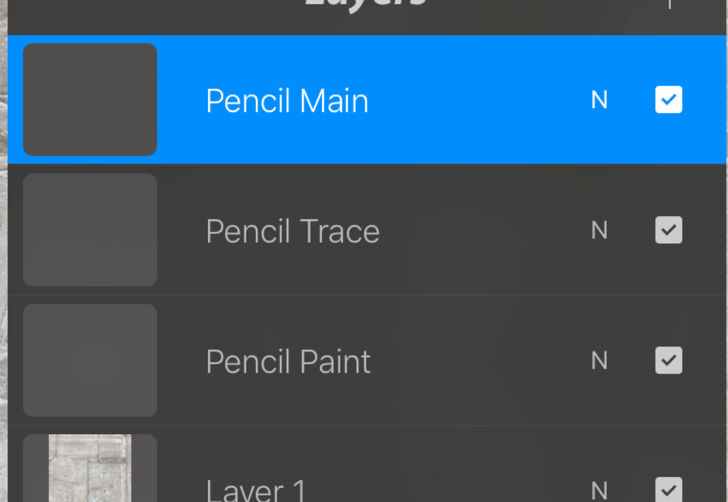
(4) Setting up the proper layers is essential for digital penciling. The arrangement given here is the Survey’s standard setting.
Once the jpeg is imported and placed in the relevant project’s folder, we can move on to Procreate’s interface customization. There is not a lot to do here, but one should be aware of a few tweaks that could potentially help with work in the field.
To learn more about the context of this tutorial read the following chapter:
Chapter 4, Section 3 - iPad Pro and Apple Pencil
0 comment(s)
Leave a comment(We'll keep your email address private)