
Procreate 5 is here with Photoshop brush support, palette improvements and much more
Procreate’s new Brush Studio offers over 100 new settings for unparalleled customization
With Procreate being our most important software used for digital penciling in the field, digitalEPIGRAPHY has been keeping an eye on Savage Interactive’s development, awaiting anxiously for their annual update. In the meantime, Adobe released two of its much-anticipated iPad apps, Adobe Fresco and – more importantly - Photoshop for iPad, which received disappointing reviews and has been struggling to address its initial shortcomings since. We did our fair share in testing both new Adobe apps, finding a lot of potential in Fresco’s impressive painting engine, which could be taken advantage of in digital reconstructions/enhancements. At the same time, we concluded that in its current state, Photoshop for iPad is neither as good for penciling as Procreate, nor is it rich enough in features to replace its desktop variant. We still think that sometime in the future Adobe’s mobile Photoshop could potentially replace both Procreate in the field and desktop Photoshop in the studio, but we’re just not quite there yet. While Adobe has the cumbersome task to figure it all out, Savage Interactive keeps refining Procreate and, with its 5th iteration, has just made one of the best mobile drawing apps even better. Let’s see what’s changed.
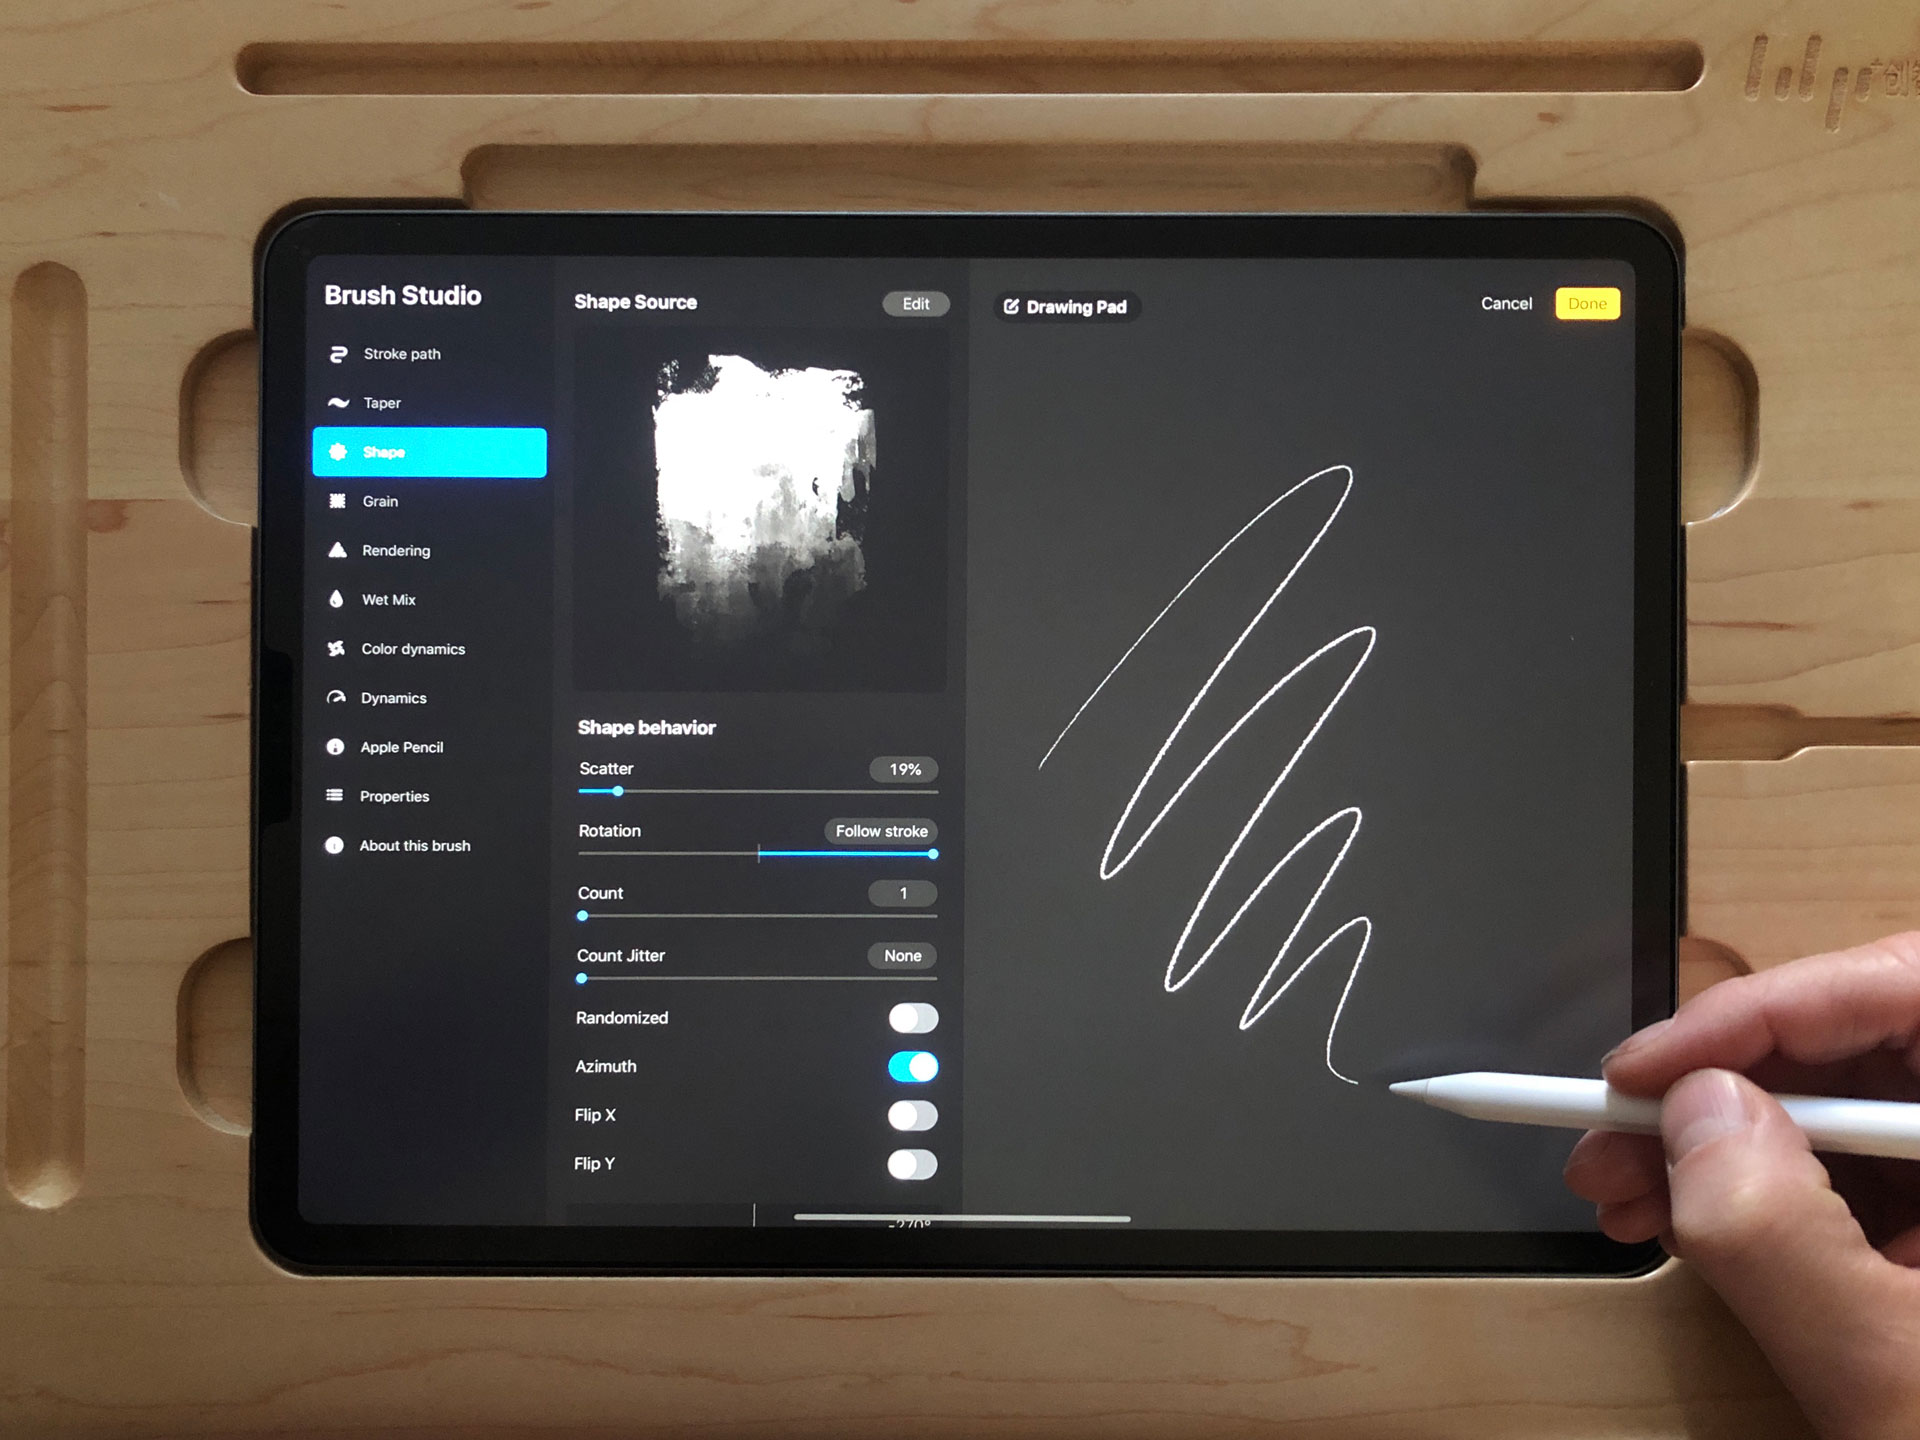
In short, Procreate 5, now available as a free update for previous users or a one time investment that costs $9.99, brings long-awaited features such as Photoshop (ABR) brush import, custom brush creation, CMYK mode, and more robust animation features. First and foremost, Procreate uses a new graphics engine, called Valkyrie, that works with Apple’s Metal graphics accelerating solution providing faster performance on the iPad. With Valkyrie, Savage Interactive says the imported ABR brushes paint faster in Procreate 5 than in Photoshop. This might be a potential game changer for epigraphers when choosing which drawing app to use on the iPad, especially in light of the revelation that Photoshop for the iPad has yet to have this capability - it even lacks brush import at the moment. The added flexibility of using the Survey’s preset brush sets for both Procreate and Photoshop can’t be overstated. Valkyrie also allows us to get more sophisticated results when designing Procreate brushes. The new, incredibly deep and flexible Brush Studio that replaces the old customization options is essentially an app within the app, offering over 100 new settings for fine-tuning existing and custom brushes to an unparalleled detail. Brush Studio can be reached through tapping on the plus button in the brush tool’s popover and includes 10 categories of brush characteristics and settings that can be adjusted. This special interface also has a drawing pad that changes as the settings are modified, providing a preview of the newly created brush stroke and a drawing pad where one can quickly test the changes.
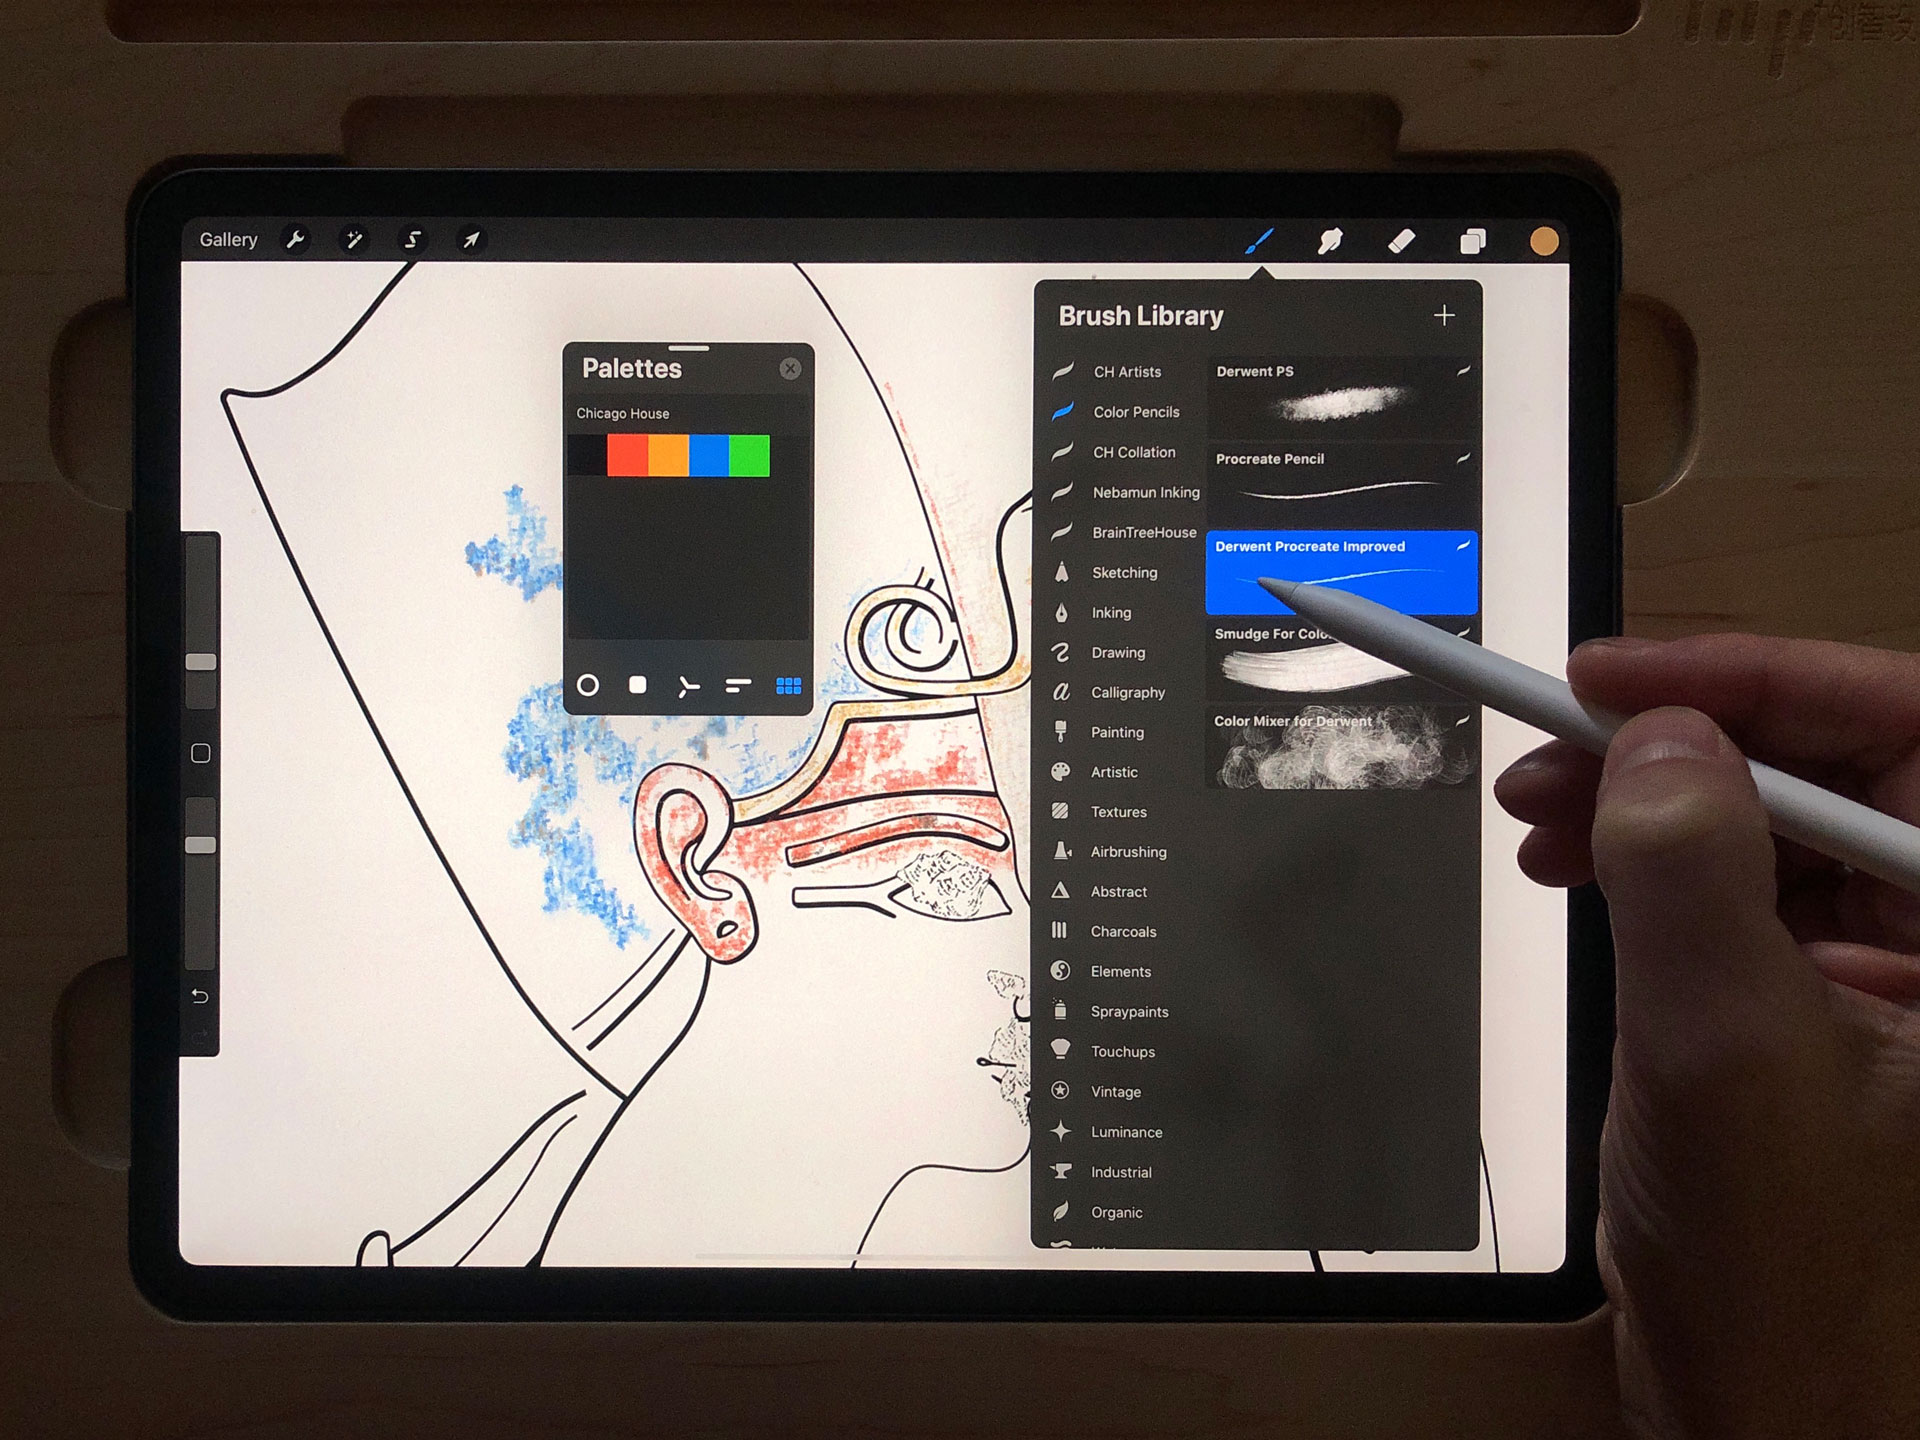
With a little bit of tweaking, Procreate’s preset brushes are perfectly suitable for a wide variety of documentation purposes
Sharing a brush is also made easy by swiping left on its panel from the brush popover and using the share sheet. The ability to bake one’s signature and profile into every brush design is also a nice touch that will certainly help protecting the Survey’s intellectual property. However, this isn’t the only brush update Savage has brought to Procreate. The app has a revised set of built-in brushes, selected into 18 categories of different brush styles that organize a total of 190 brushes to provide an ideal solution for most field documentation projects. Taking further advantage of Apple’s Metal framework, users can also combine two brushes into one, seamlessly integrating the characteristics of each, opening up the possibility to design dual brushes, such as the one designed for the Survey’s digital dashed brush, which, by the way, now also works in Procreate.
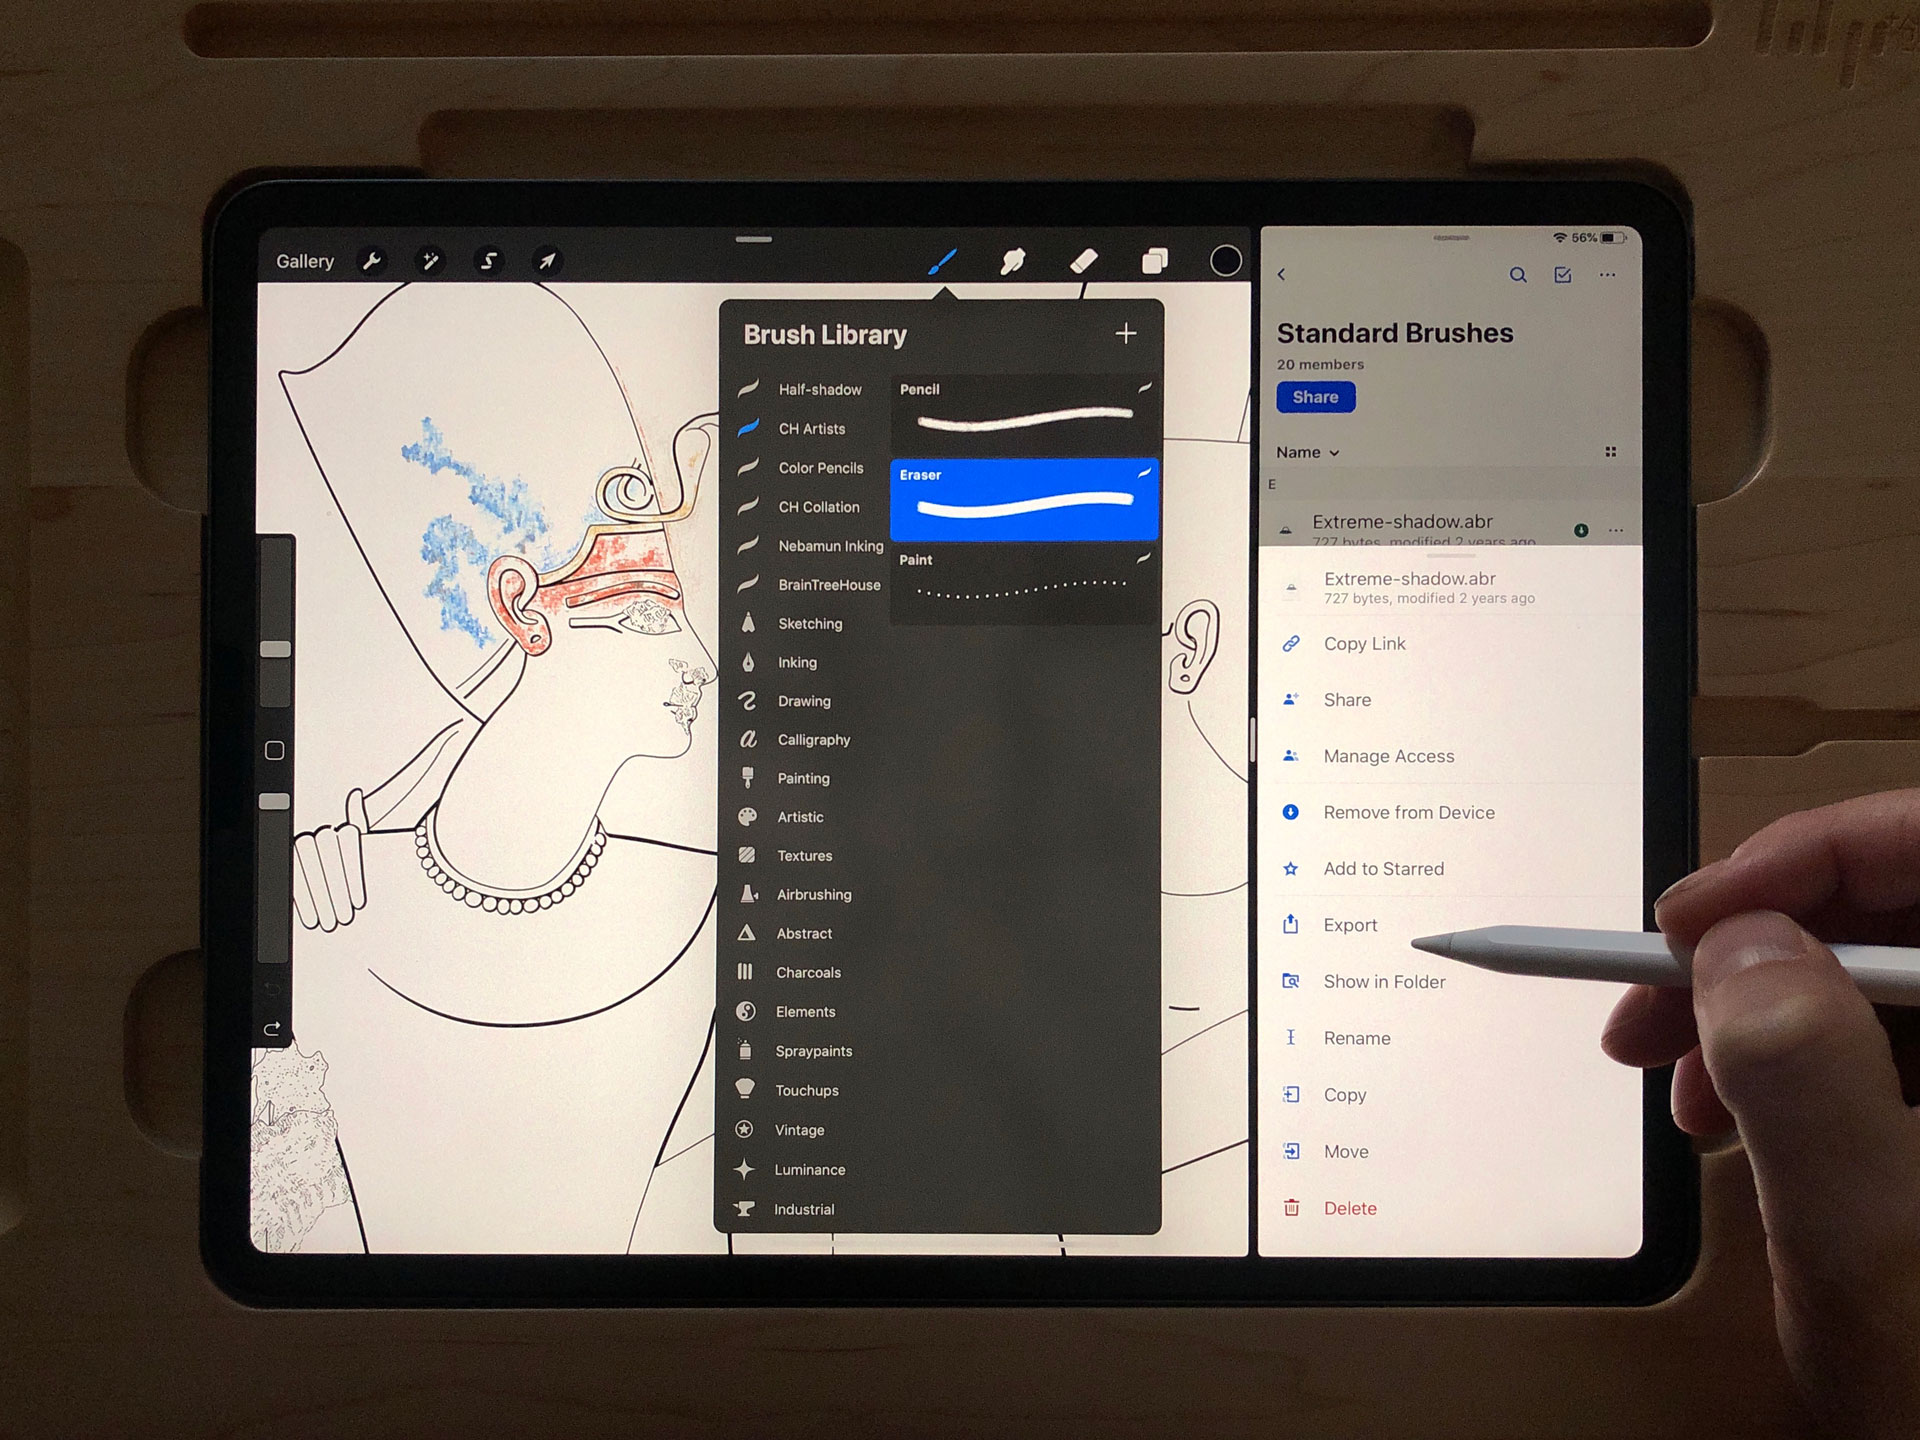
Importing and exporting brushes between Photoshop and Procreate is a breeze on the iPad especially if all brushes are kept in a central hub, such as Dropbox.
Yet another robust feature receiving a major revision is the color picker in the top right-hand corner of Procreate’s largely unchanged drawing interface. In the app’s previous iterations, the color picker was a popover that dropped down from the toolbar. It had the same problem as with using the eraser: if one had to switch colors often, it meant constantly reaching for the corner of the screen. While this inconvenience was resolved for the eraser issue in the previous update, artists had to wait until now to get a more flexible color-switching solution. In the latest version, the Color Panel is still a popover in its default, but it can be dragged to detach and minimize into the new Mini Color Panel that can be placed anywhere over and around the canvas.
With Color Dynamics, digital artists get tactile control of hue, saturation, brightness and a lot more to their brush via tilt or pressure, providing almost 20 individual sliders in the tool. Although not necessarily useful for most epigraphic projects, the new color picking features include support for five different color harmonies within the Color Panel and a 10-step color history system for recently used hues. With its customizable and sharable color palettes and detachable interface, Procreate’s color solution, once again, feels like an infinite upgrade over the rigid, bare bones color picker found in Photoshop for iPad that doesn’t even let us save a hue to a palette. Artists will also have the option to import CMYK and RGB ICC profiles, so they can create their documentation material to be ready for both print and the web.
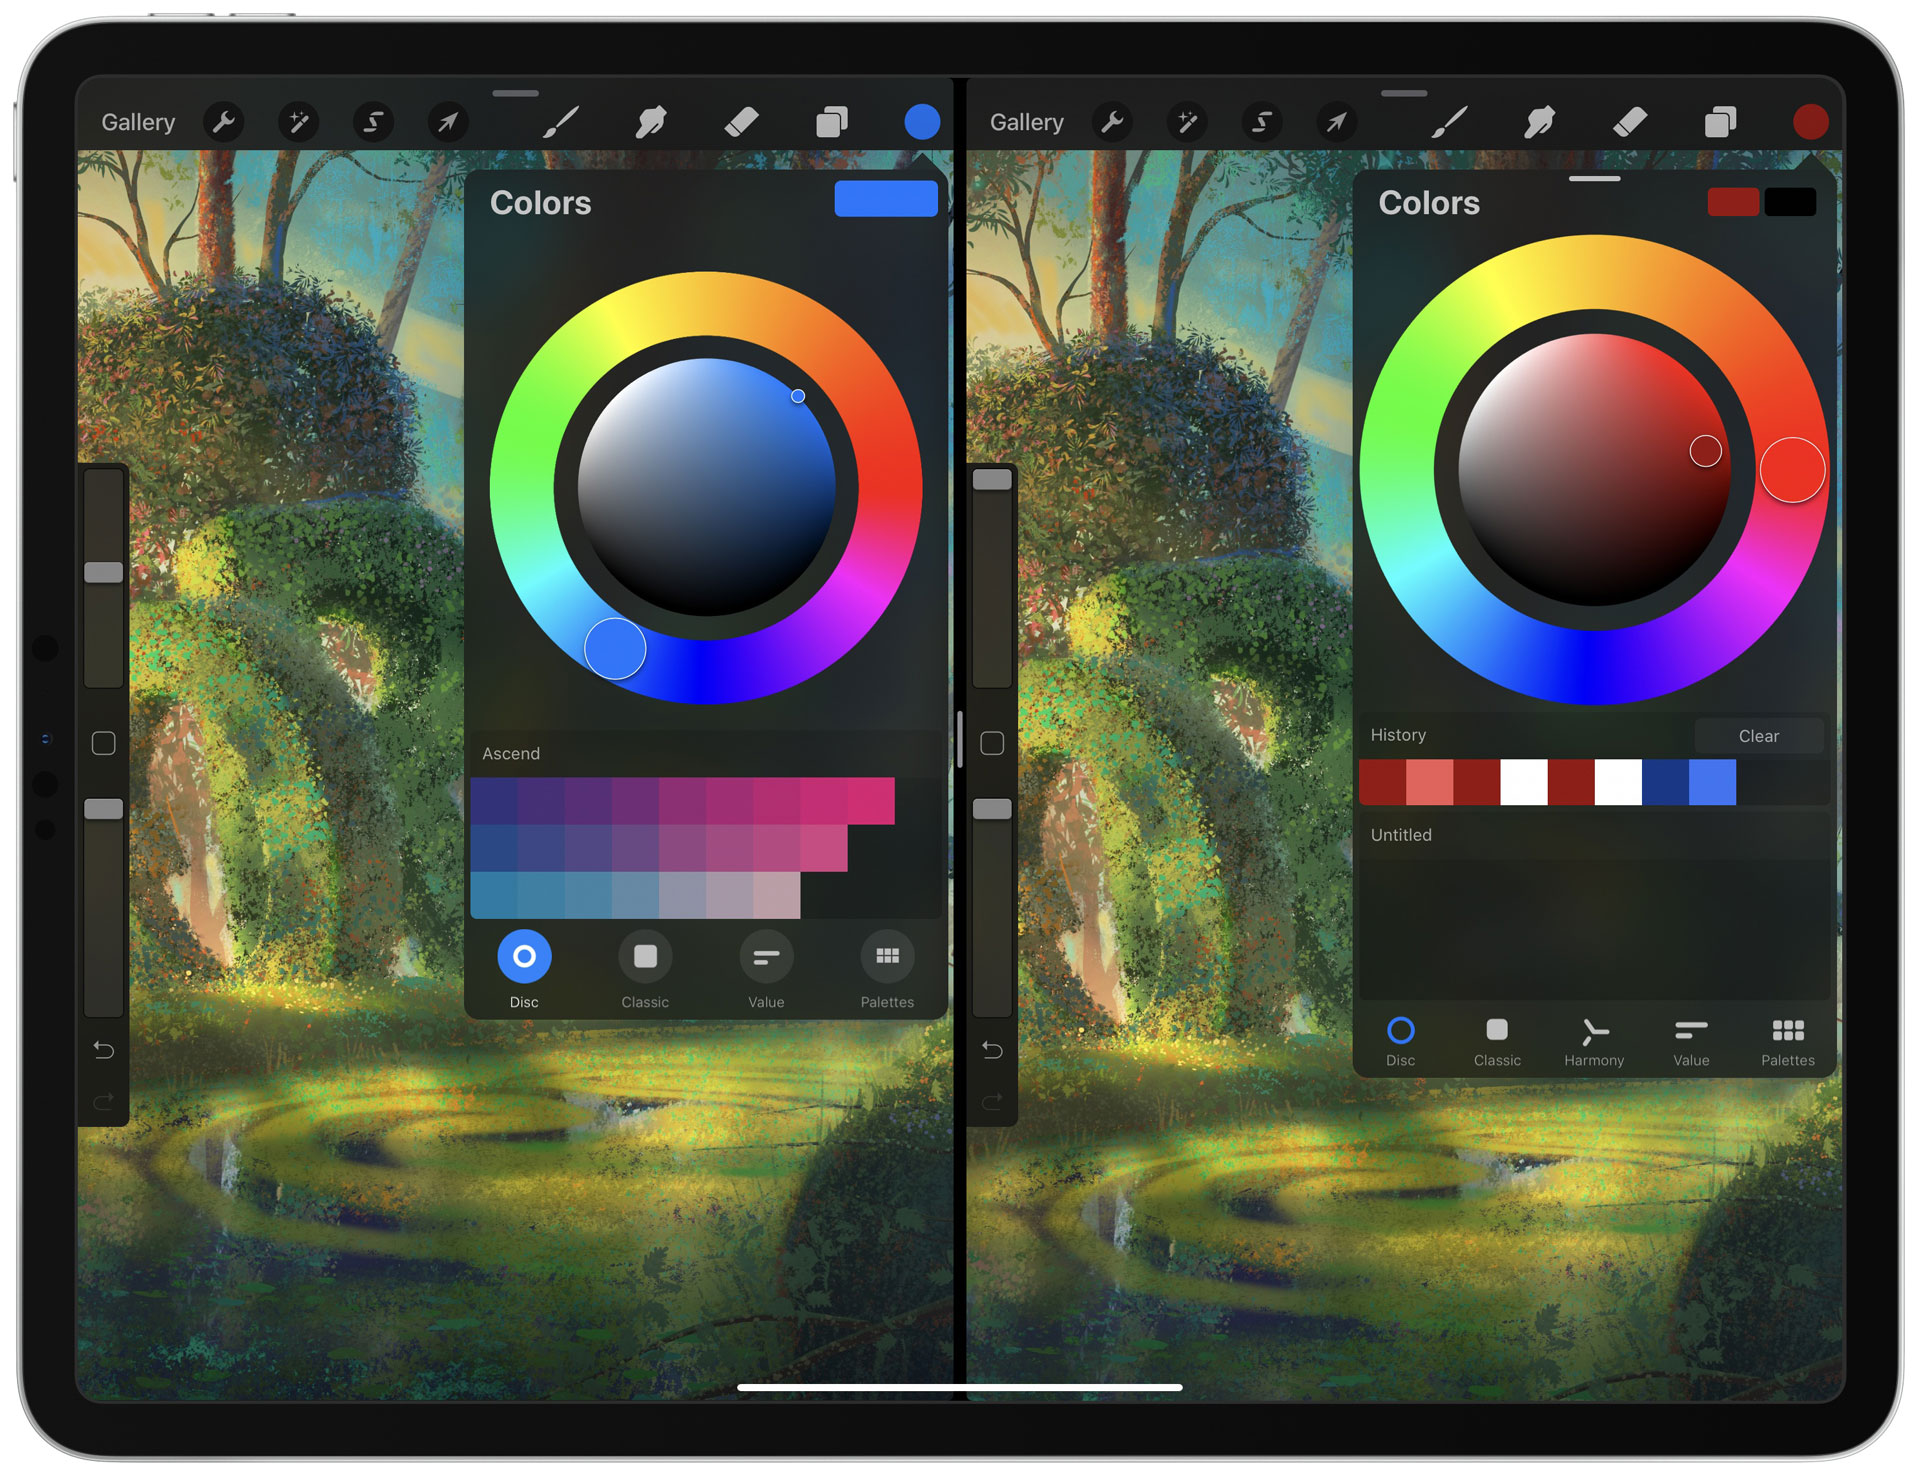
Procreate’s previous color picker (left) compared to the new detachable color picker in Procreate 5 (right) (Photo by MacStories)
Beyond the features listed above, the update also adds a new Clone tool with the option to use any brush style to give the cloned area the look of that brush. This convenient feature can be reached from the Adjustments menu and gives us high hopes for the future inclusion of patterns etc., for even more flexibility in adding textures to our line drawings. Additionally, there are some minor UI tweaks regarding the transform and selection modes that have been redesigned for better visibility on the canvas. Although only vaguely connected to what we currently use Procreate for, we ought to mention yet another new feature, Animation Assist, that is a new tool for adding a timeline to the app when designing looping GIFs and animated videos. Savage Interactive has already added some of these animation features in the previous update, however, Animation Assist brings new features like onion skinning to the table with the option for instant playback within the app. We have yet to find a purposeful meaning for this feature to be used in digital documentation, nonetheless, we see a lot of potential in using Animation Assist for creating explanatory gifs attached to individual drawings. One can never dismiss a feature or opportunity based on one’s current use cases!
If you wish to know more about Procreate 5, you can find a thorough list of the new features and improvements on Savage’s website. As we mentioned at the beginning, Procreate 5, available exclusively in Apple's App Store, is free update for existing users and costs £9.99/US$9.99 for new customers. To learn more about how Procreate works, you can use Procreate’s online Handbook provided by the app’s developers, that has been already updated with the new features. You can use the Handbook any way you like - read it from start to finish, click from link to link to explore organically, dive into a specific section to fill a gap in your knowledge, or use the Search bar to quickly find the answers you’re seeking.
0 comment(s)
Leave a comment(We'll keep your email address private)